As I neared the tail end of my pregnancy with Christian, painting felt like the best option for DIYing. It was therapeutic AND gave me instant results. Which was great because I was super impatient and exhausted/uncomfortable.
Although, I wouldn’t say that this particular project was therapeutic. It was actually a huge pain in the behind.
I had this dresser that was mine as a child/teenager. My parents let me take it (I can’t imagine why) when we moved into this house.
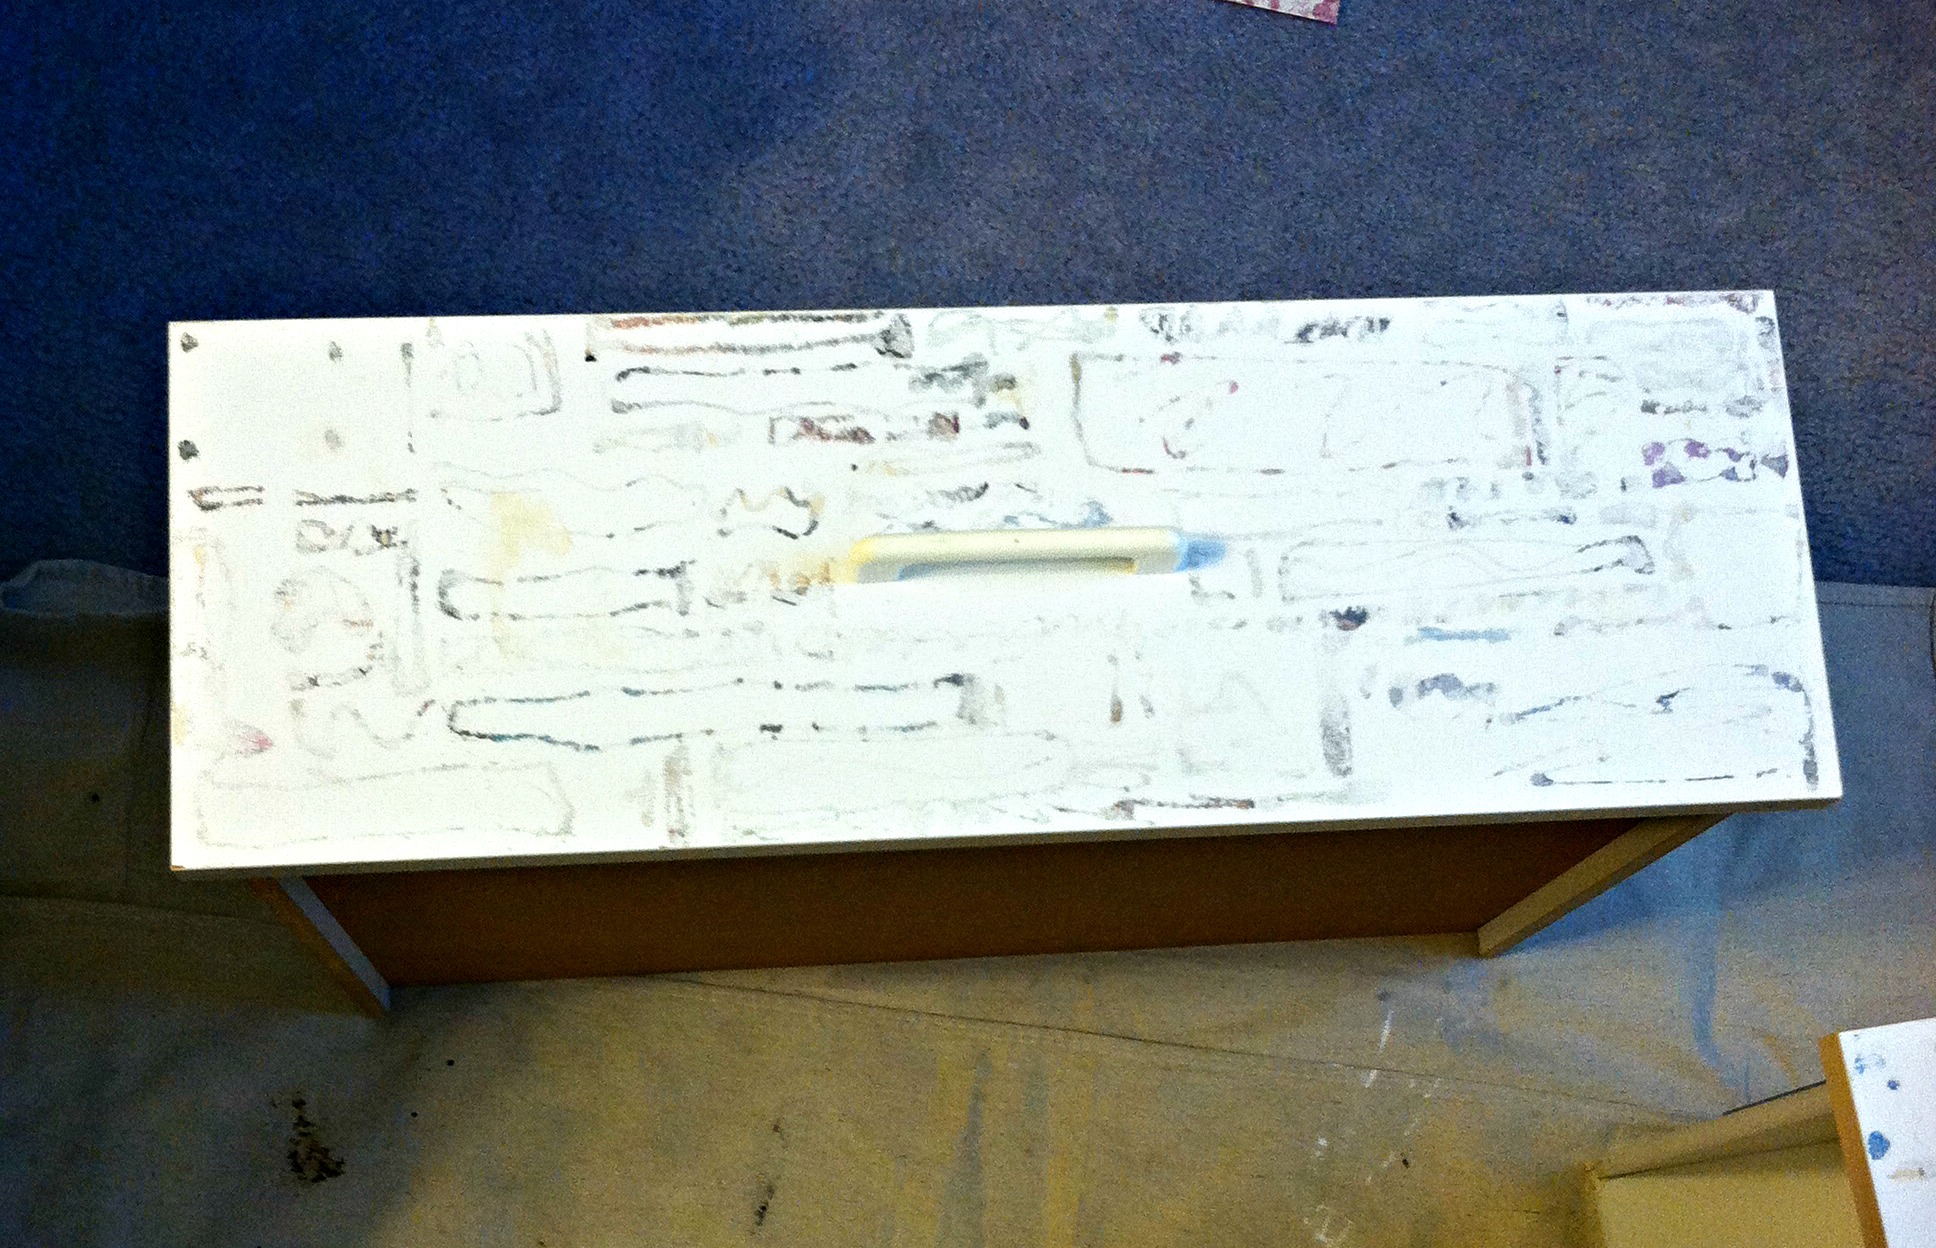 My parents were always very supportive of letting me express my creativity. This time though, I wish they would have put their foot (feet?) down. I decoupaged this dresser, but it appeared that I was lazy because only two of the drawers were decoupaged. Either that, or I ran out of snazzy magazine words to use. I must have been 17 because that was one of the words glued to the dresser. Needless to say I had 2 drawers of almost 10 year old glue residue to remove. I scraped with my trusty razor blade then gave it a quick sanding to smooth it out. Note: This sounds a lot easier and quicker than in actually was. So don’t decoupage your dresser unless you are going to love it forever and ever.
I really wanted this to be a super quick project. The plan was to use it as my bedside table (in it’s previous life, it was hidden in our closet) and I just wanted to slap some miracle chalk paint on and call it a day. But, in true DIY form, this dresser had a mind of it’s own.
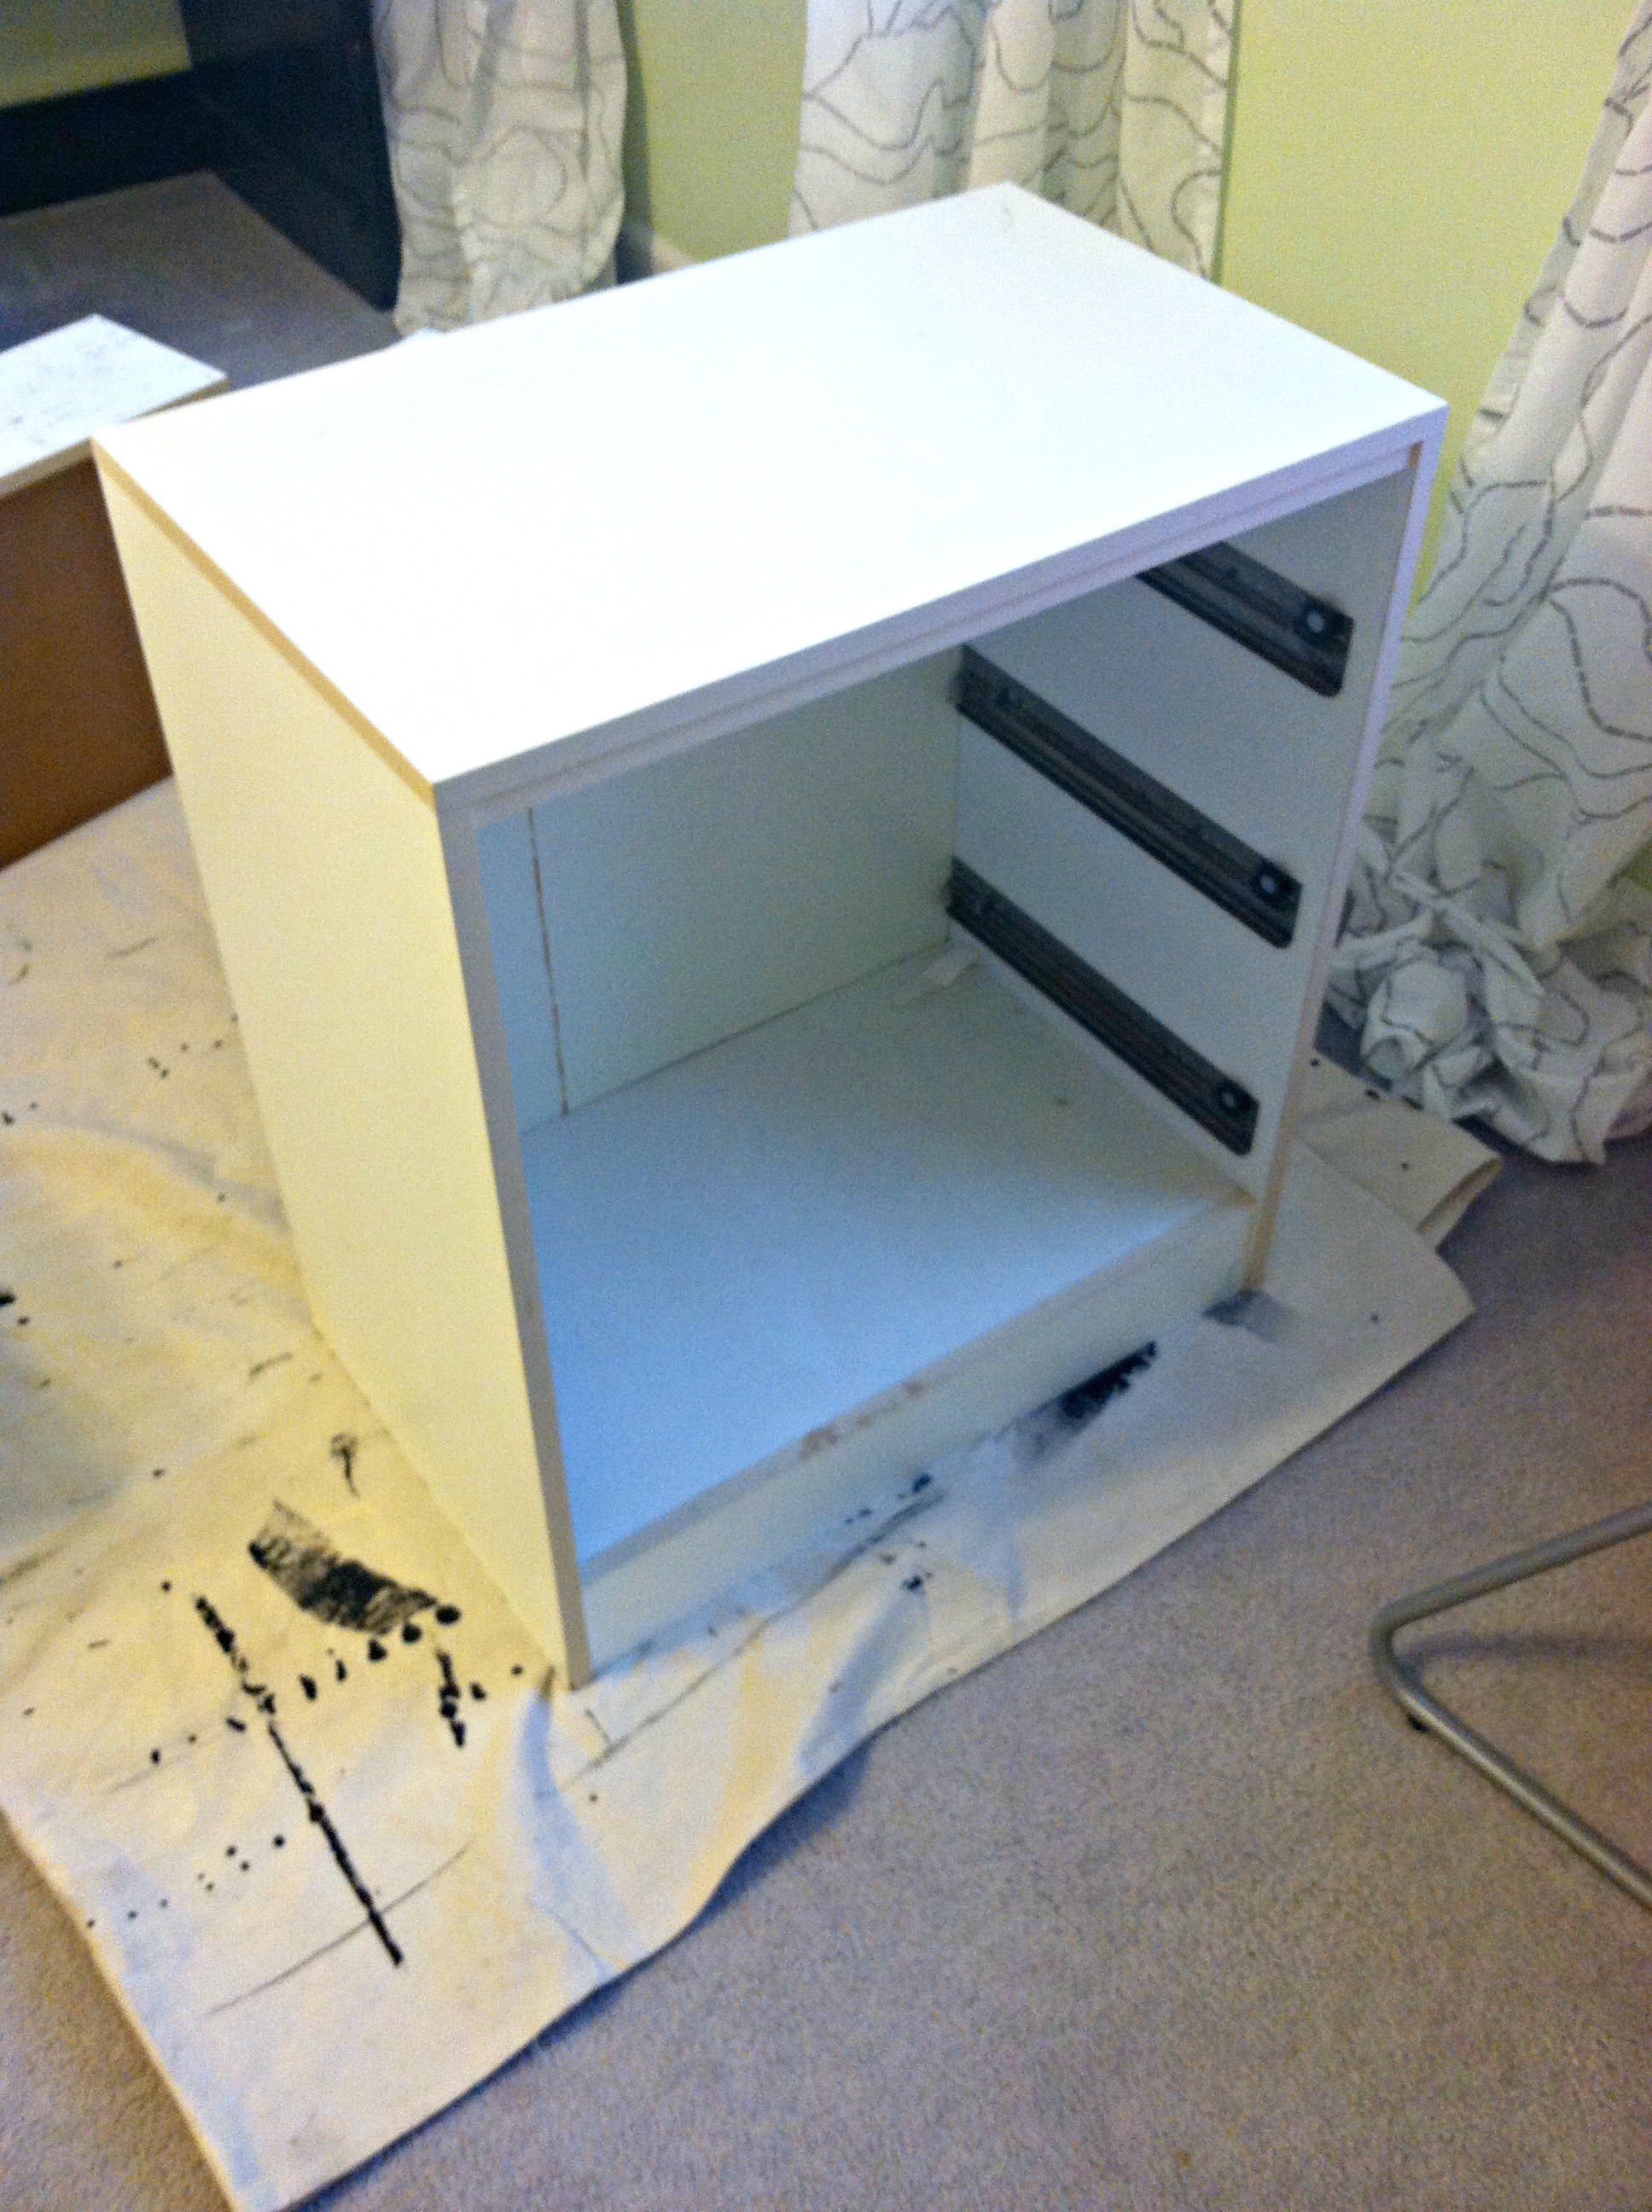
I started out painting it with gray chalk paint (homemade) and it looked like this. Oh, I also wrapped the plastic handles in twine thinking that might look cool. Um.
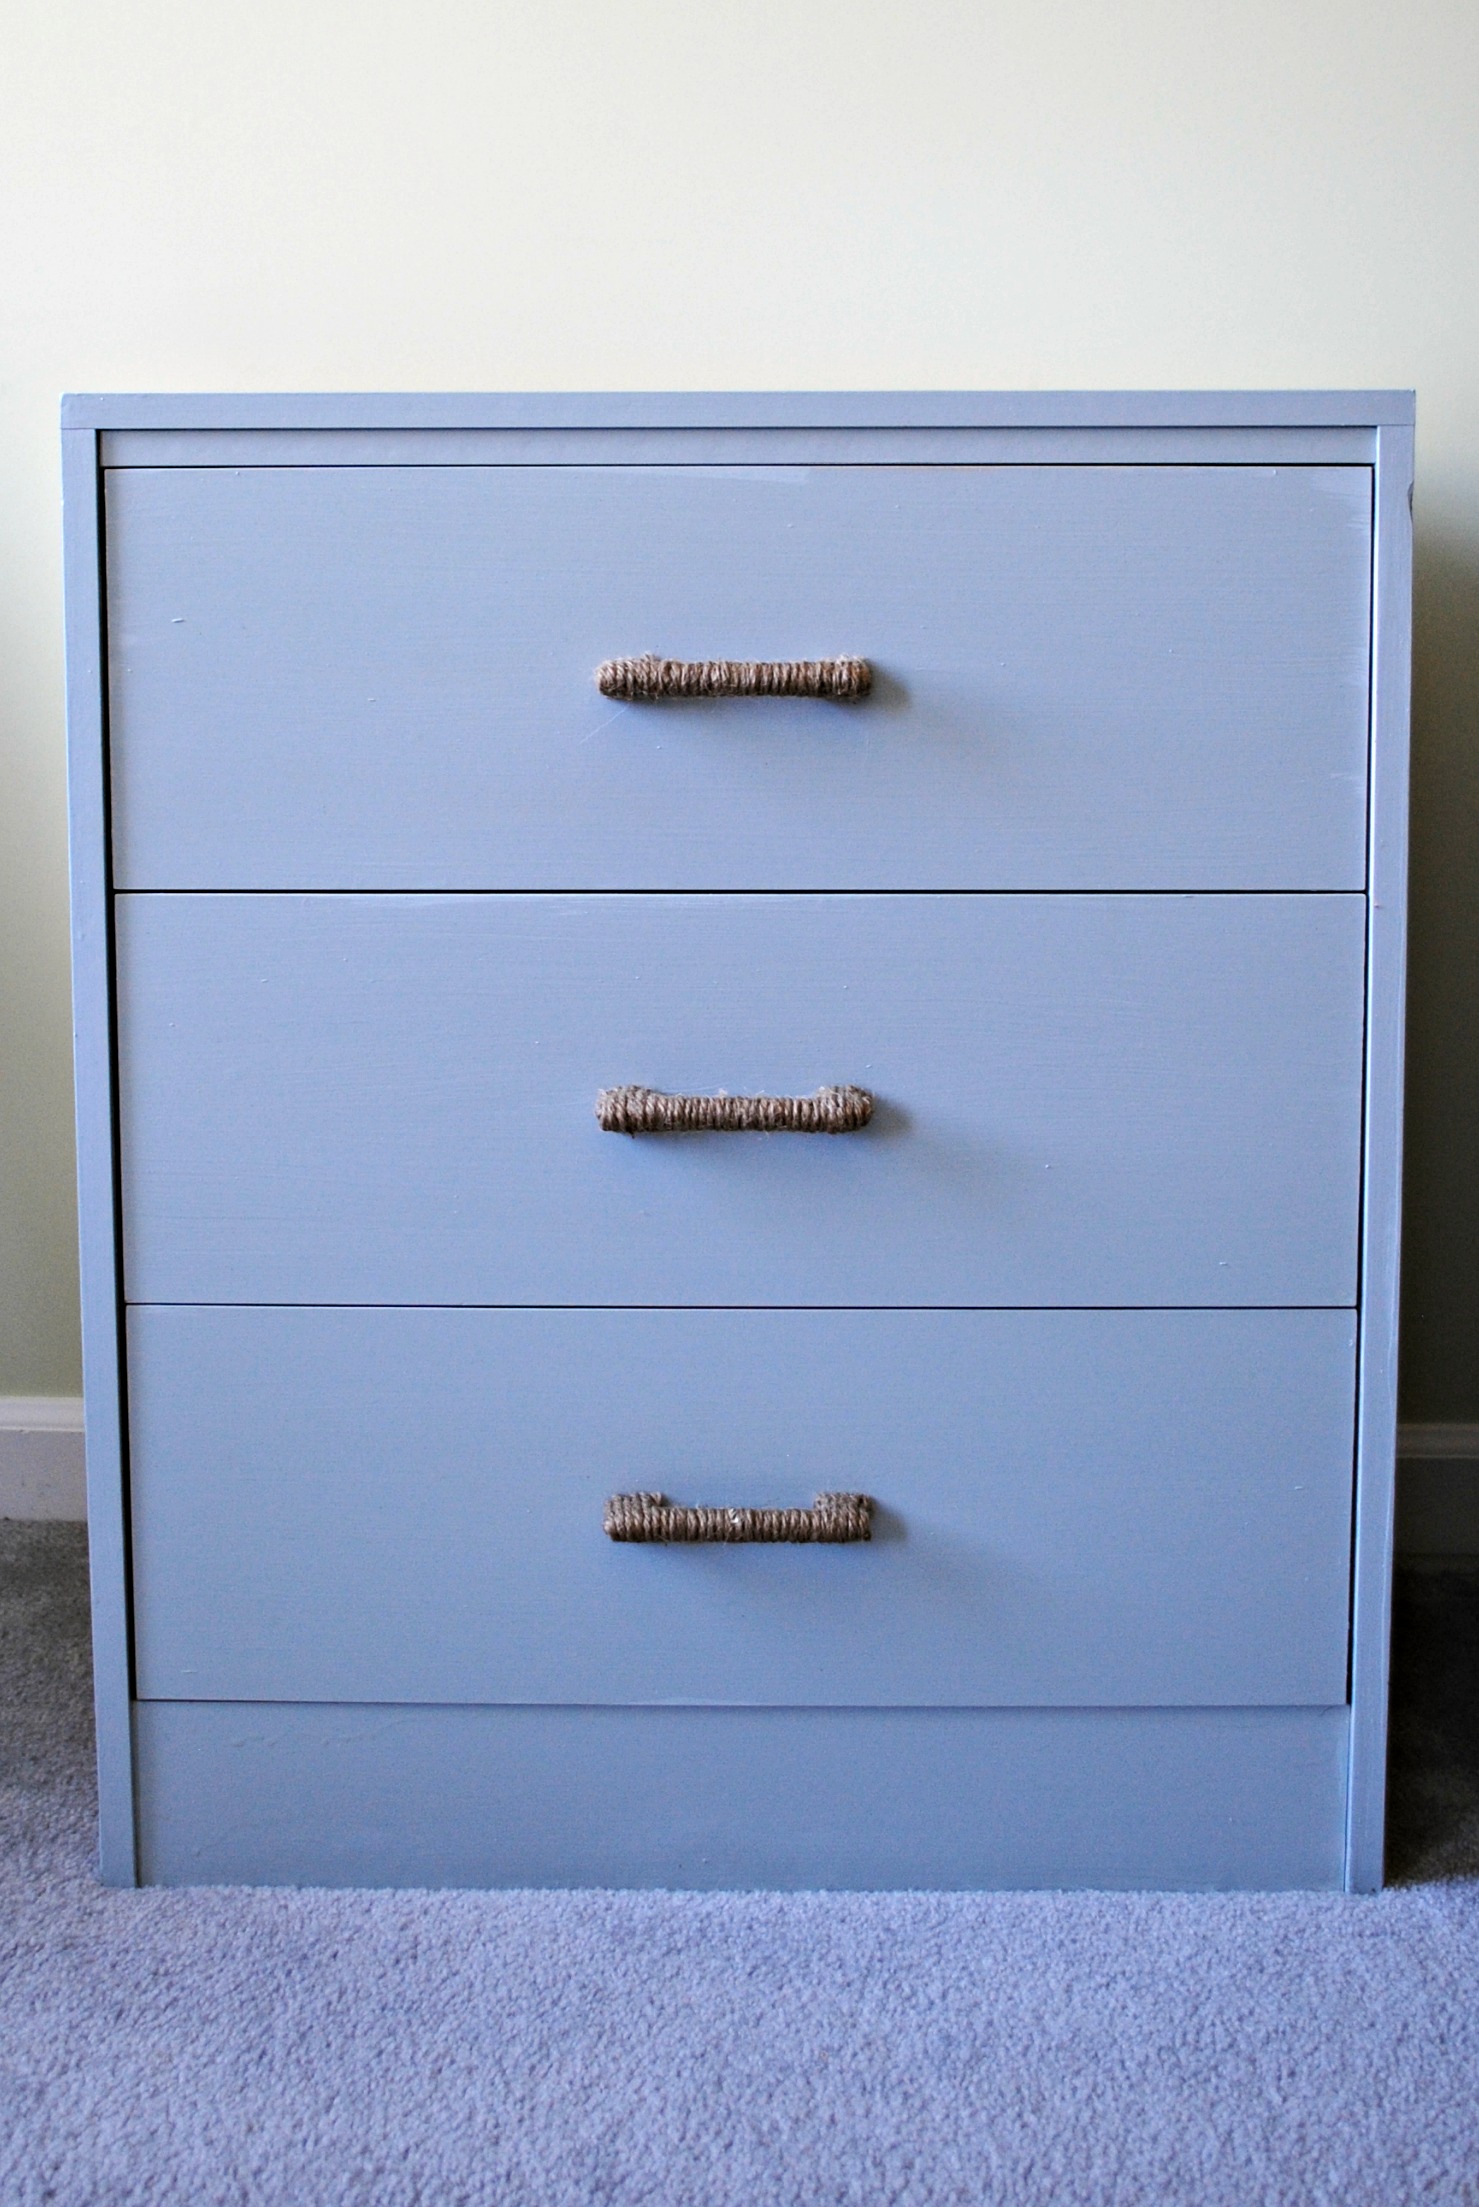 It’s a filing cabinet. I just spent that much time creating a filing cabinet. My pregnant self wanted to cry. But I didn’t. I did what anybody would do and got on Pinterest to get some inspiration from the talented bloggers/DIYers out there. I found this and this and knew that was the way I wanted to go.
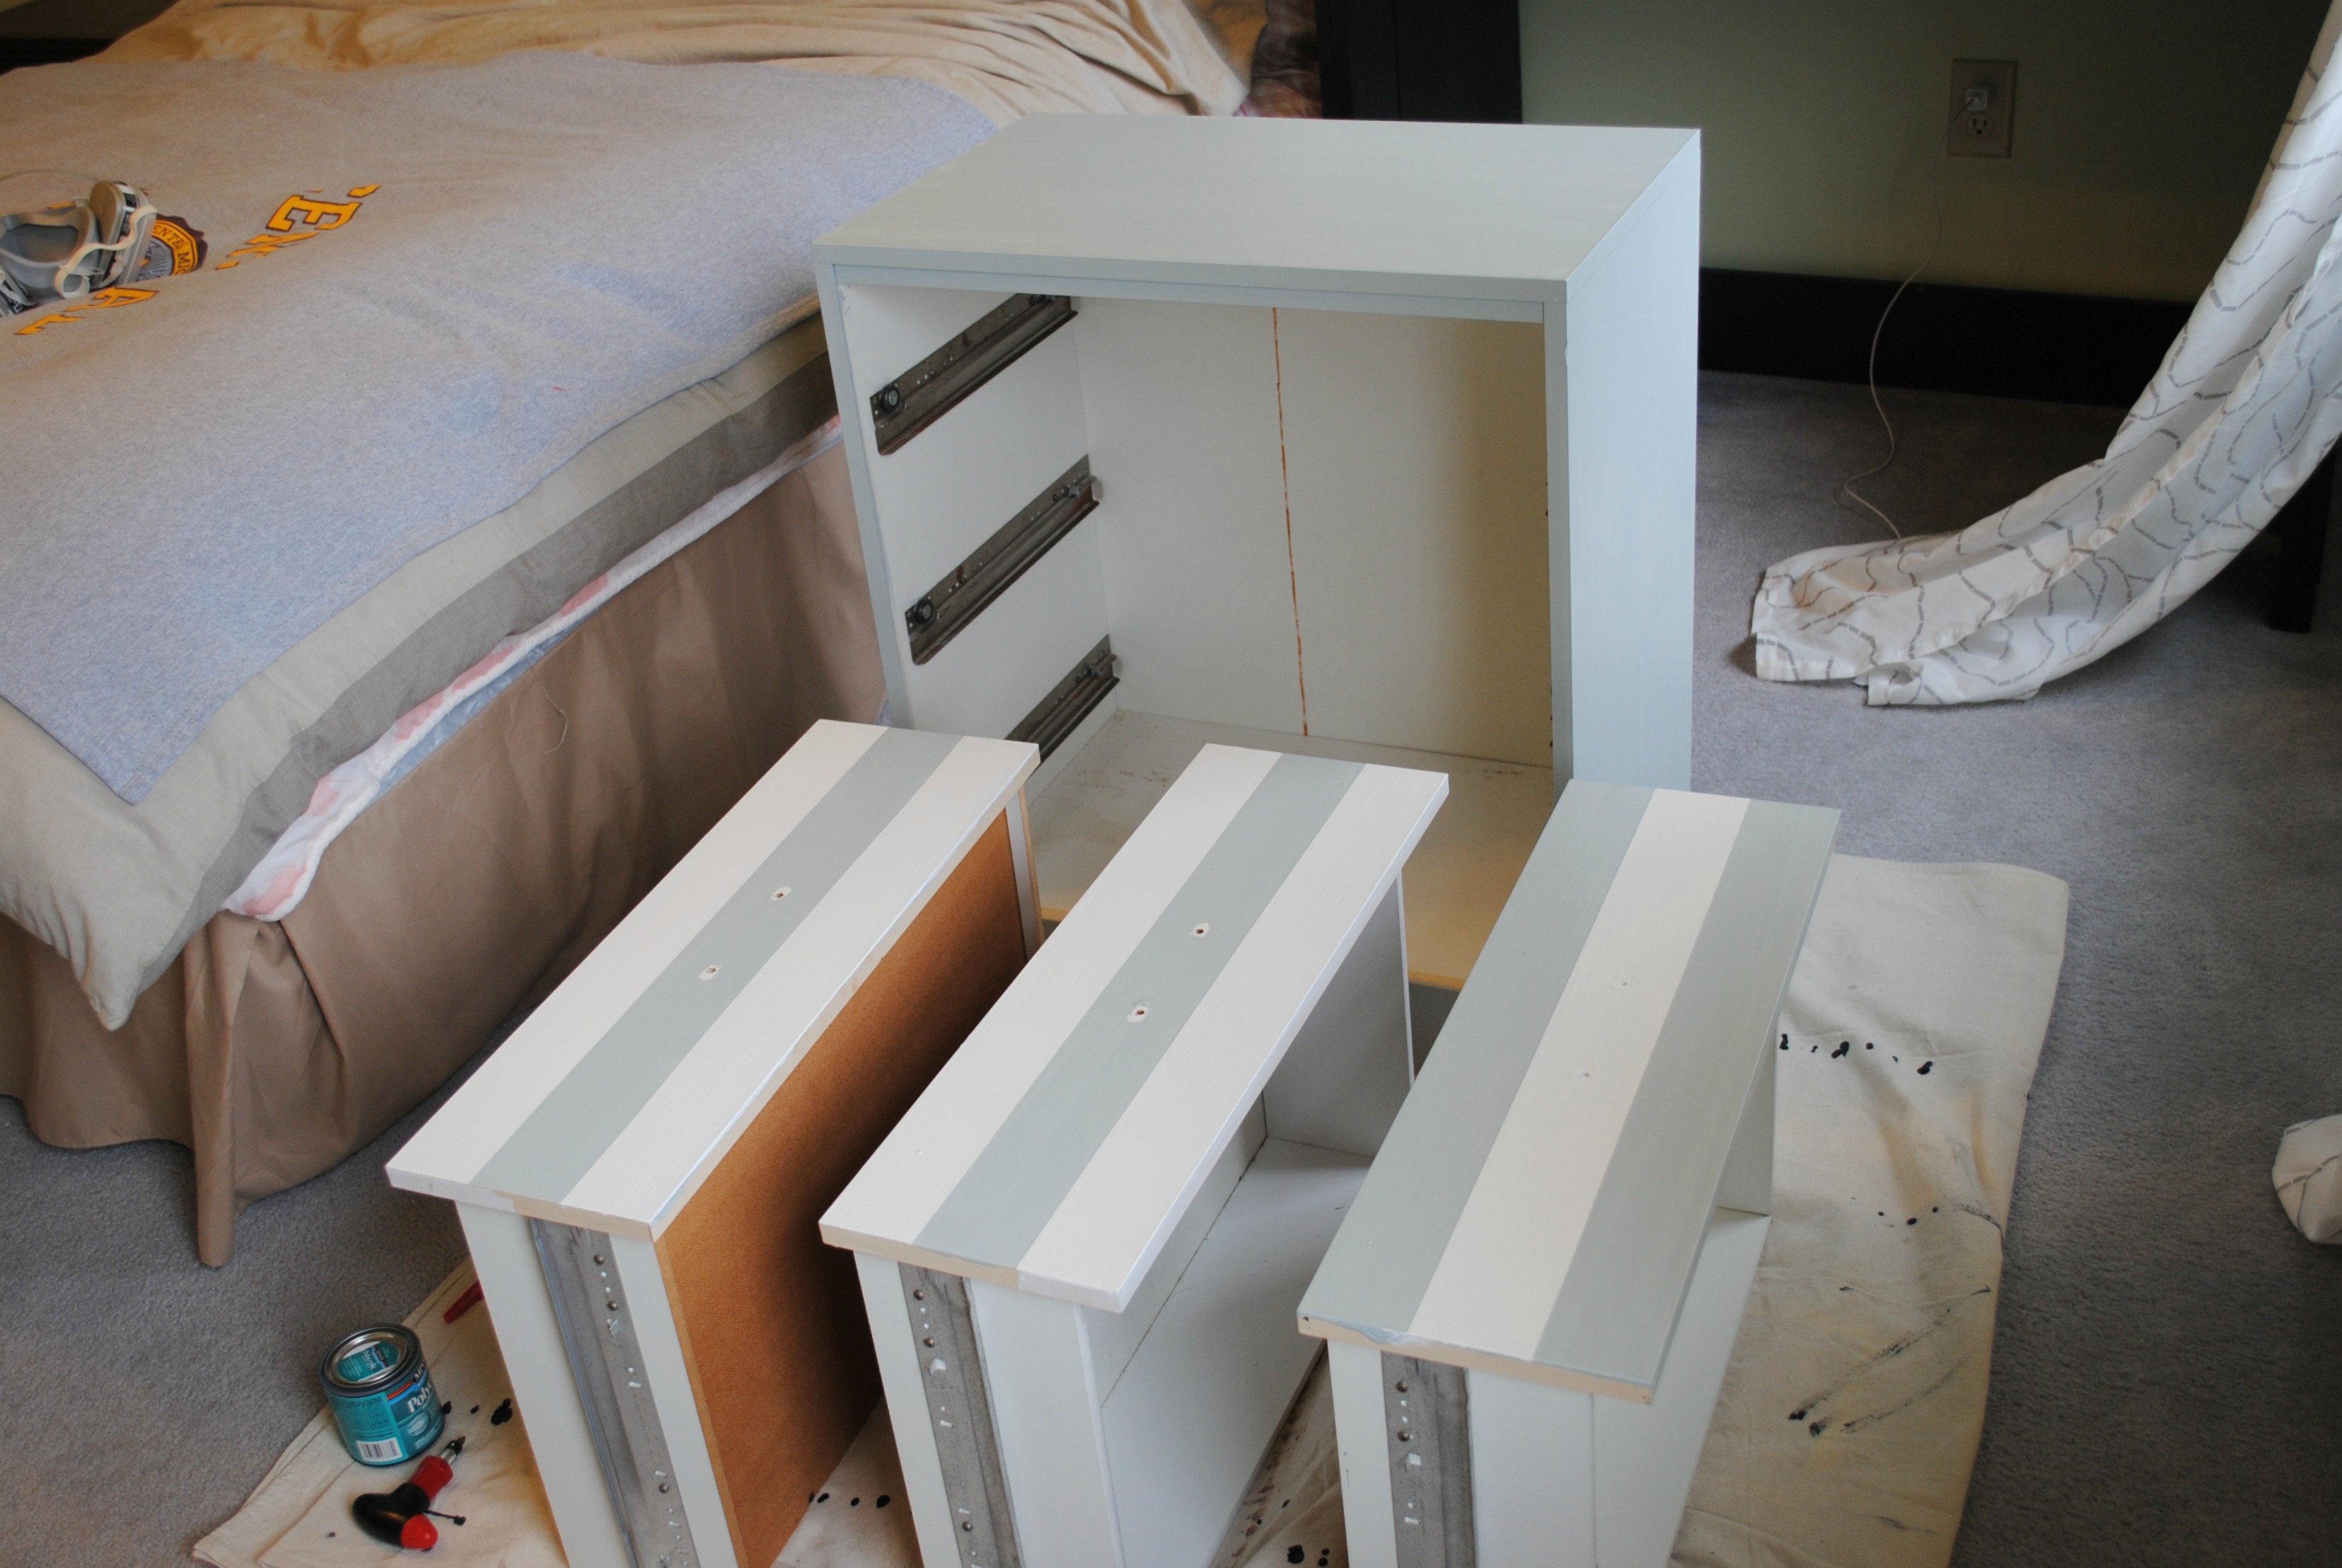
So, I taped up the drawers and got to fixin’ the mess I made.
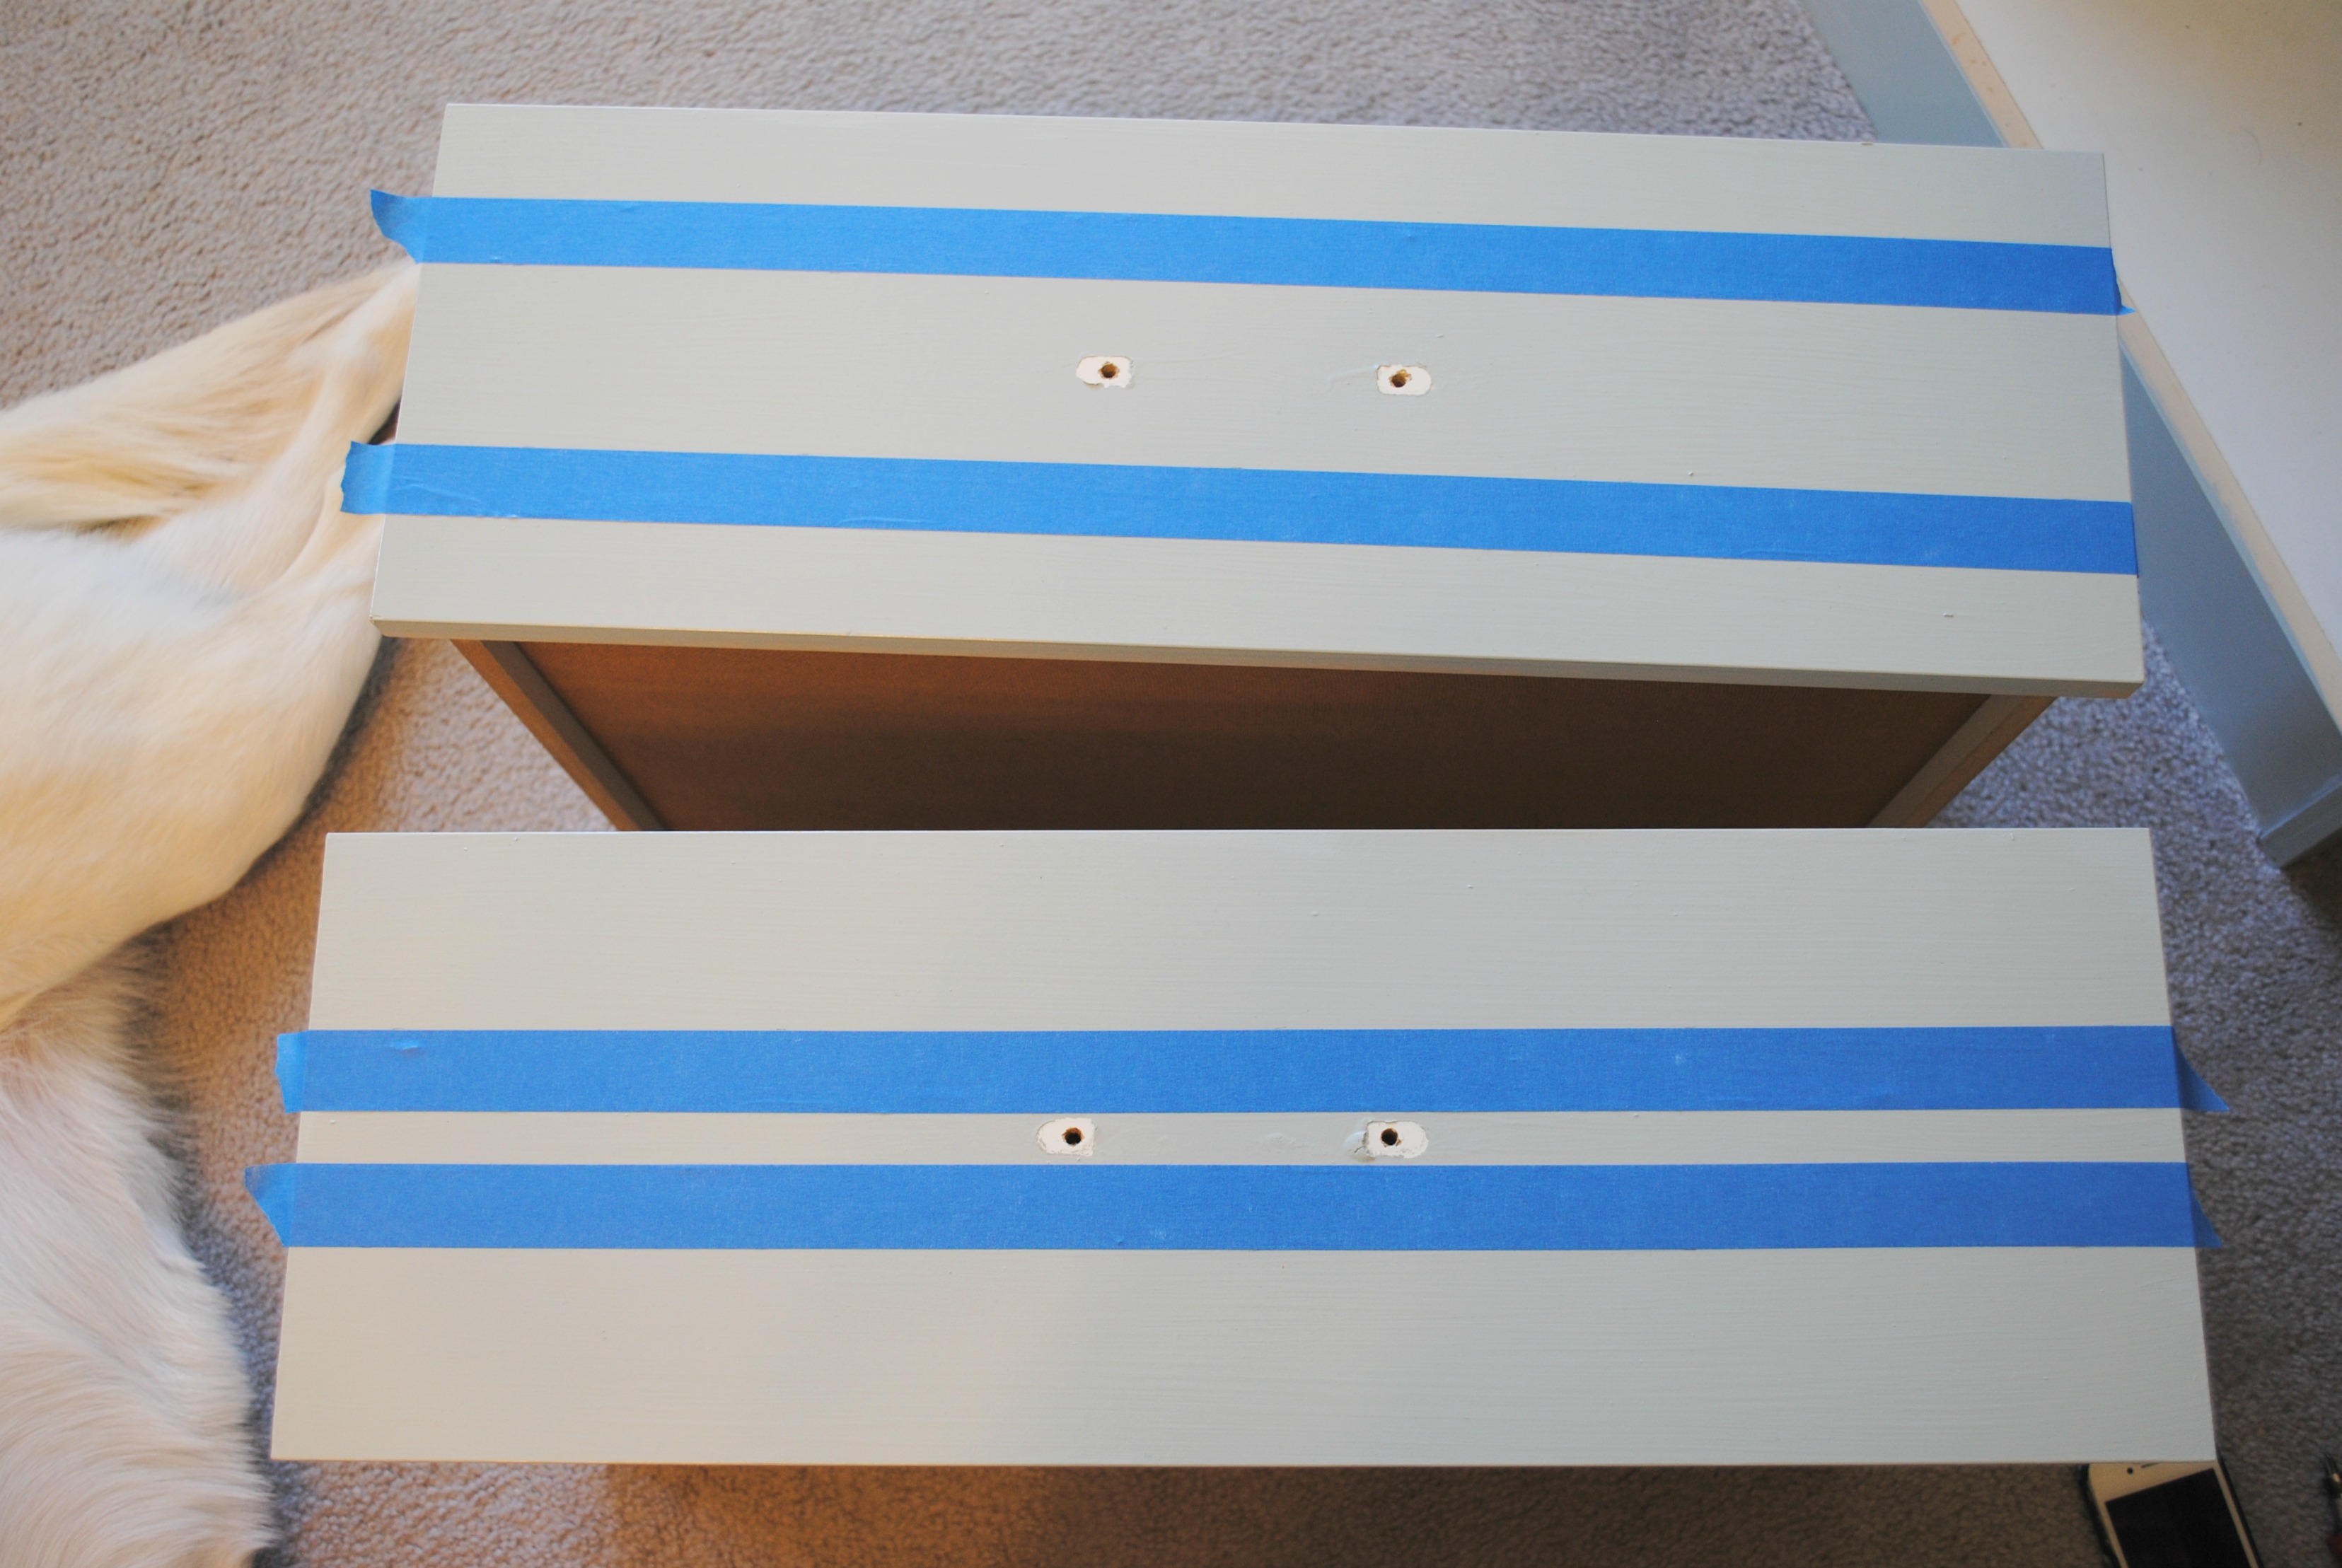 It took four coats of white to cover up the gray. Note where I didn’t remove hardware before painting the dresser gray. I think I mentioned this up above a bit. Lazy? The hardware was held on with a square screw and I didn’t know we had one of those. I was in project mode. I blame project mode.
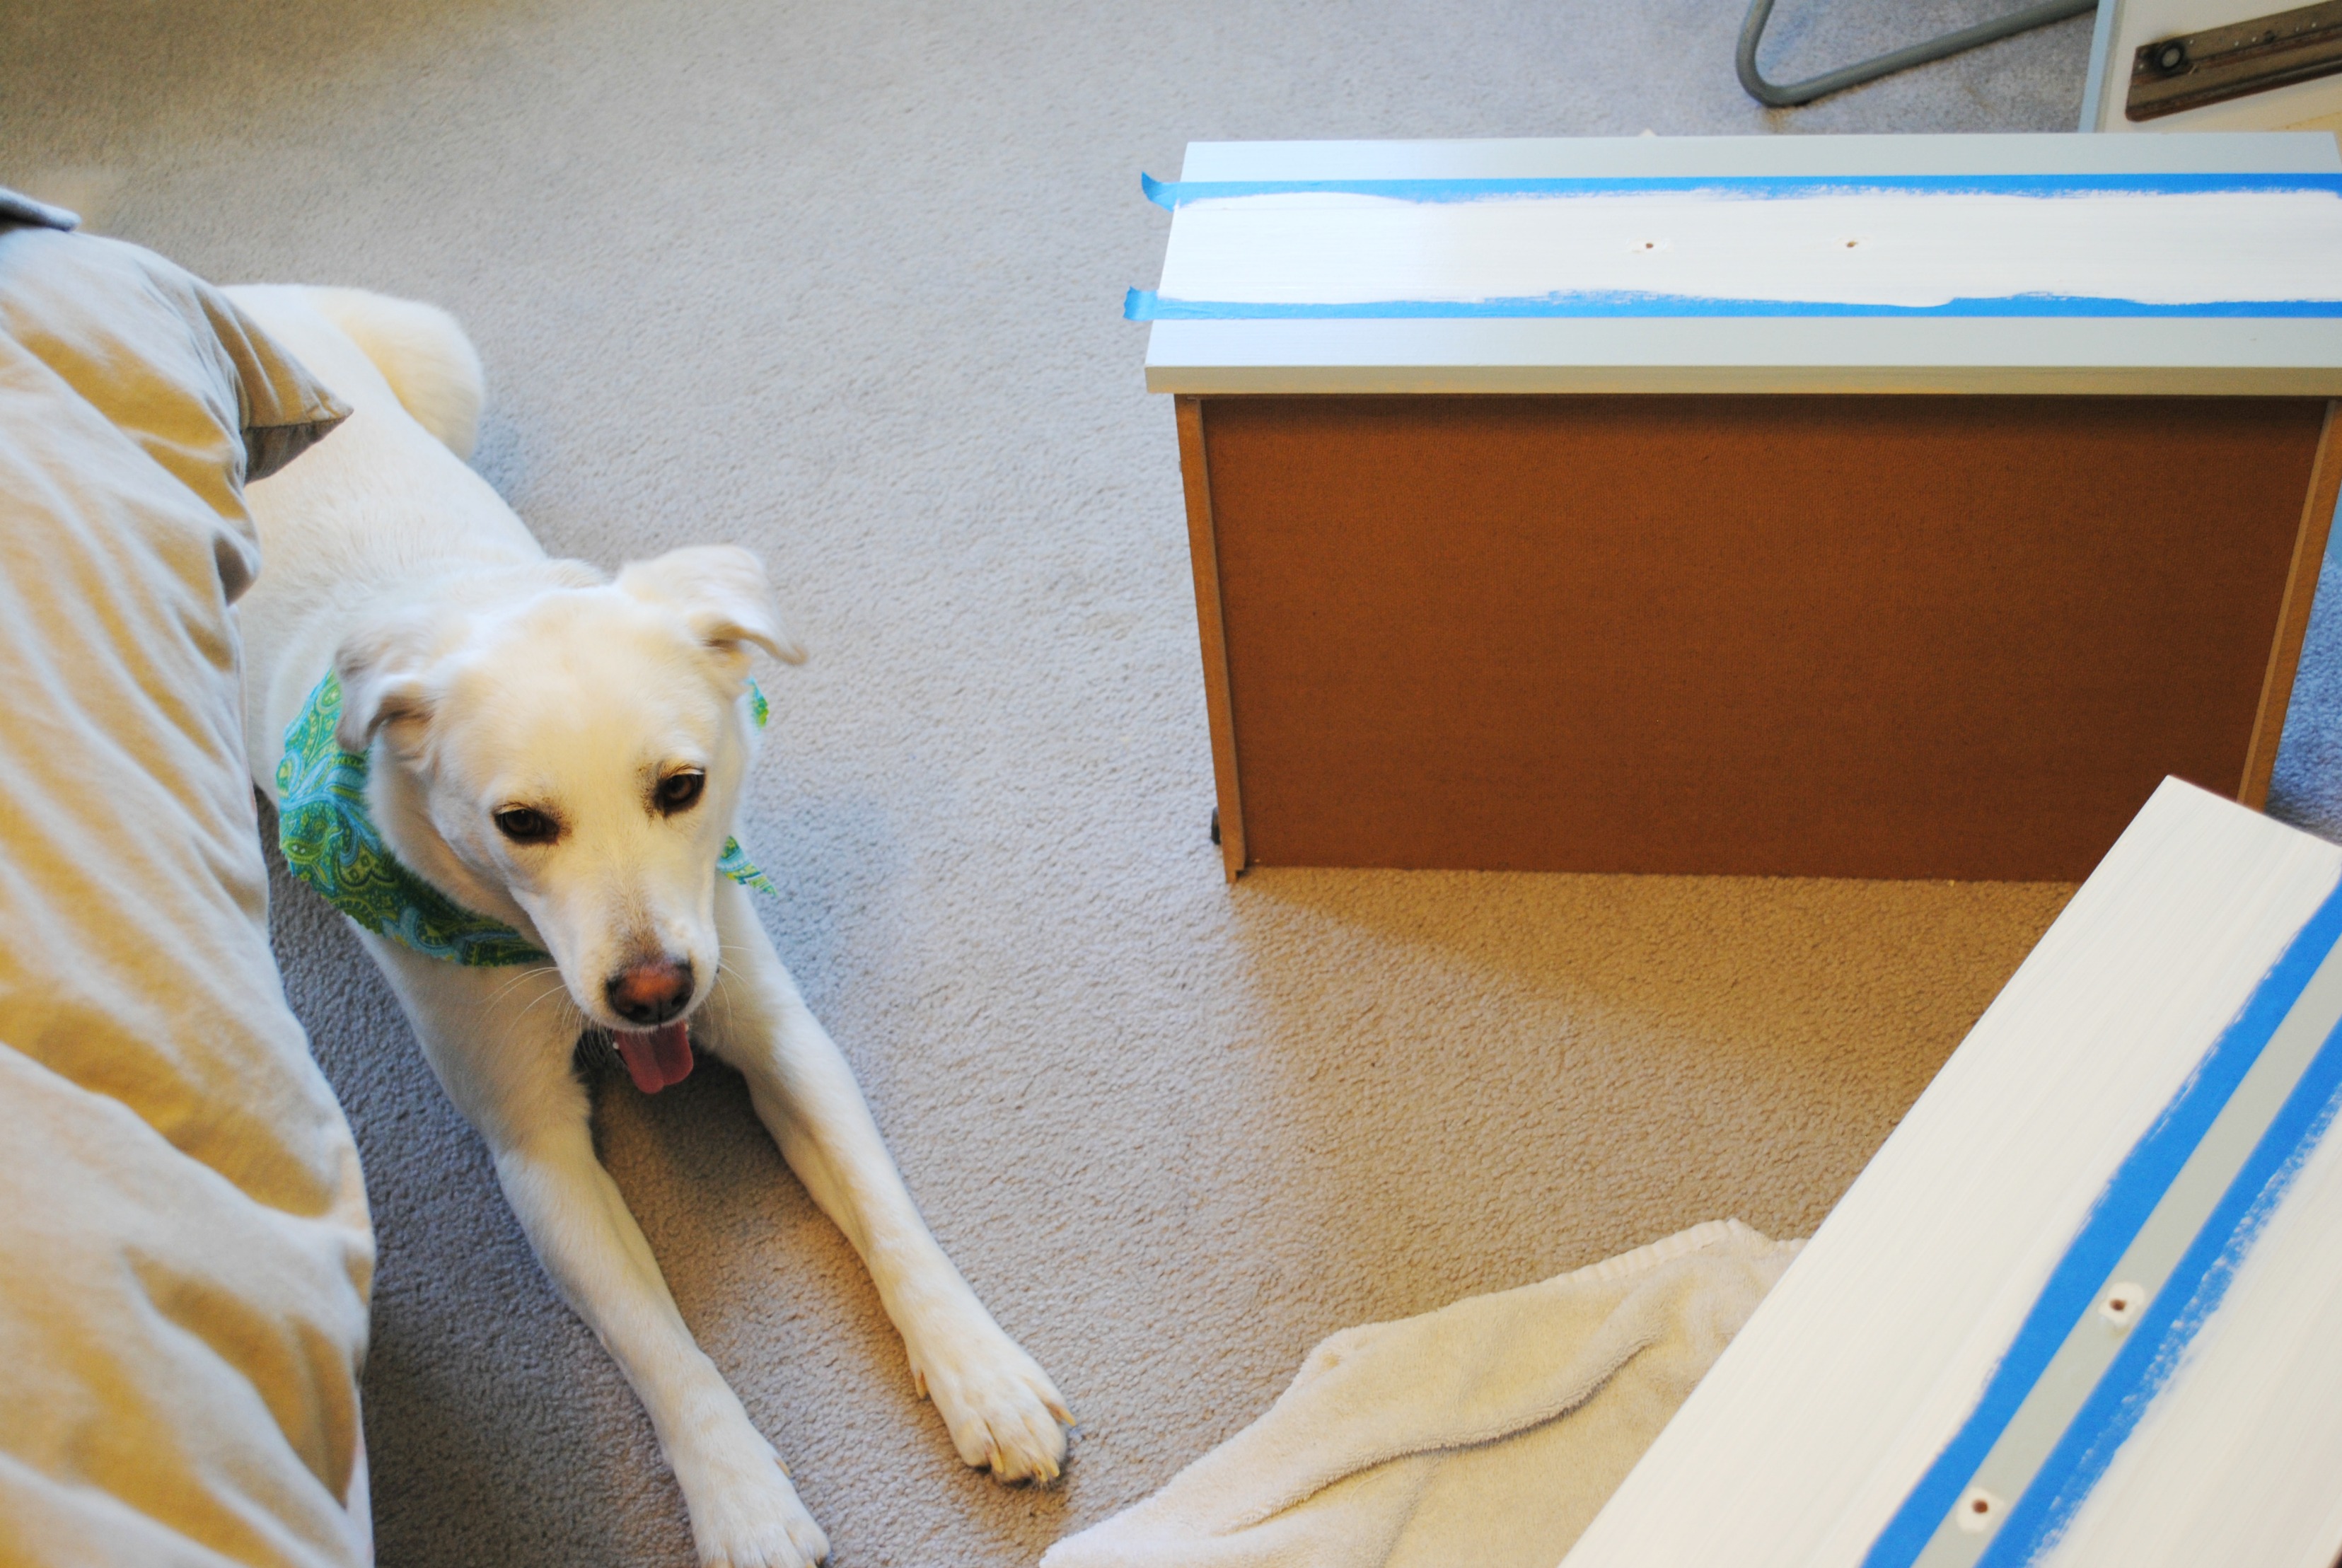 At least I had a support system the whole time.
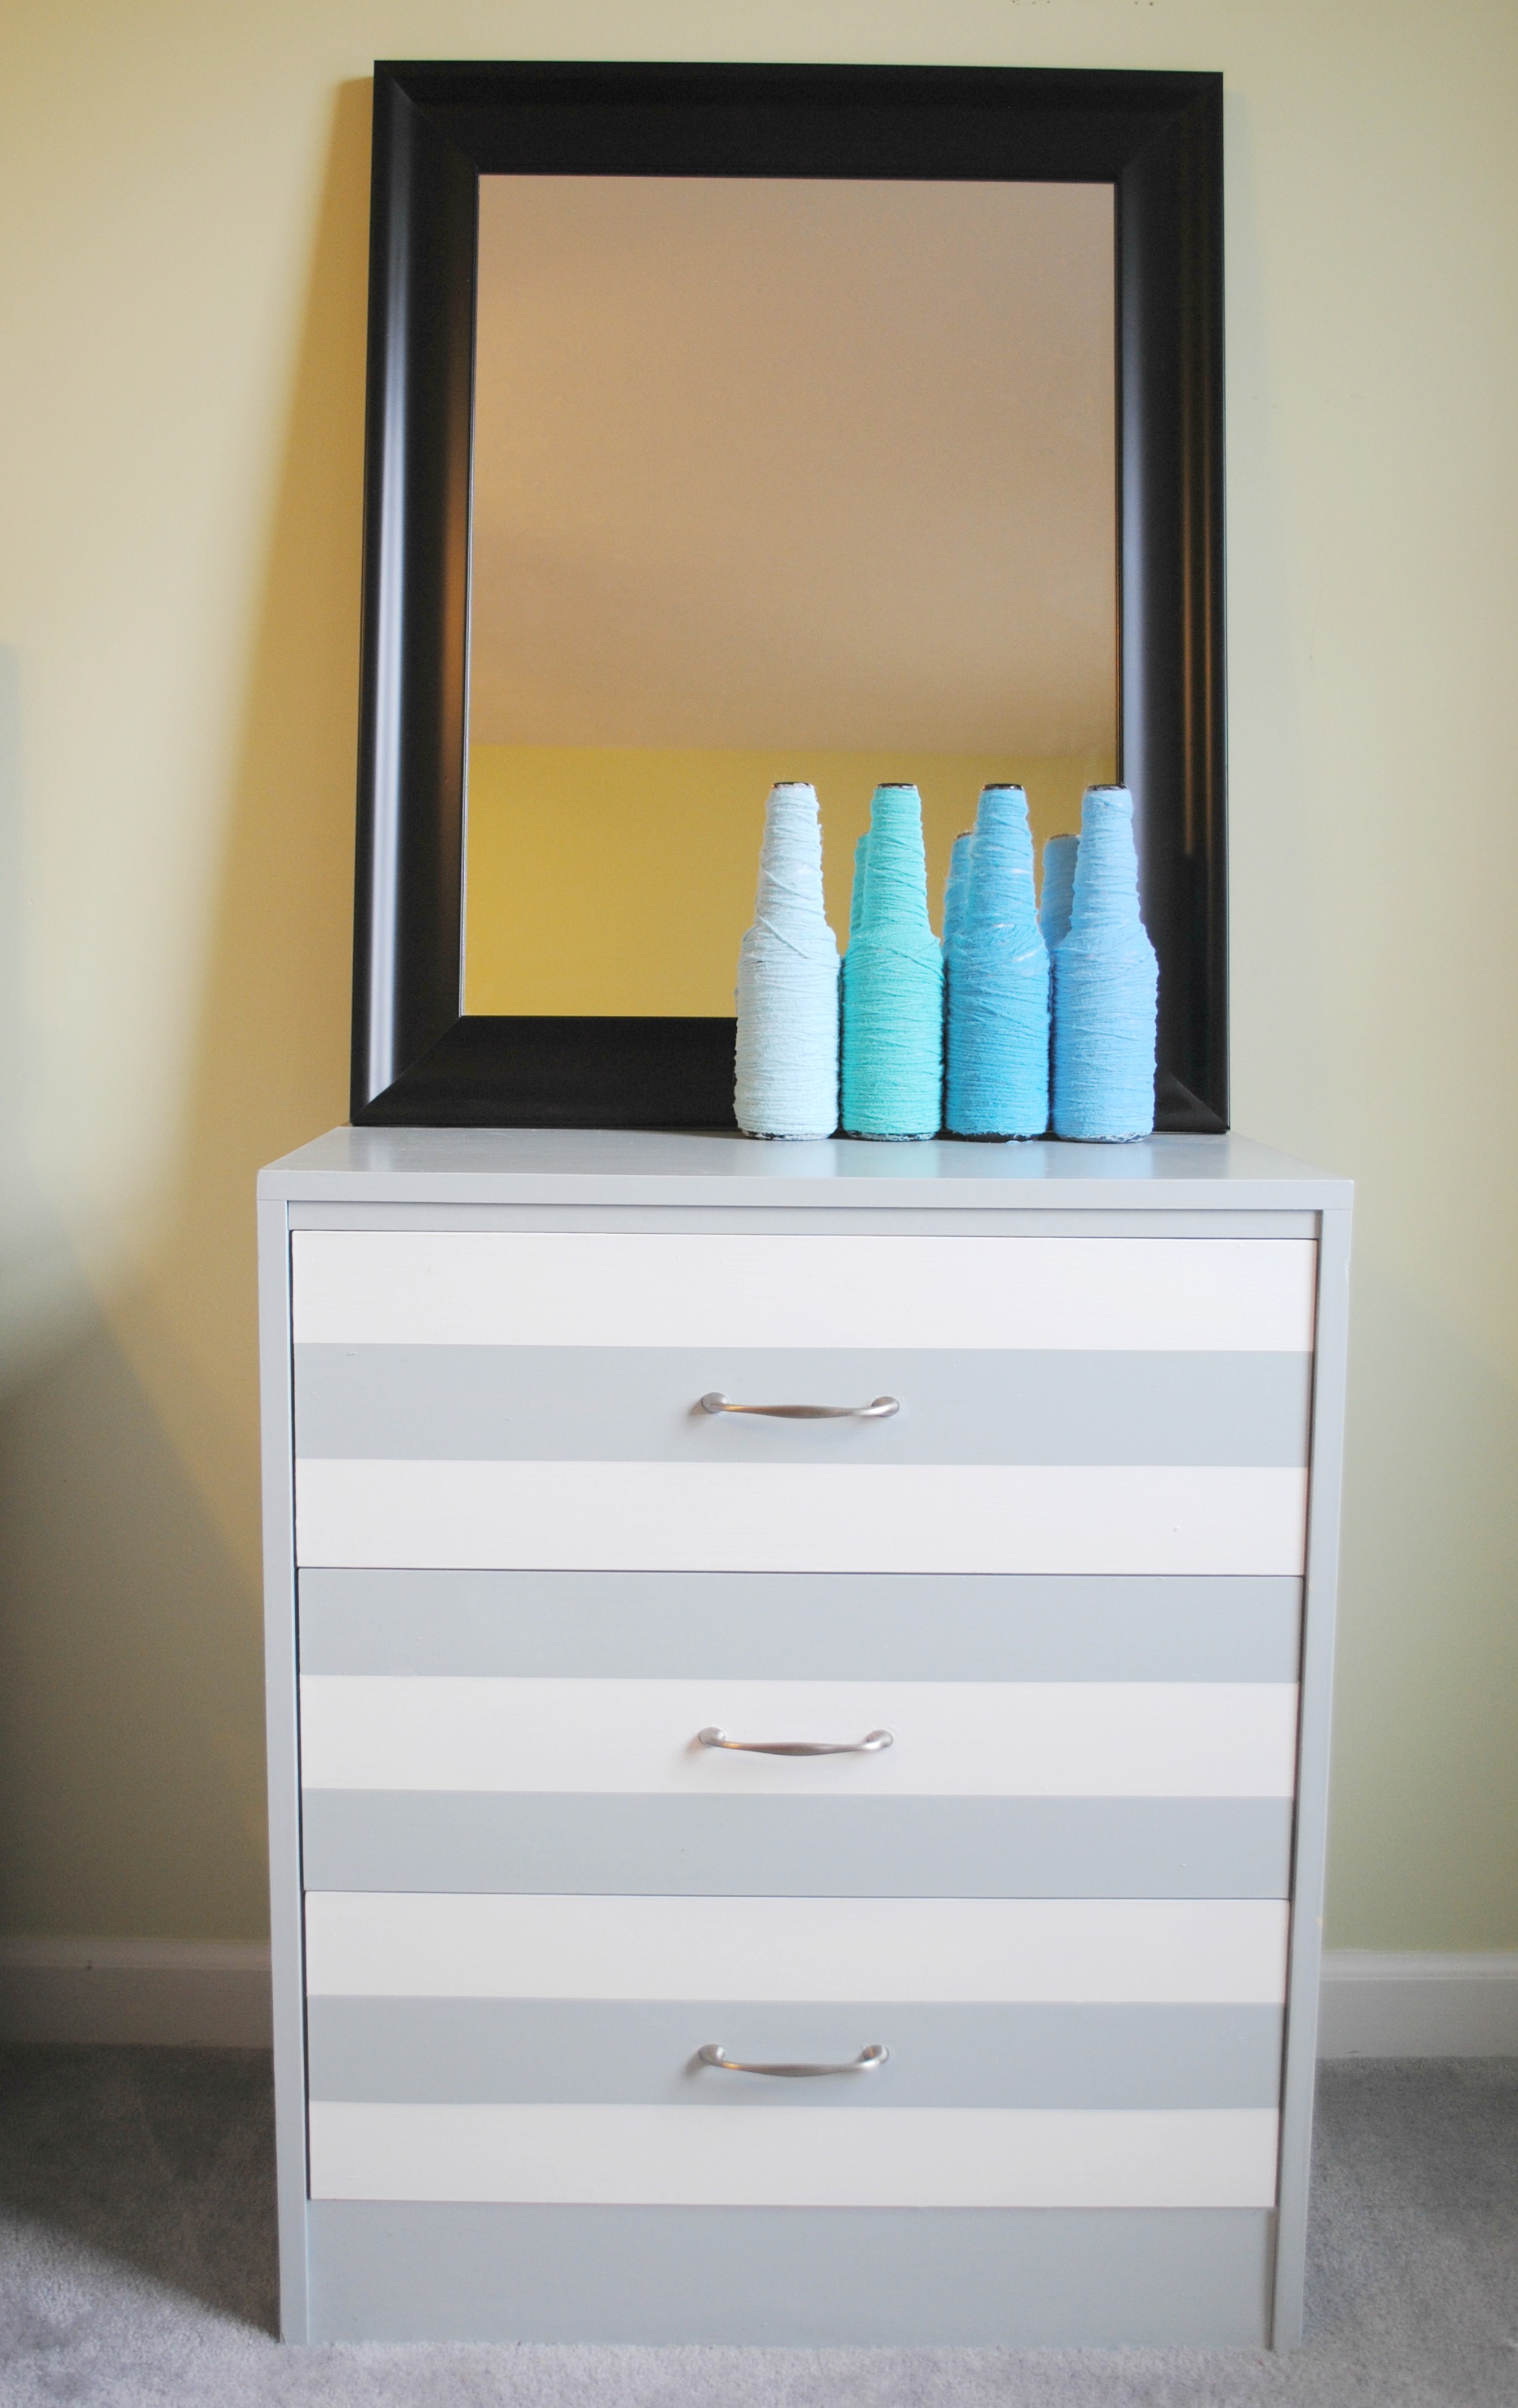
I peeled the tape up (along with some of the gray paint, *cue sobs*), and after a few touch ups, gave it two coats of polyacrylic. I then made a mad dash to Ace for some new hardware before they closed because I was not letting this project take any longer than it already had.
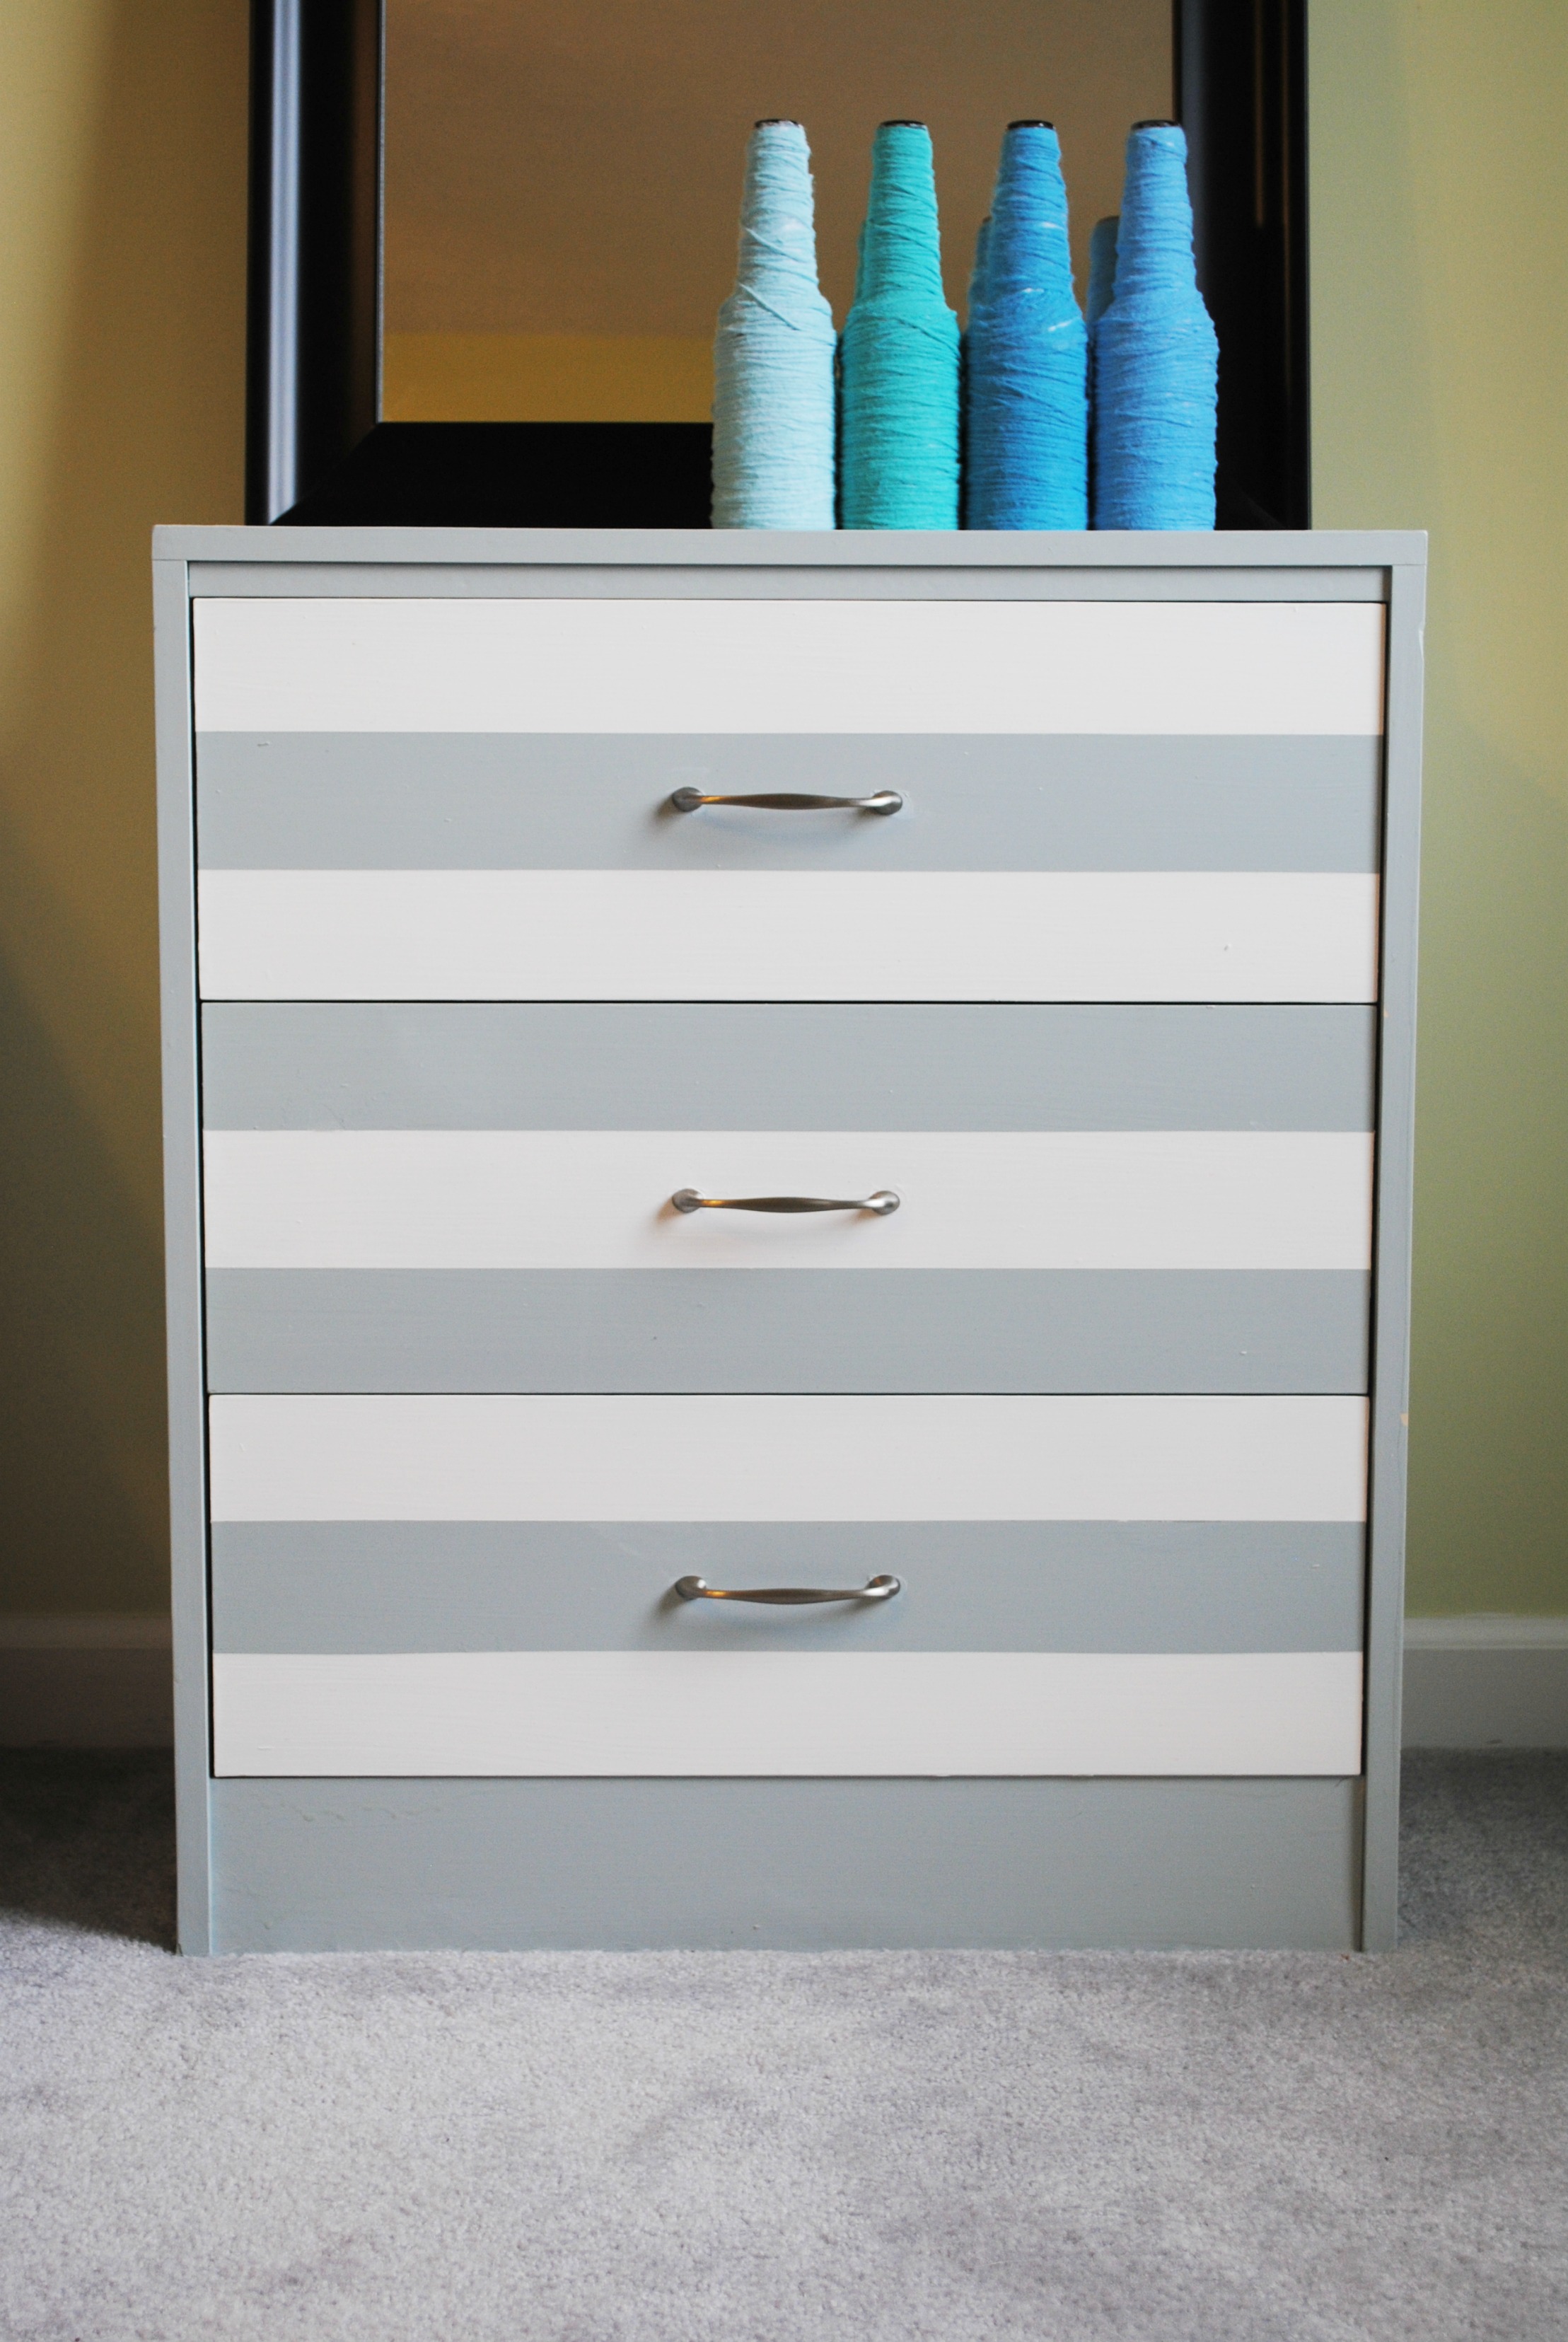
I found these great handles with the perfect center to center. And now it looks a lot less like a file cabinet! Totally acceptable for the bedside now. I’m even thinking of putting on a wood top using some pallet wood that we have downstairs. But that is for another day, because I’m over working on this thing.
All things aside, I’m glad I stuck with this project. I really wanted to get rid of the big black desk that had been acting as my bedside table. All it ever did was show dust and gather clothes.
Now I have this awesome dresser! The top drawer holds all of my things, like, jewelry, books, chapstick, everything you need to have next to your bed. The bottom two drawers are where I keep Christian’s clothes (Alex’s clothes are in our big dresser). I read about this genius idea of having a “family closet” over at The Handmade Home and I was totally sold. I mean, where do the kids get ready 95% of the time??? Plus, this way, I can put laundry away during nap without waking anybody. Score! Now, I totally want to tear our closet out and deck it out with shelving for everybody’s clothes. But I will refrain. For now. Stay tuned…….
Anybody have a project that they thought would be super quick and it turned into a complete nightmare making your pregnant self want to cry? Or not?
Related posts:
Powered by YARPP.


