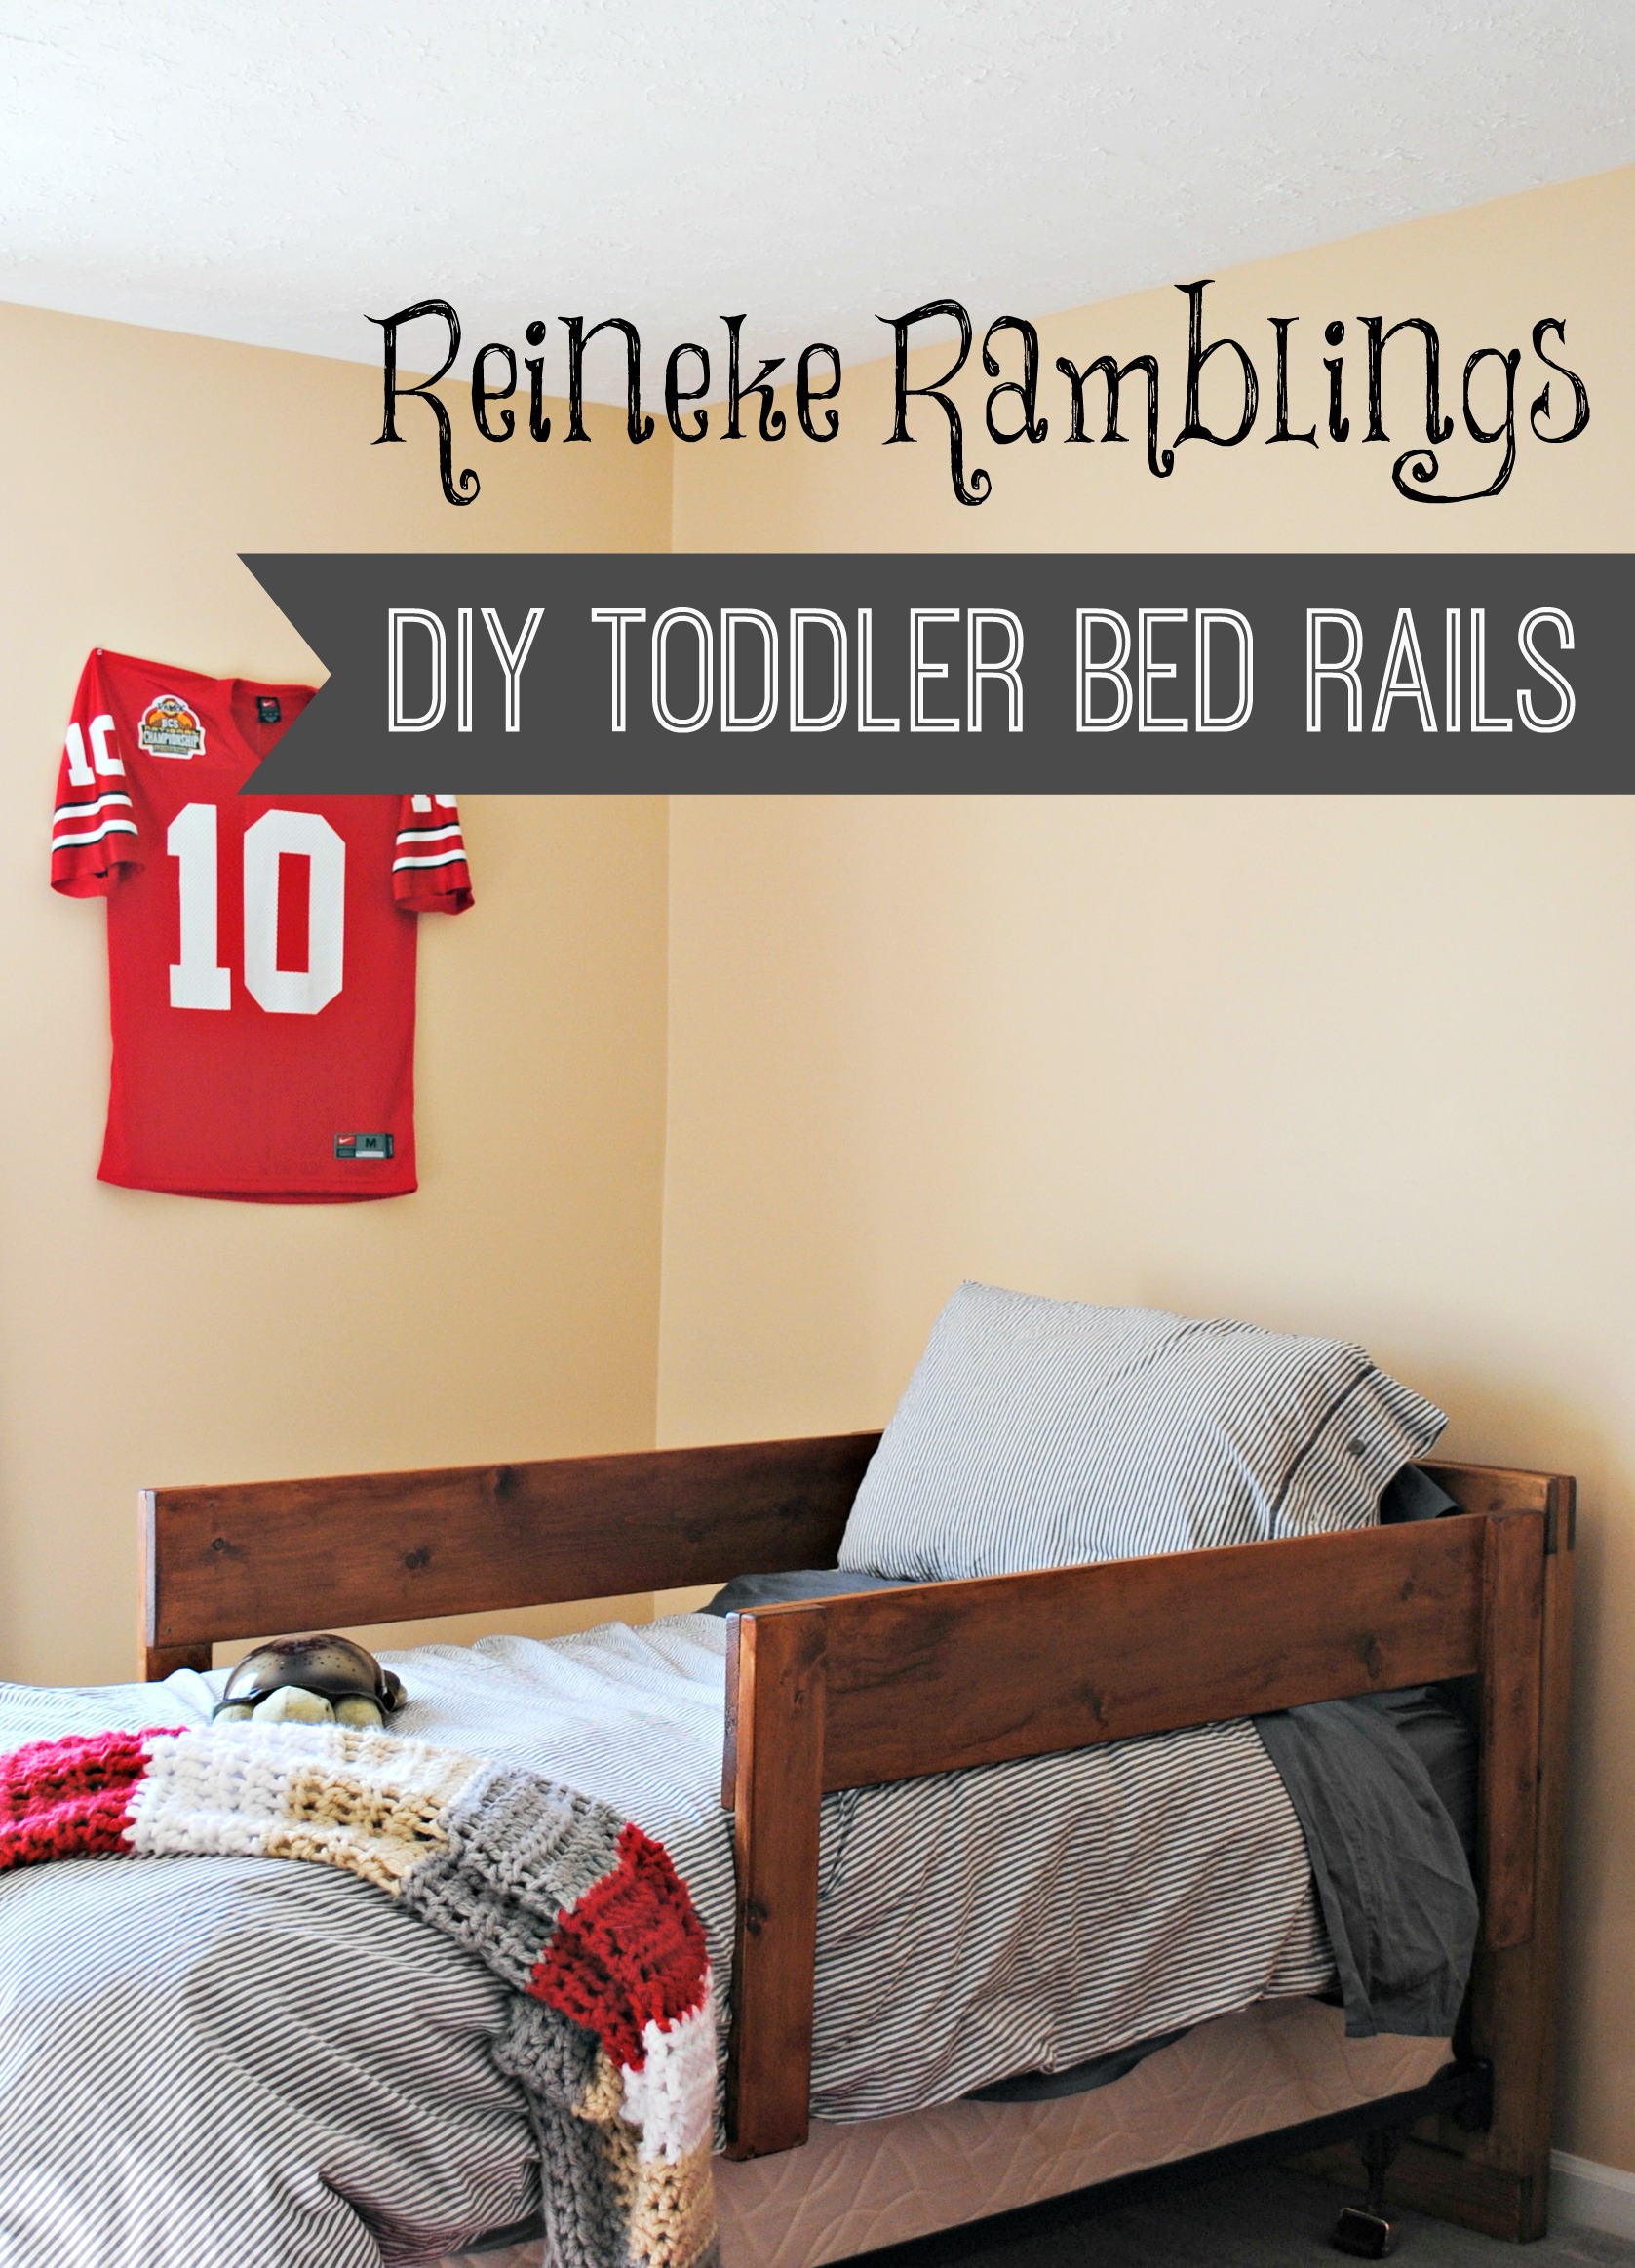
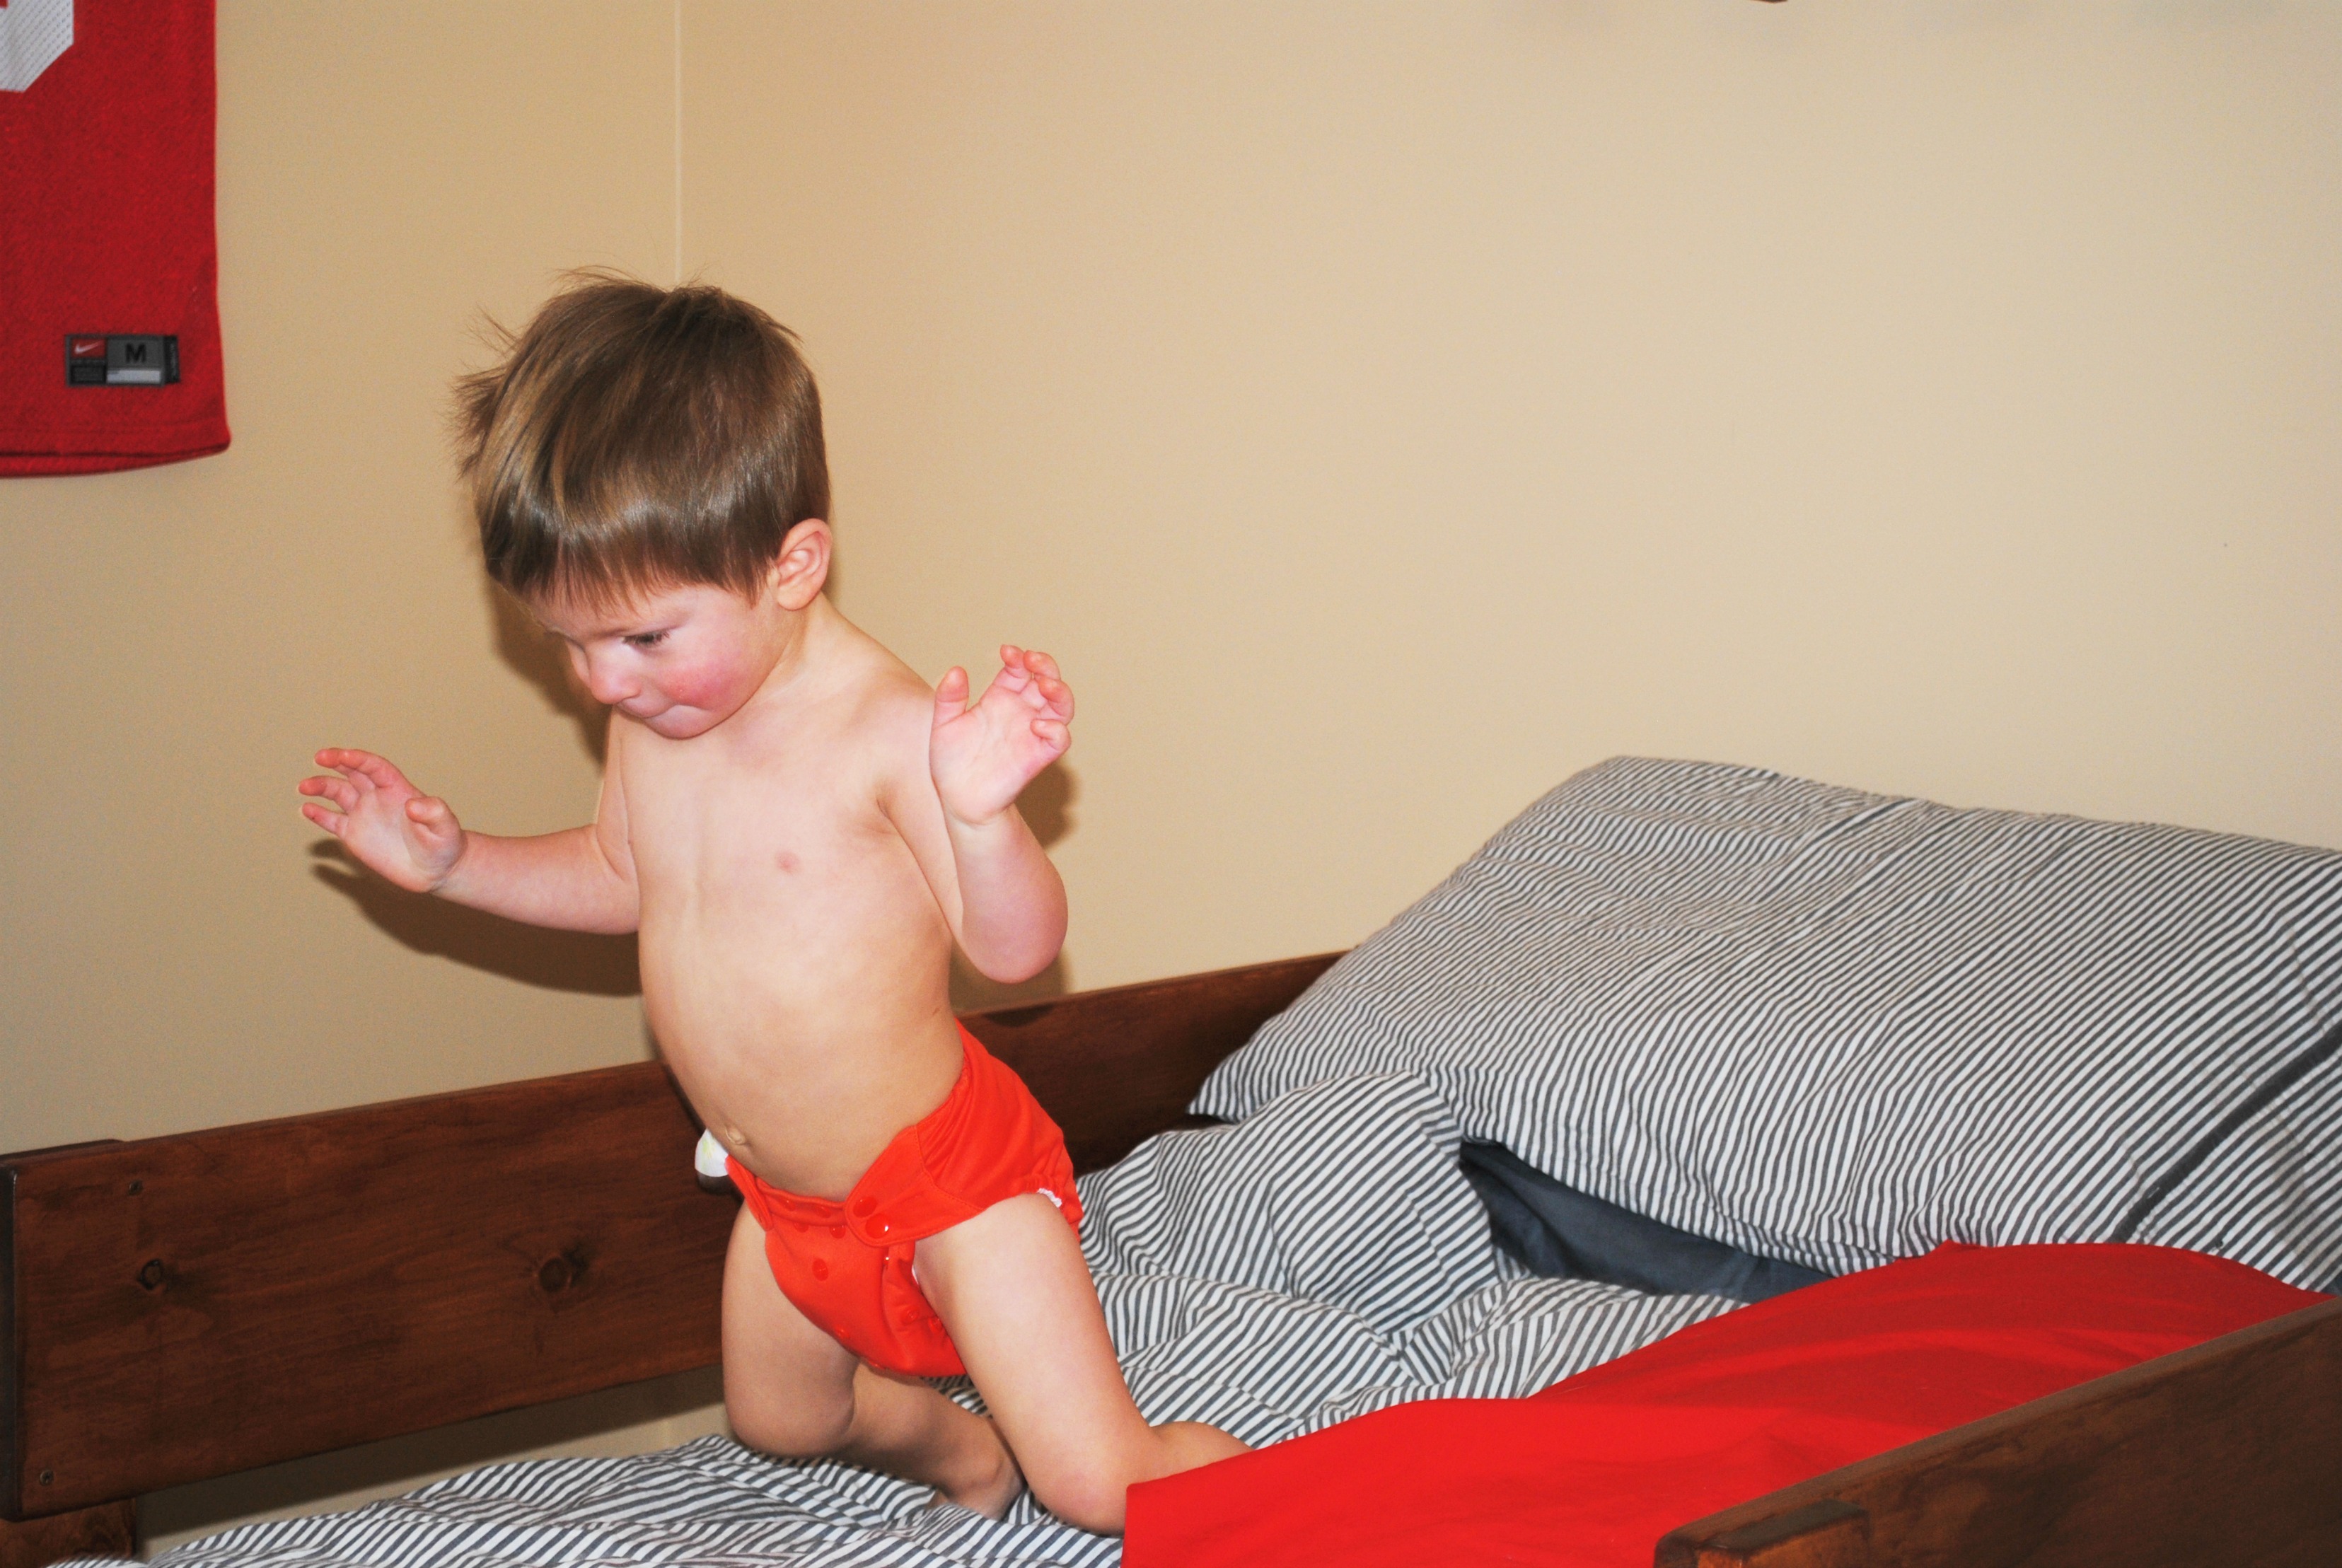
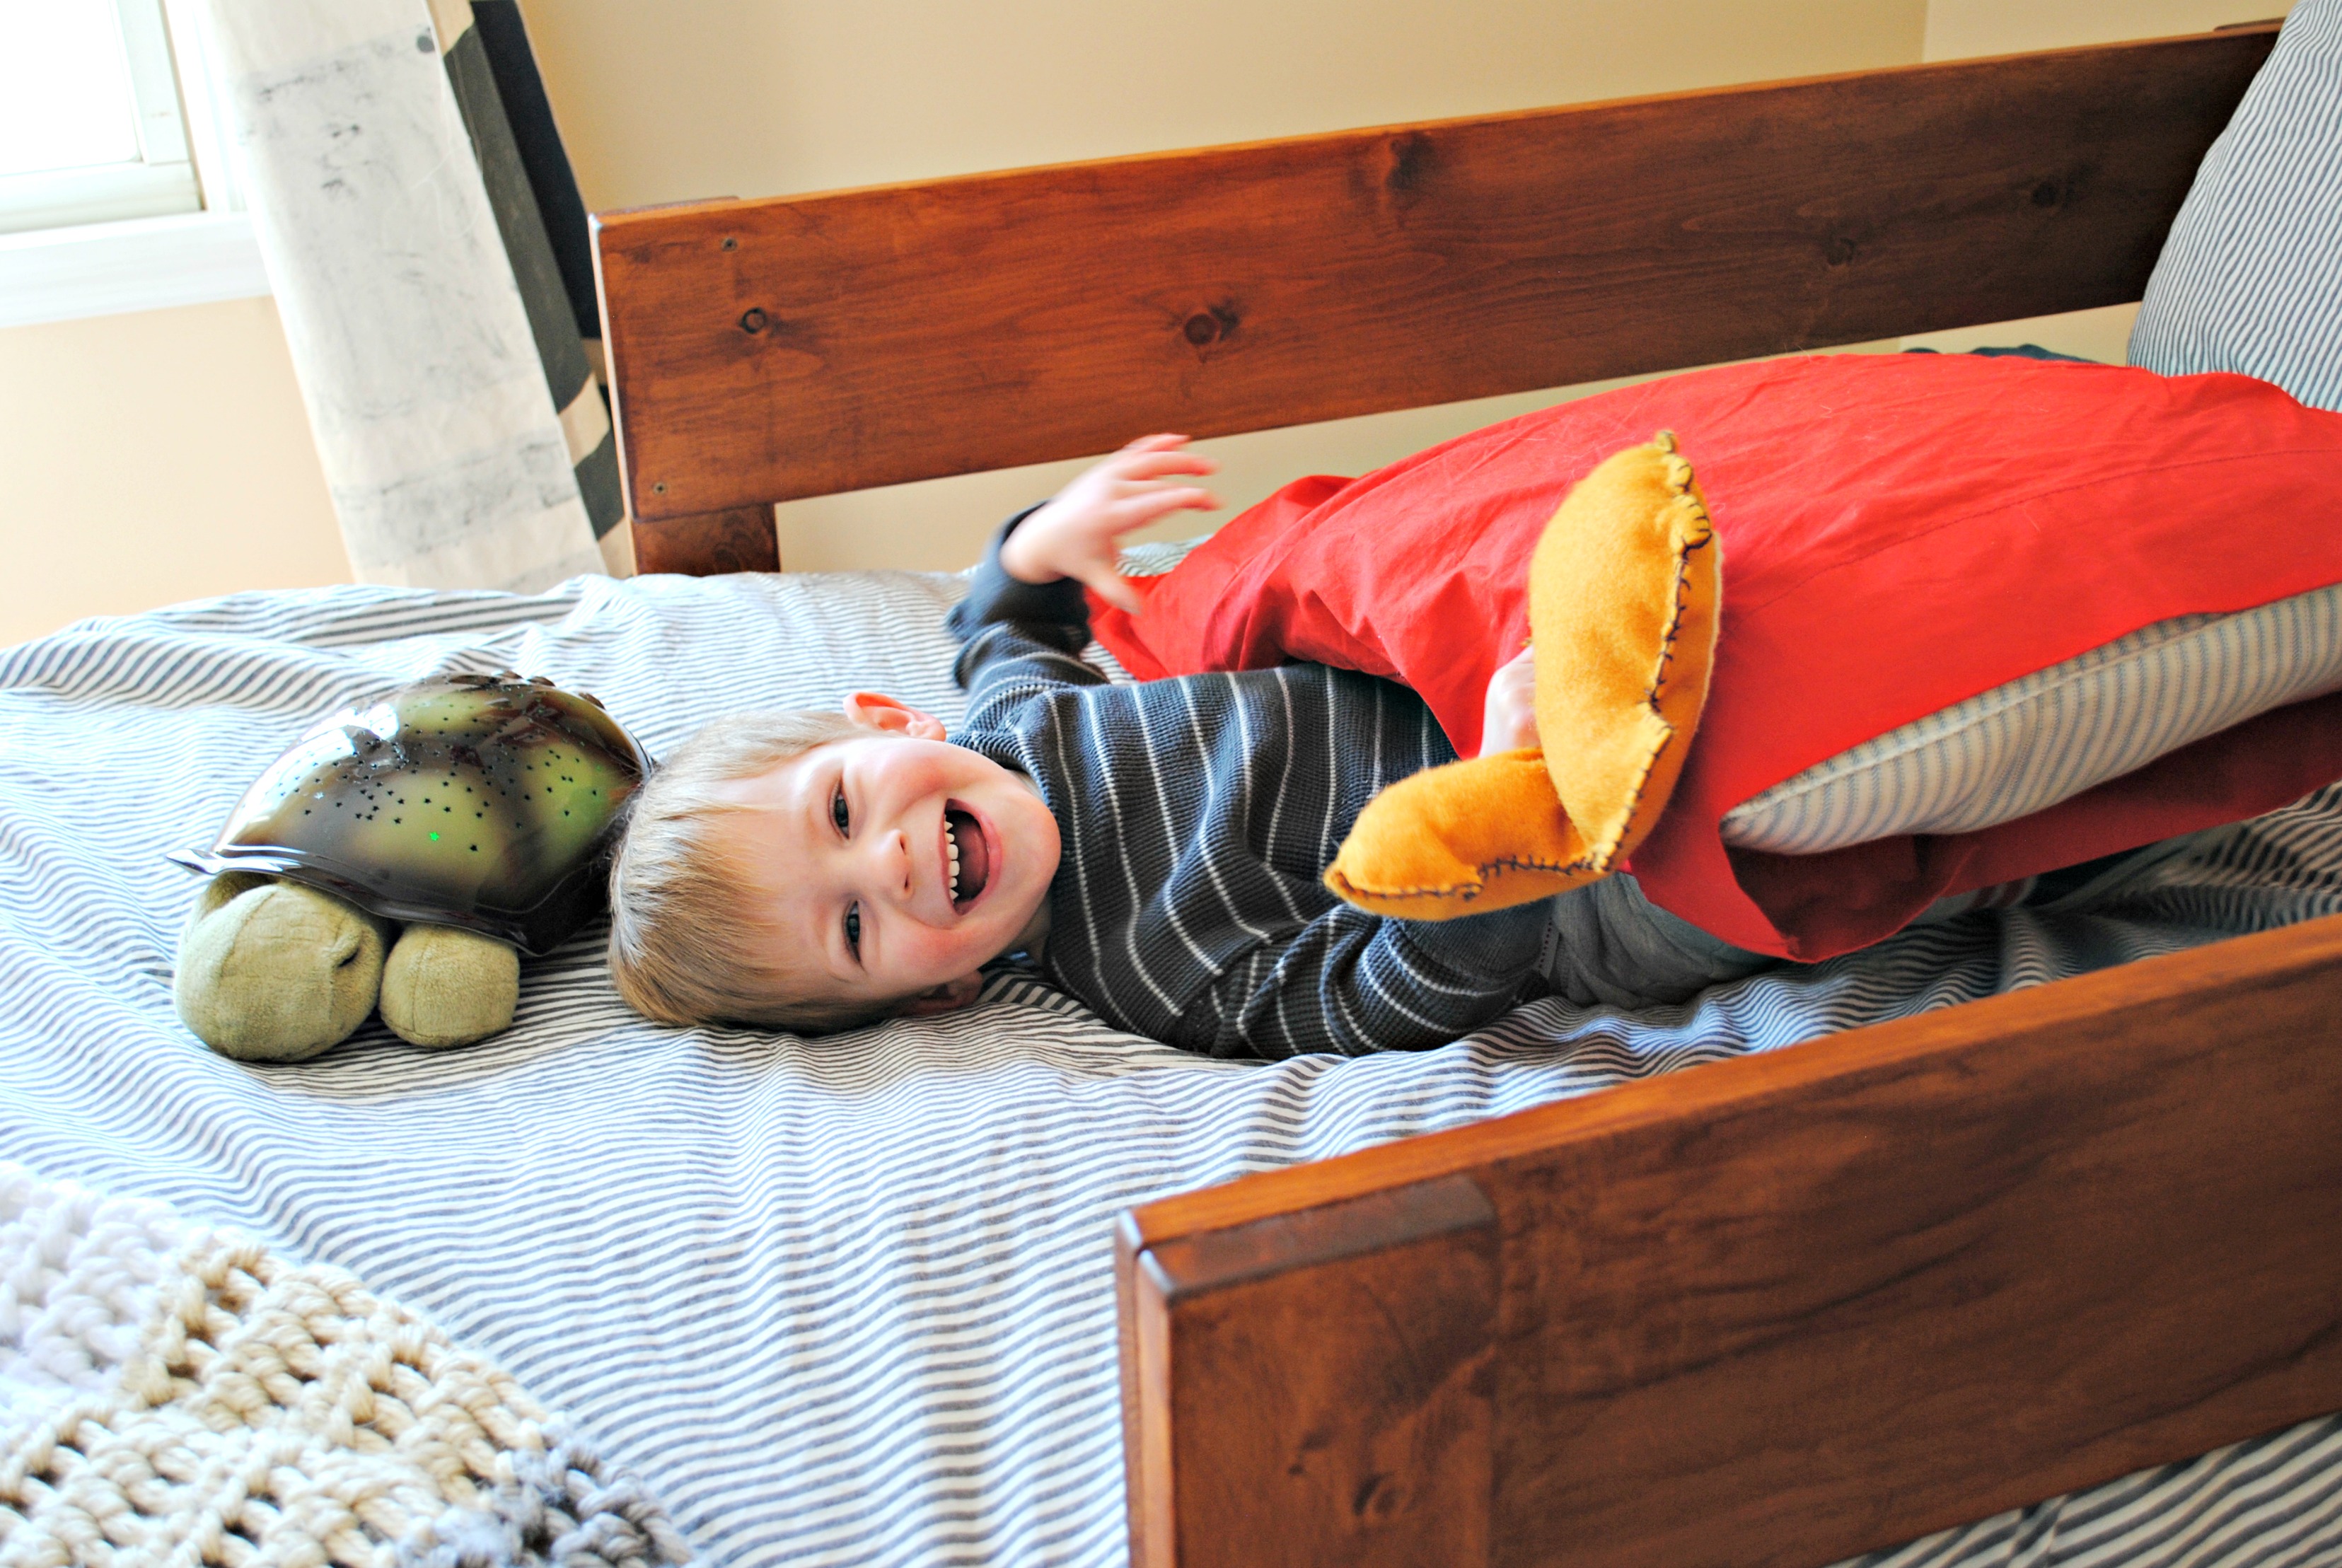
We set up Alex’s big boy bed! He looks like such a munchkin in it, it’s adorable. We were waiting to make the switch until we had some toddler rails for it, since it sits really high up off the ground and he’s been known to roll out of bed a time or two.
We weren’t loving the look of the rails you buy at the store, though. They just look like hospital bed rails or something to me. With mesh. It wasn’t really going with my vision for Alex’s room and since I think they will be up for a while (he’s not even two yet) I wanted them to flow with everything else. The store bought ones also run about $30-$40 each! Yikes! So, I enlisted the hubs to build some to match Alex’s furniture.
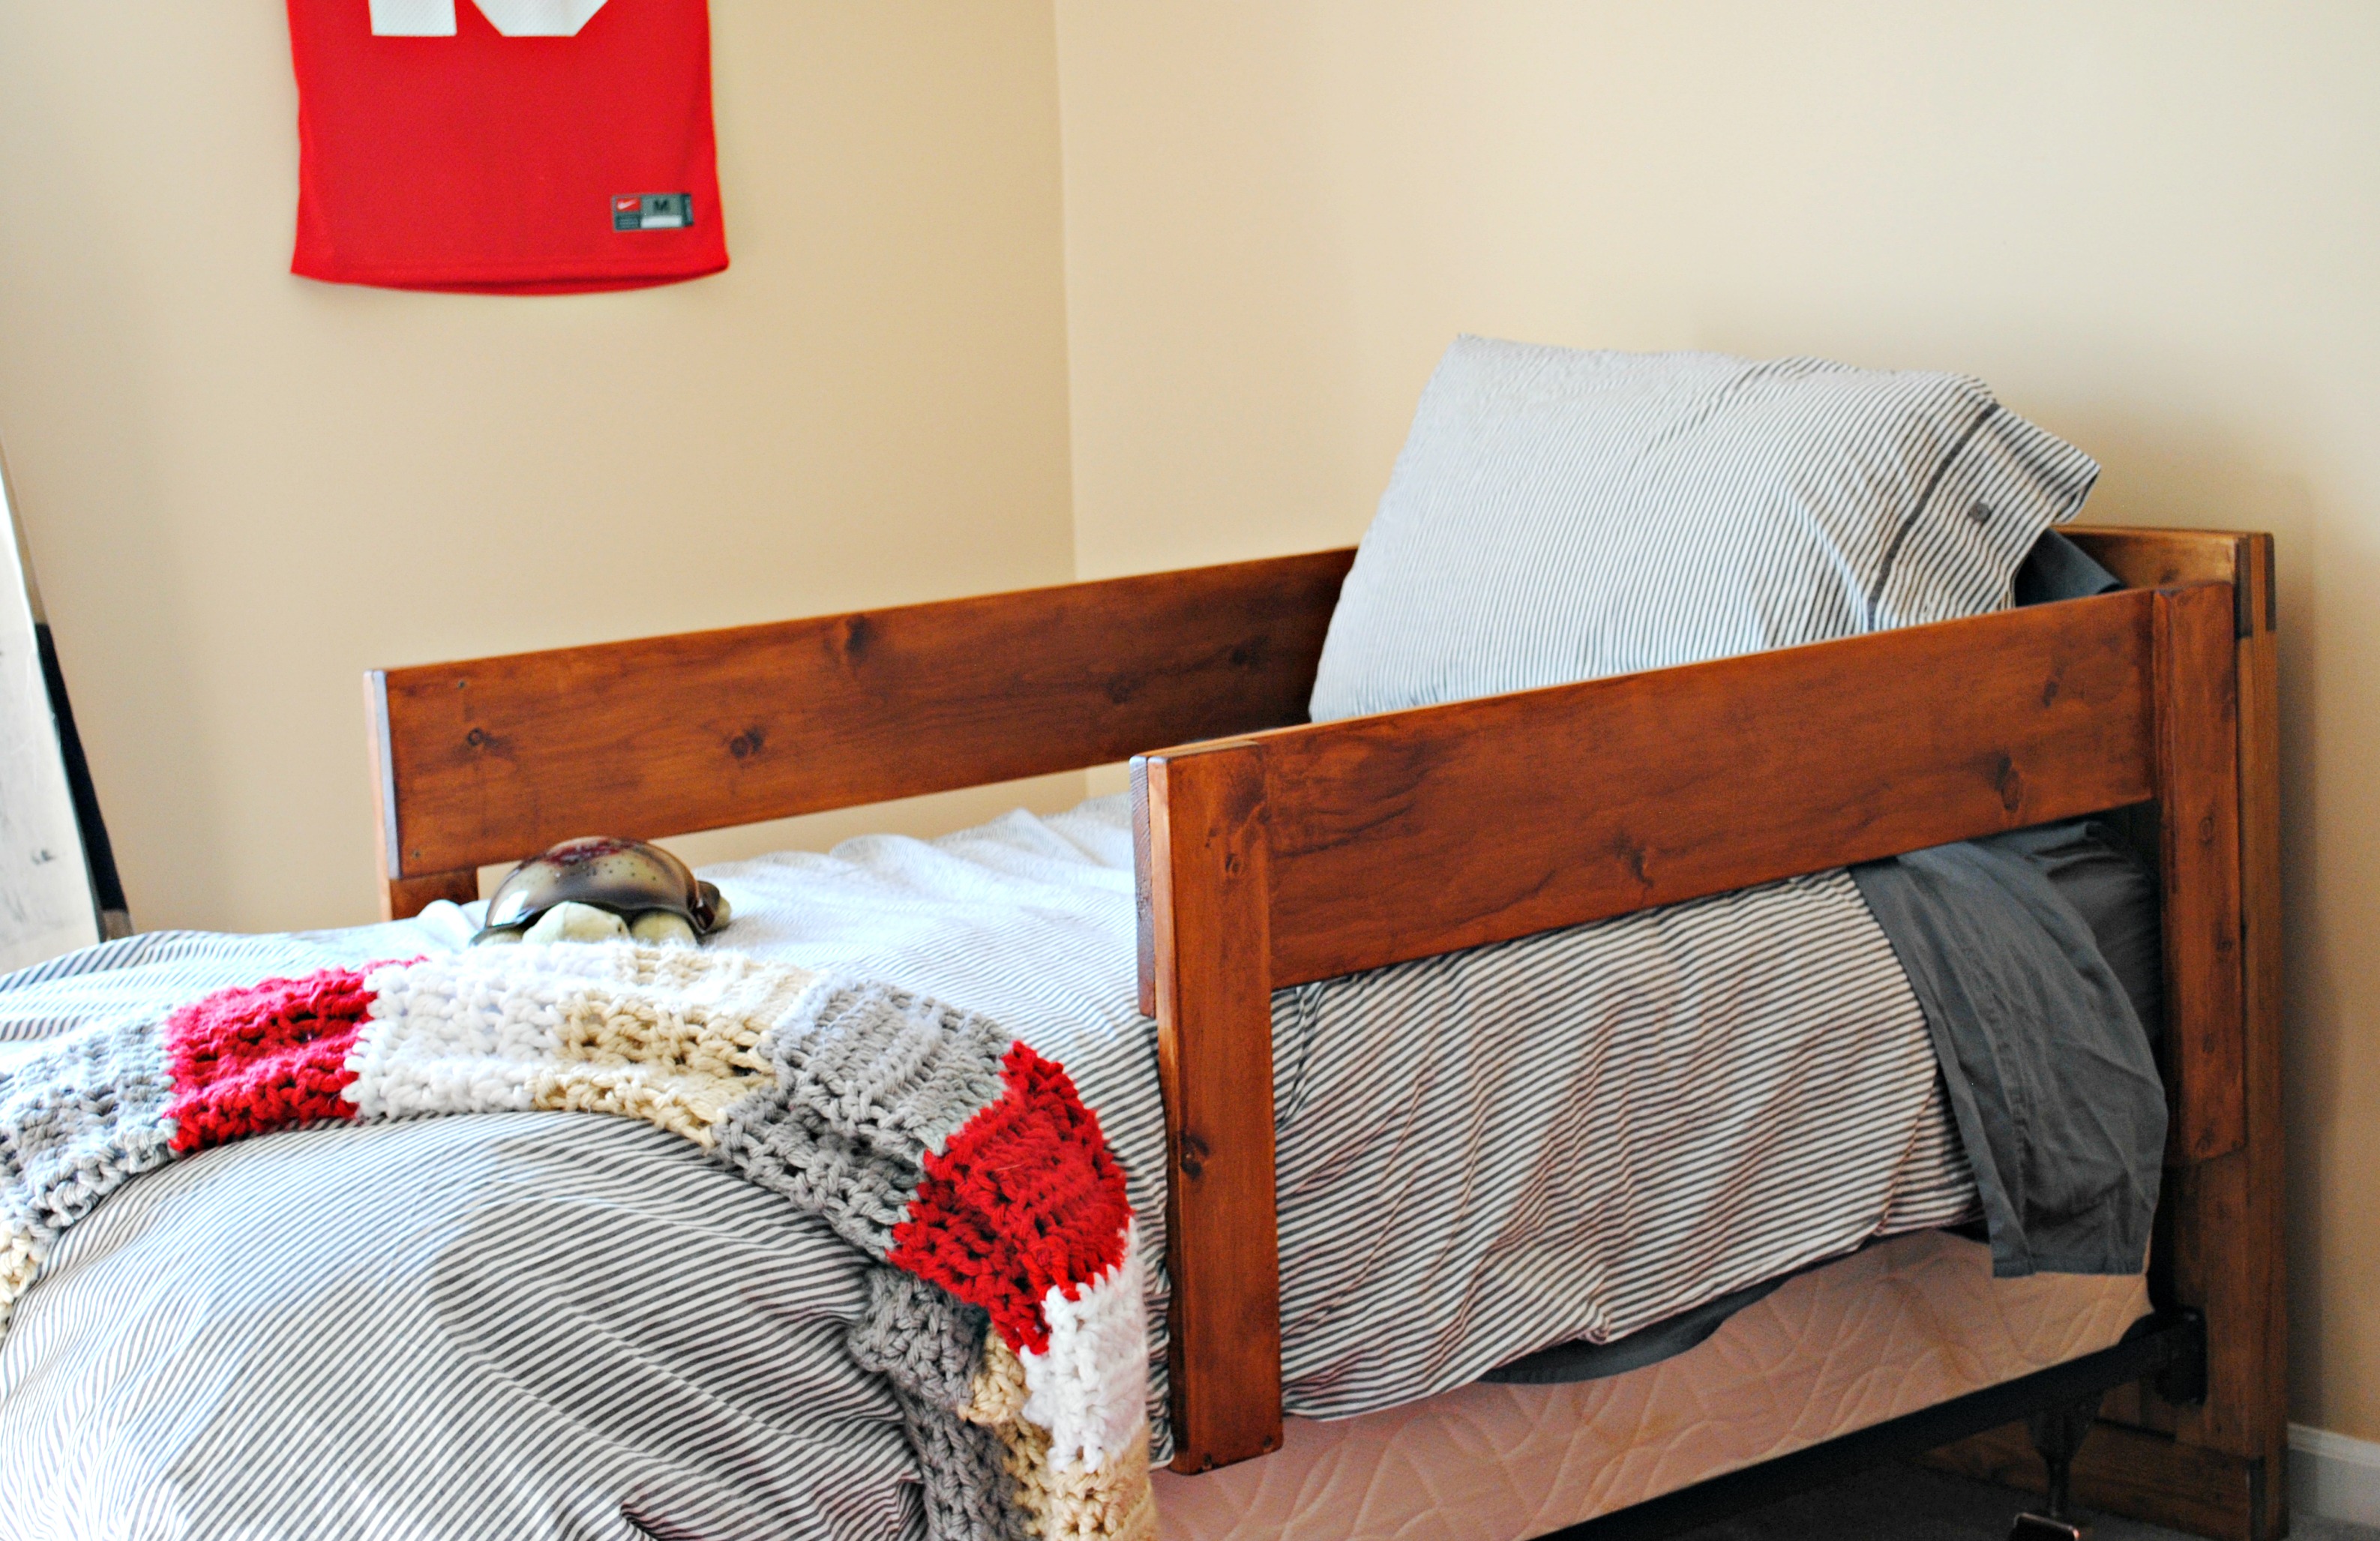
I found this tutorial and it was great! We needed two since his bed would shoot straight out from the wall, so instead of building two, we made it all one unit. You’ll see what I mean in a minute.
This project was super simple and cheap and I love how they look in the room.
What we used: to fit a standard twin size bed
2 1×8″ @ 48″ (sides)
4 1×4″ @ 20″ (posts)
2 1×4″ @ 40″ (cross boards)
4 L brackets
Wood Screws
Wood Glue
Power Sander
60 Grit Sandpaper
Minwax Polyshades in Antique Walnut
The project:
We had the nice gentlemen at Ace Hardware cut our wood for us because trying to fit 8′ boards in a Focus with a toddler is just about impossible.
To get our desired lengths for the boards, I just measured the width and height of the mattress, adding an inch to each measurement so there was a little wiggle room for the mattress.
**We probably would have used a wider board than the 1 x 8″ for the sides, but we already had the two boards sitting in the basement. I would probably go with a 1 x 10″ or 1 x 12″ as to not leave a gap for tiny people to fall through. But we seem to have an extra tall mattress, so the 1 x 8″ boards worked for us!**
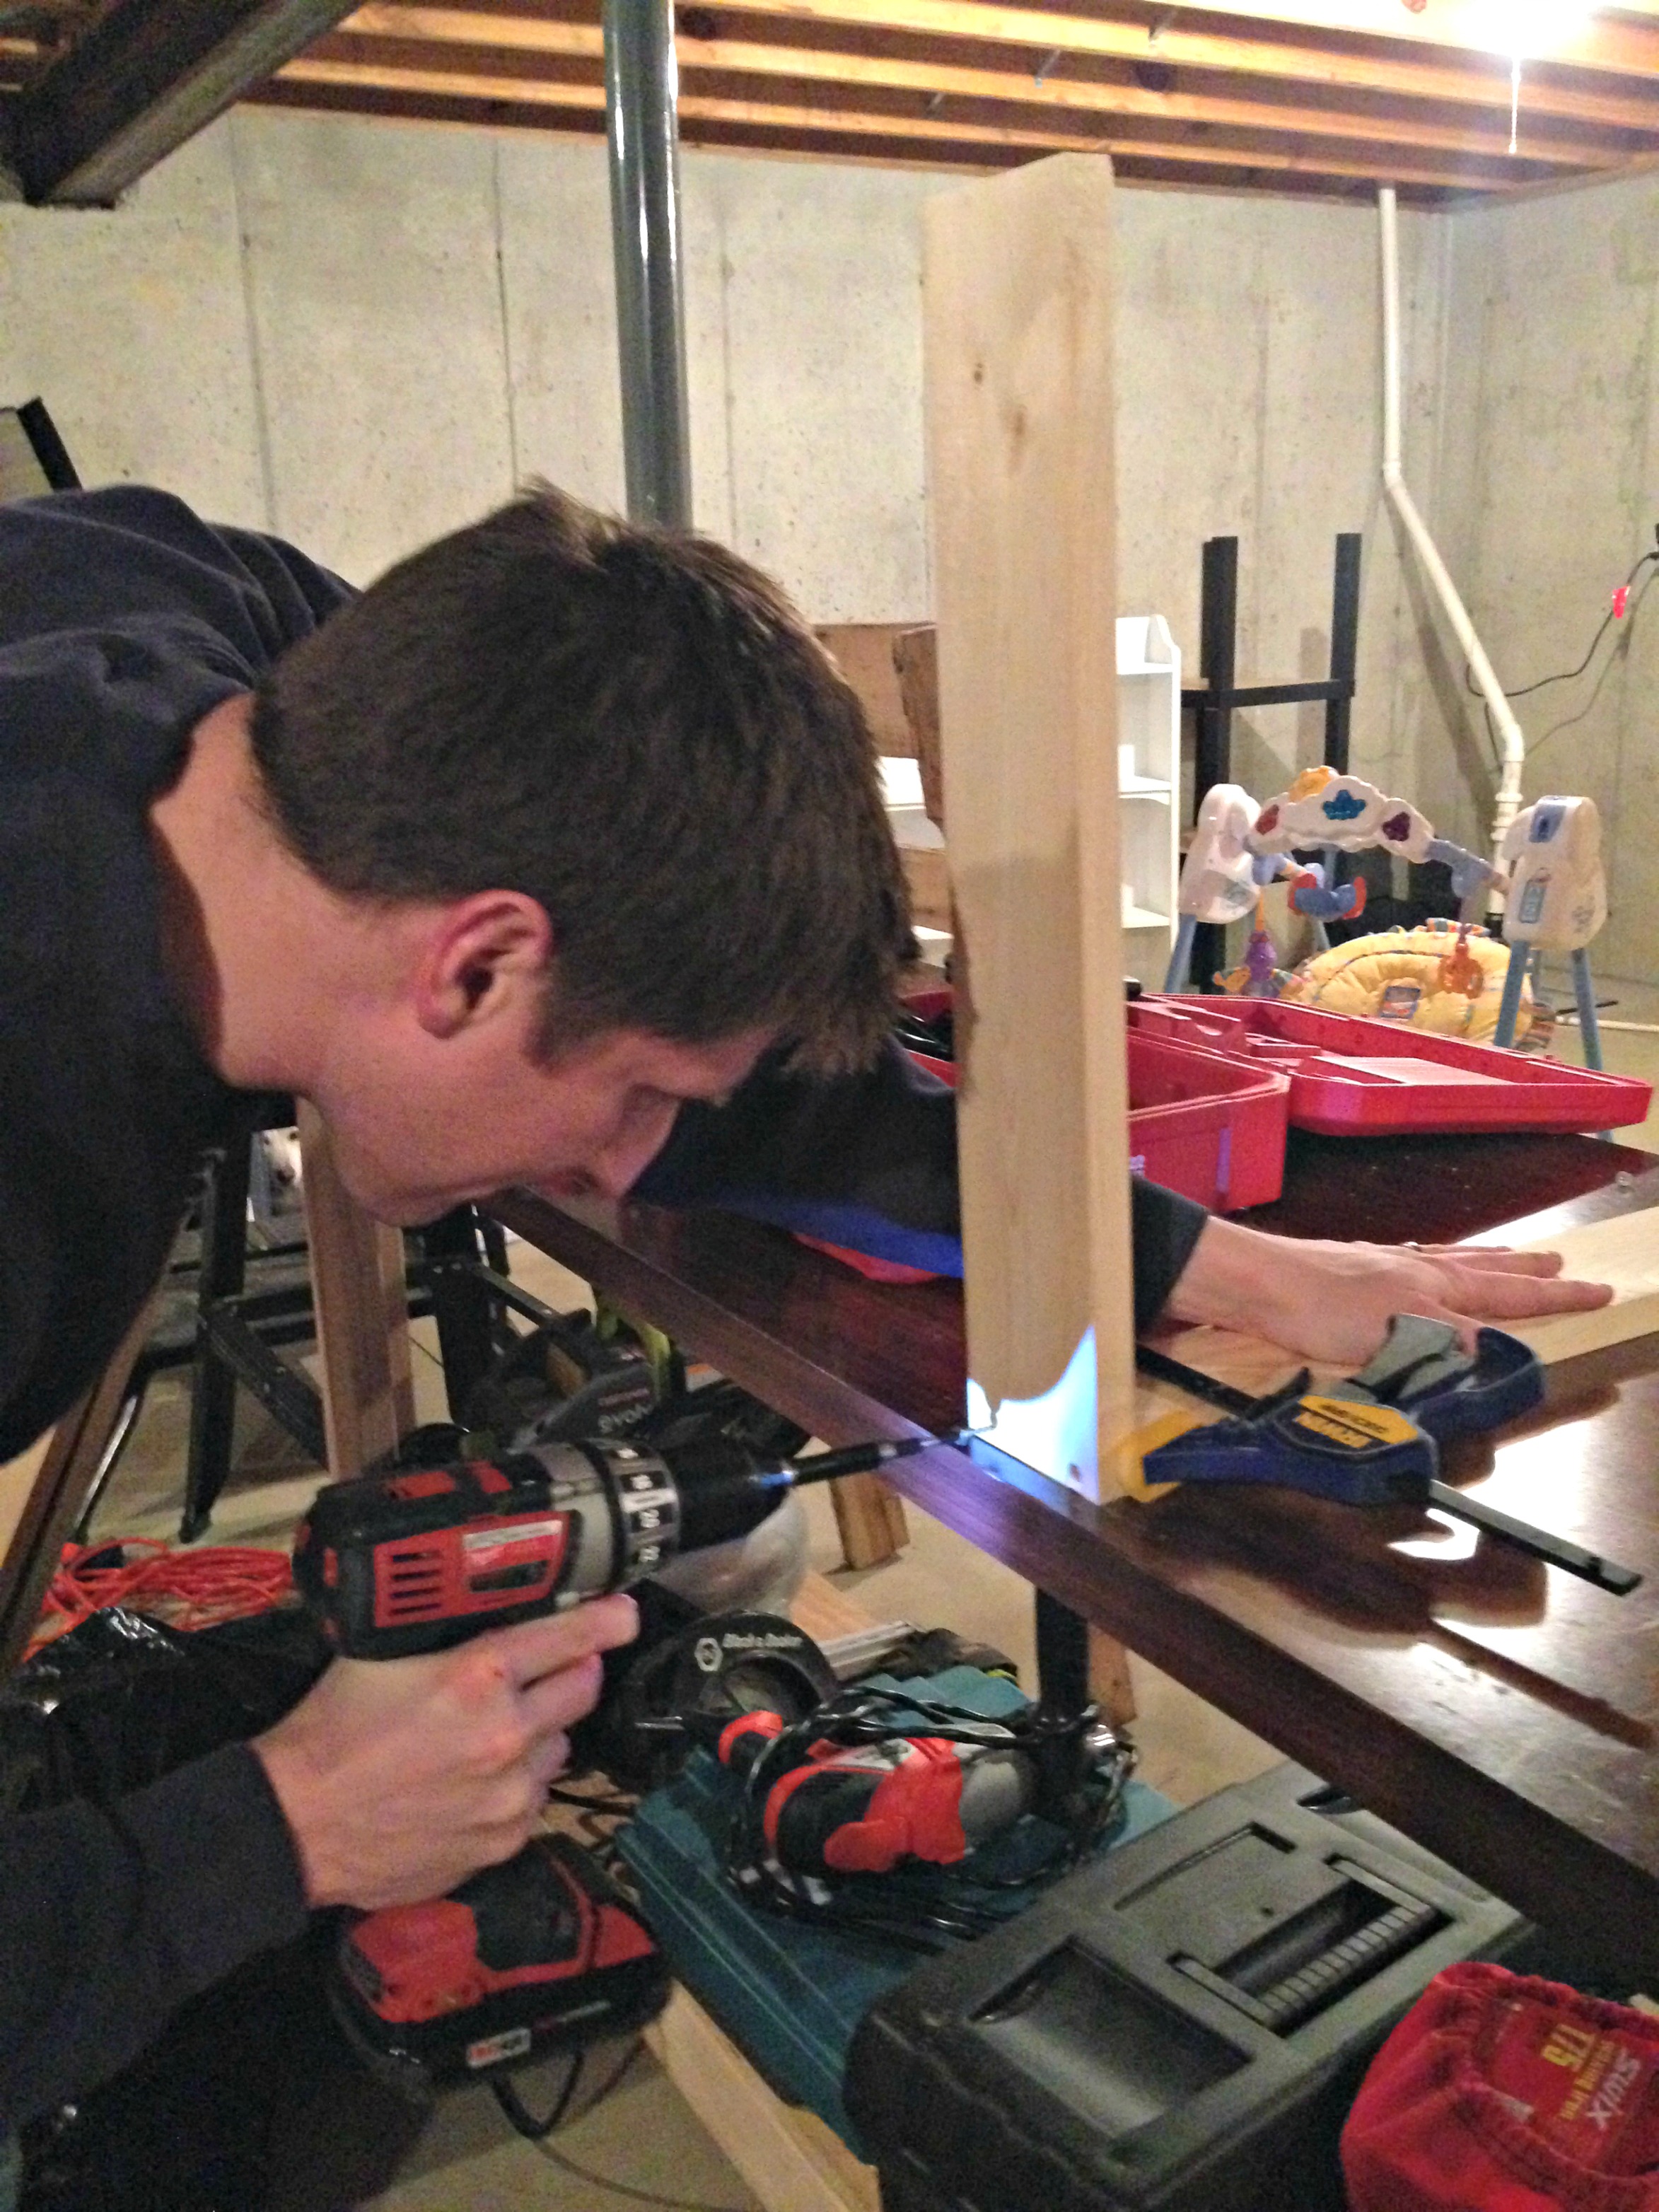
So, after getting all the boards cut to length, John got to work gluing and screwing them together!
And we ended up with this!
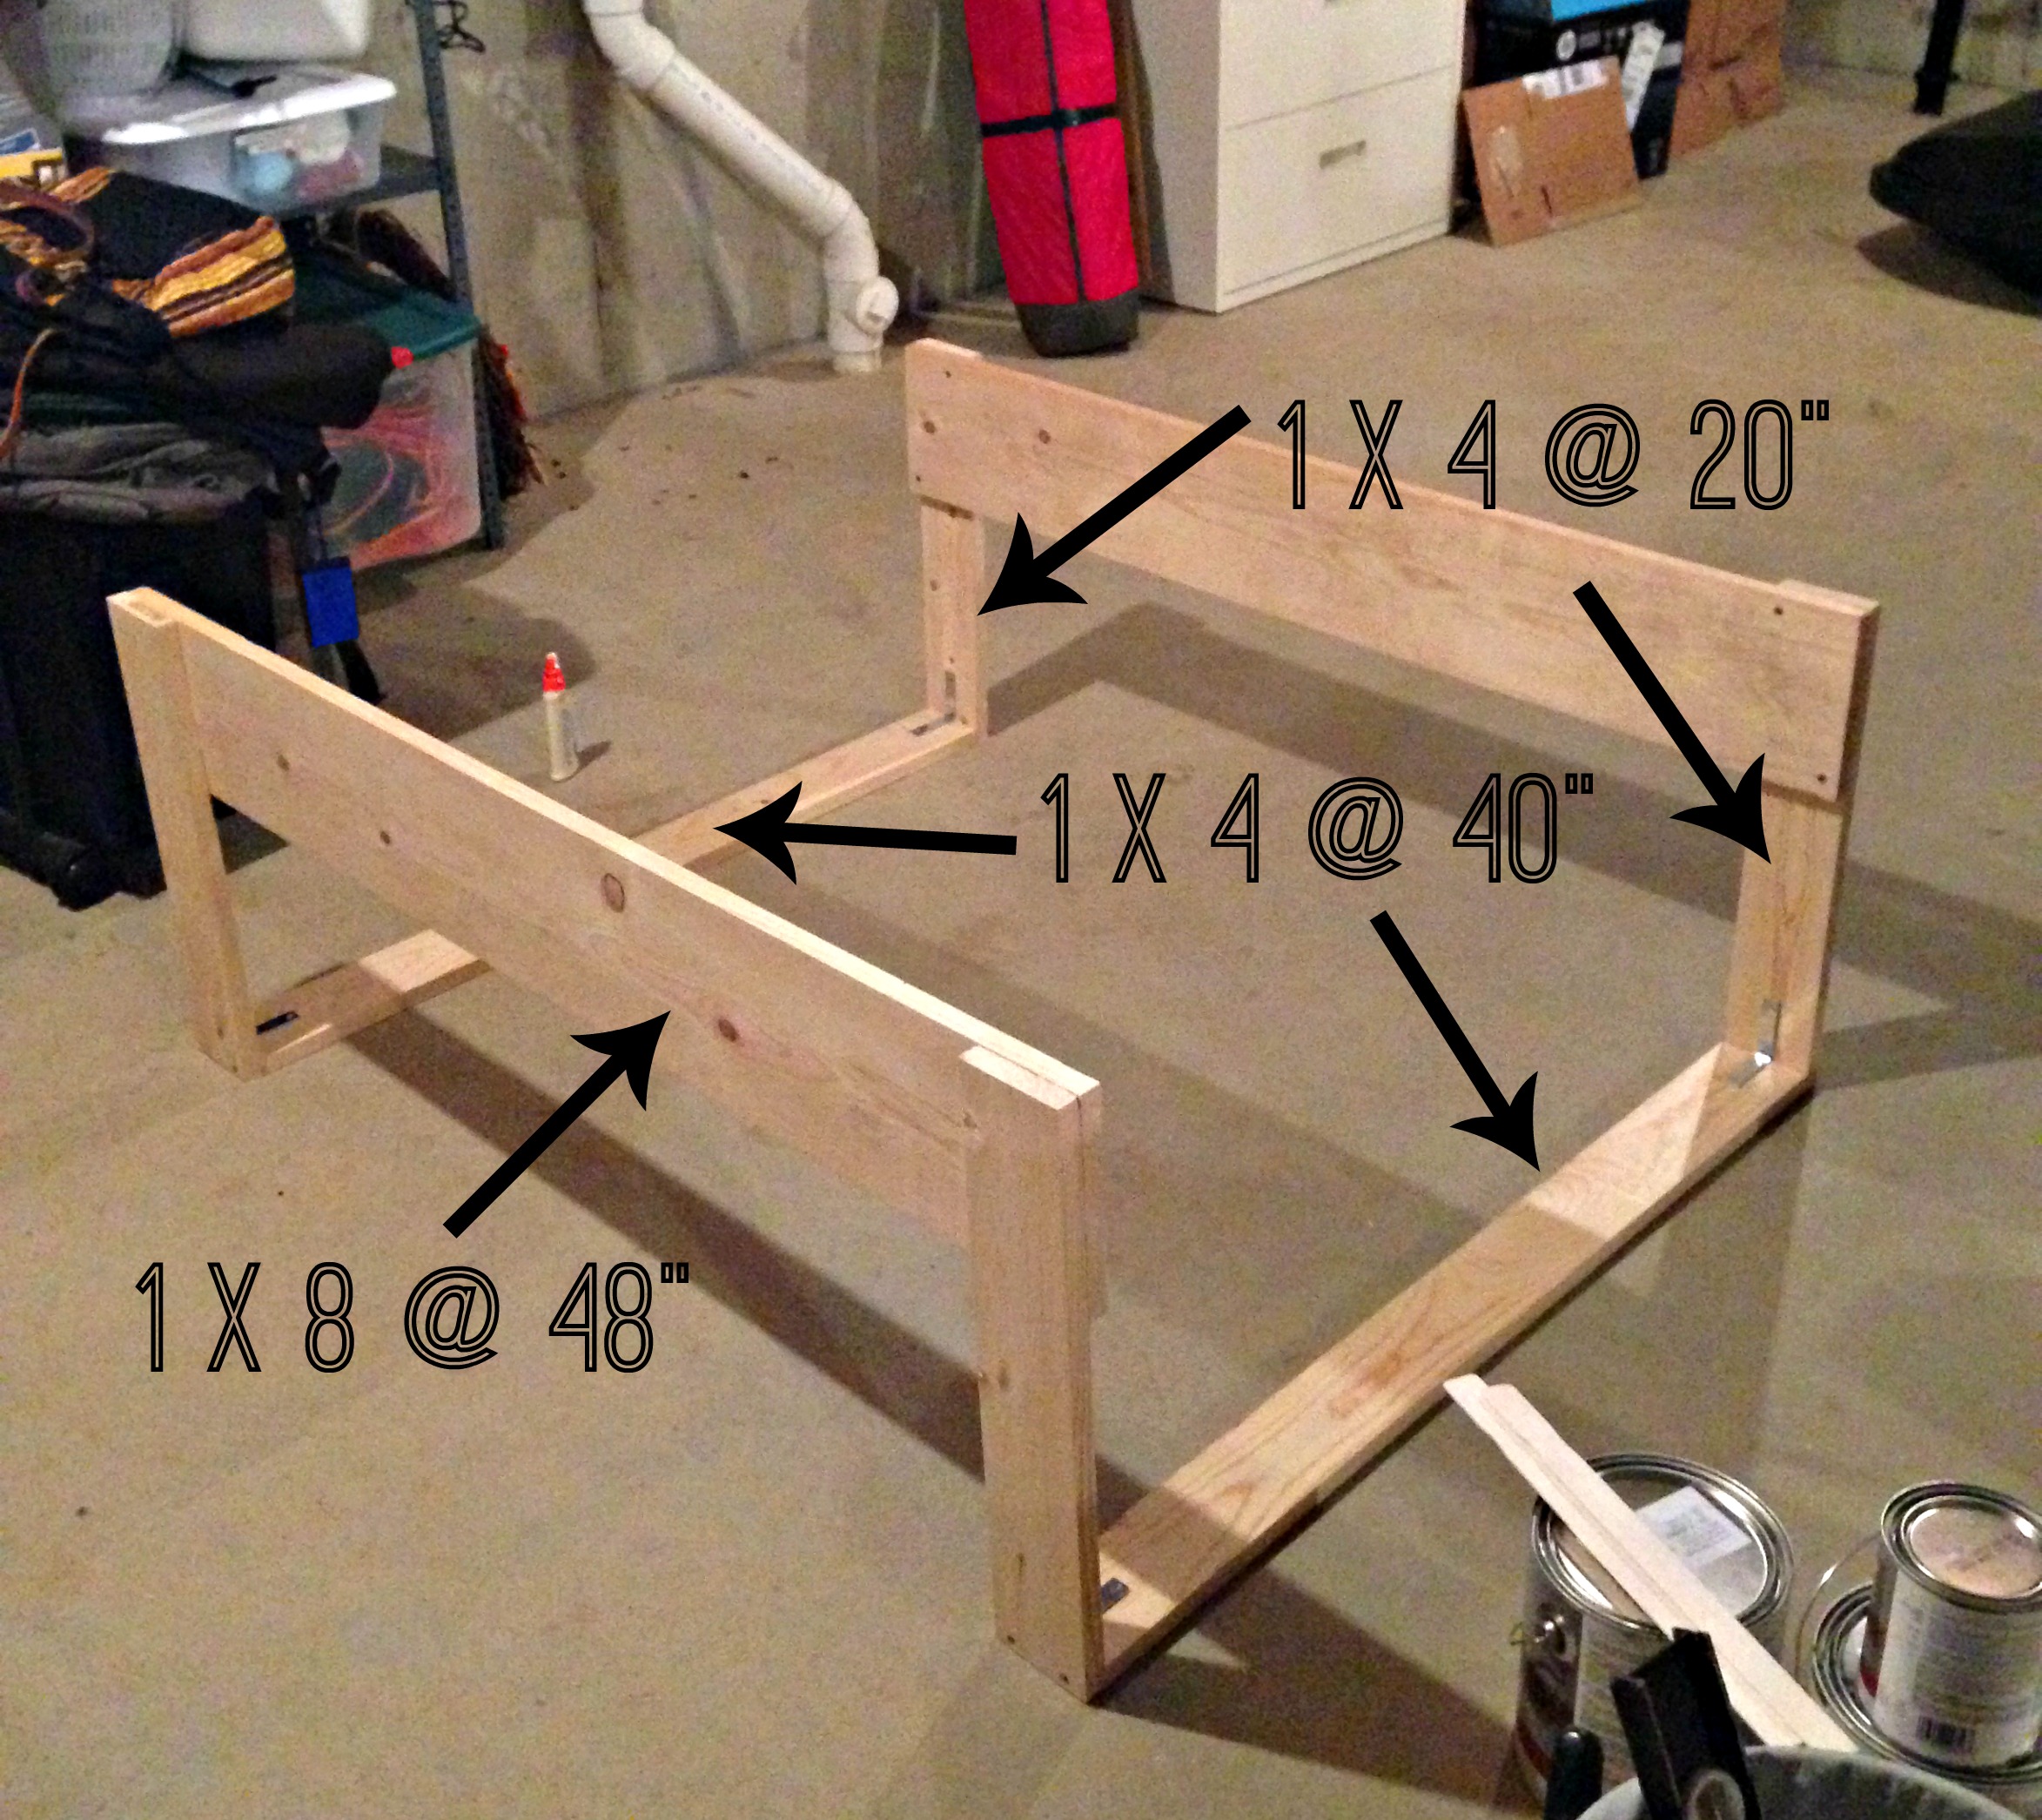 We used “L” brackets (they came in a 4-pack from Ace with screws included) along with wood glue and a few more screws in each side for extra stability (and peace of mind).
John then sanded down all of the edges and corners to make sure it was all smooth and rounded. Pretty much, we know our kid is a rowdy one, and will eventually bonk his head on here so the less hazards, the better!
After sanding, he did two coats of the Polyshades in Antique Walnut and it ended up matching Alex’s existing furniture almost perfectly!
I love love love how they turned out! It really makes it look like everything was meant to go together. Alex waited so patiently while John moved furniture around! He only had a slight meltdown about losing his crib to his baby brother. John did a great job of talking him through it. I may or may not have been panicking a little bit. I can’t be sure.
Please ignore the fact that we don’t have a bed skirt yet!
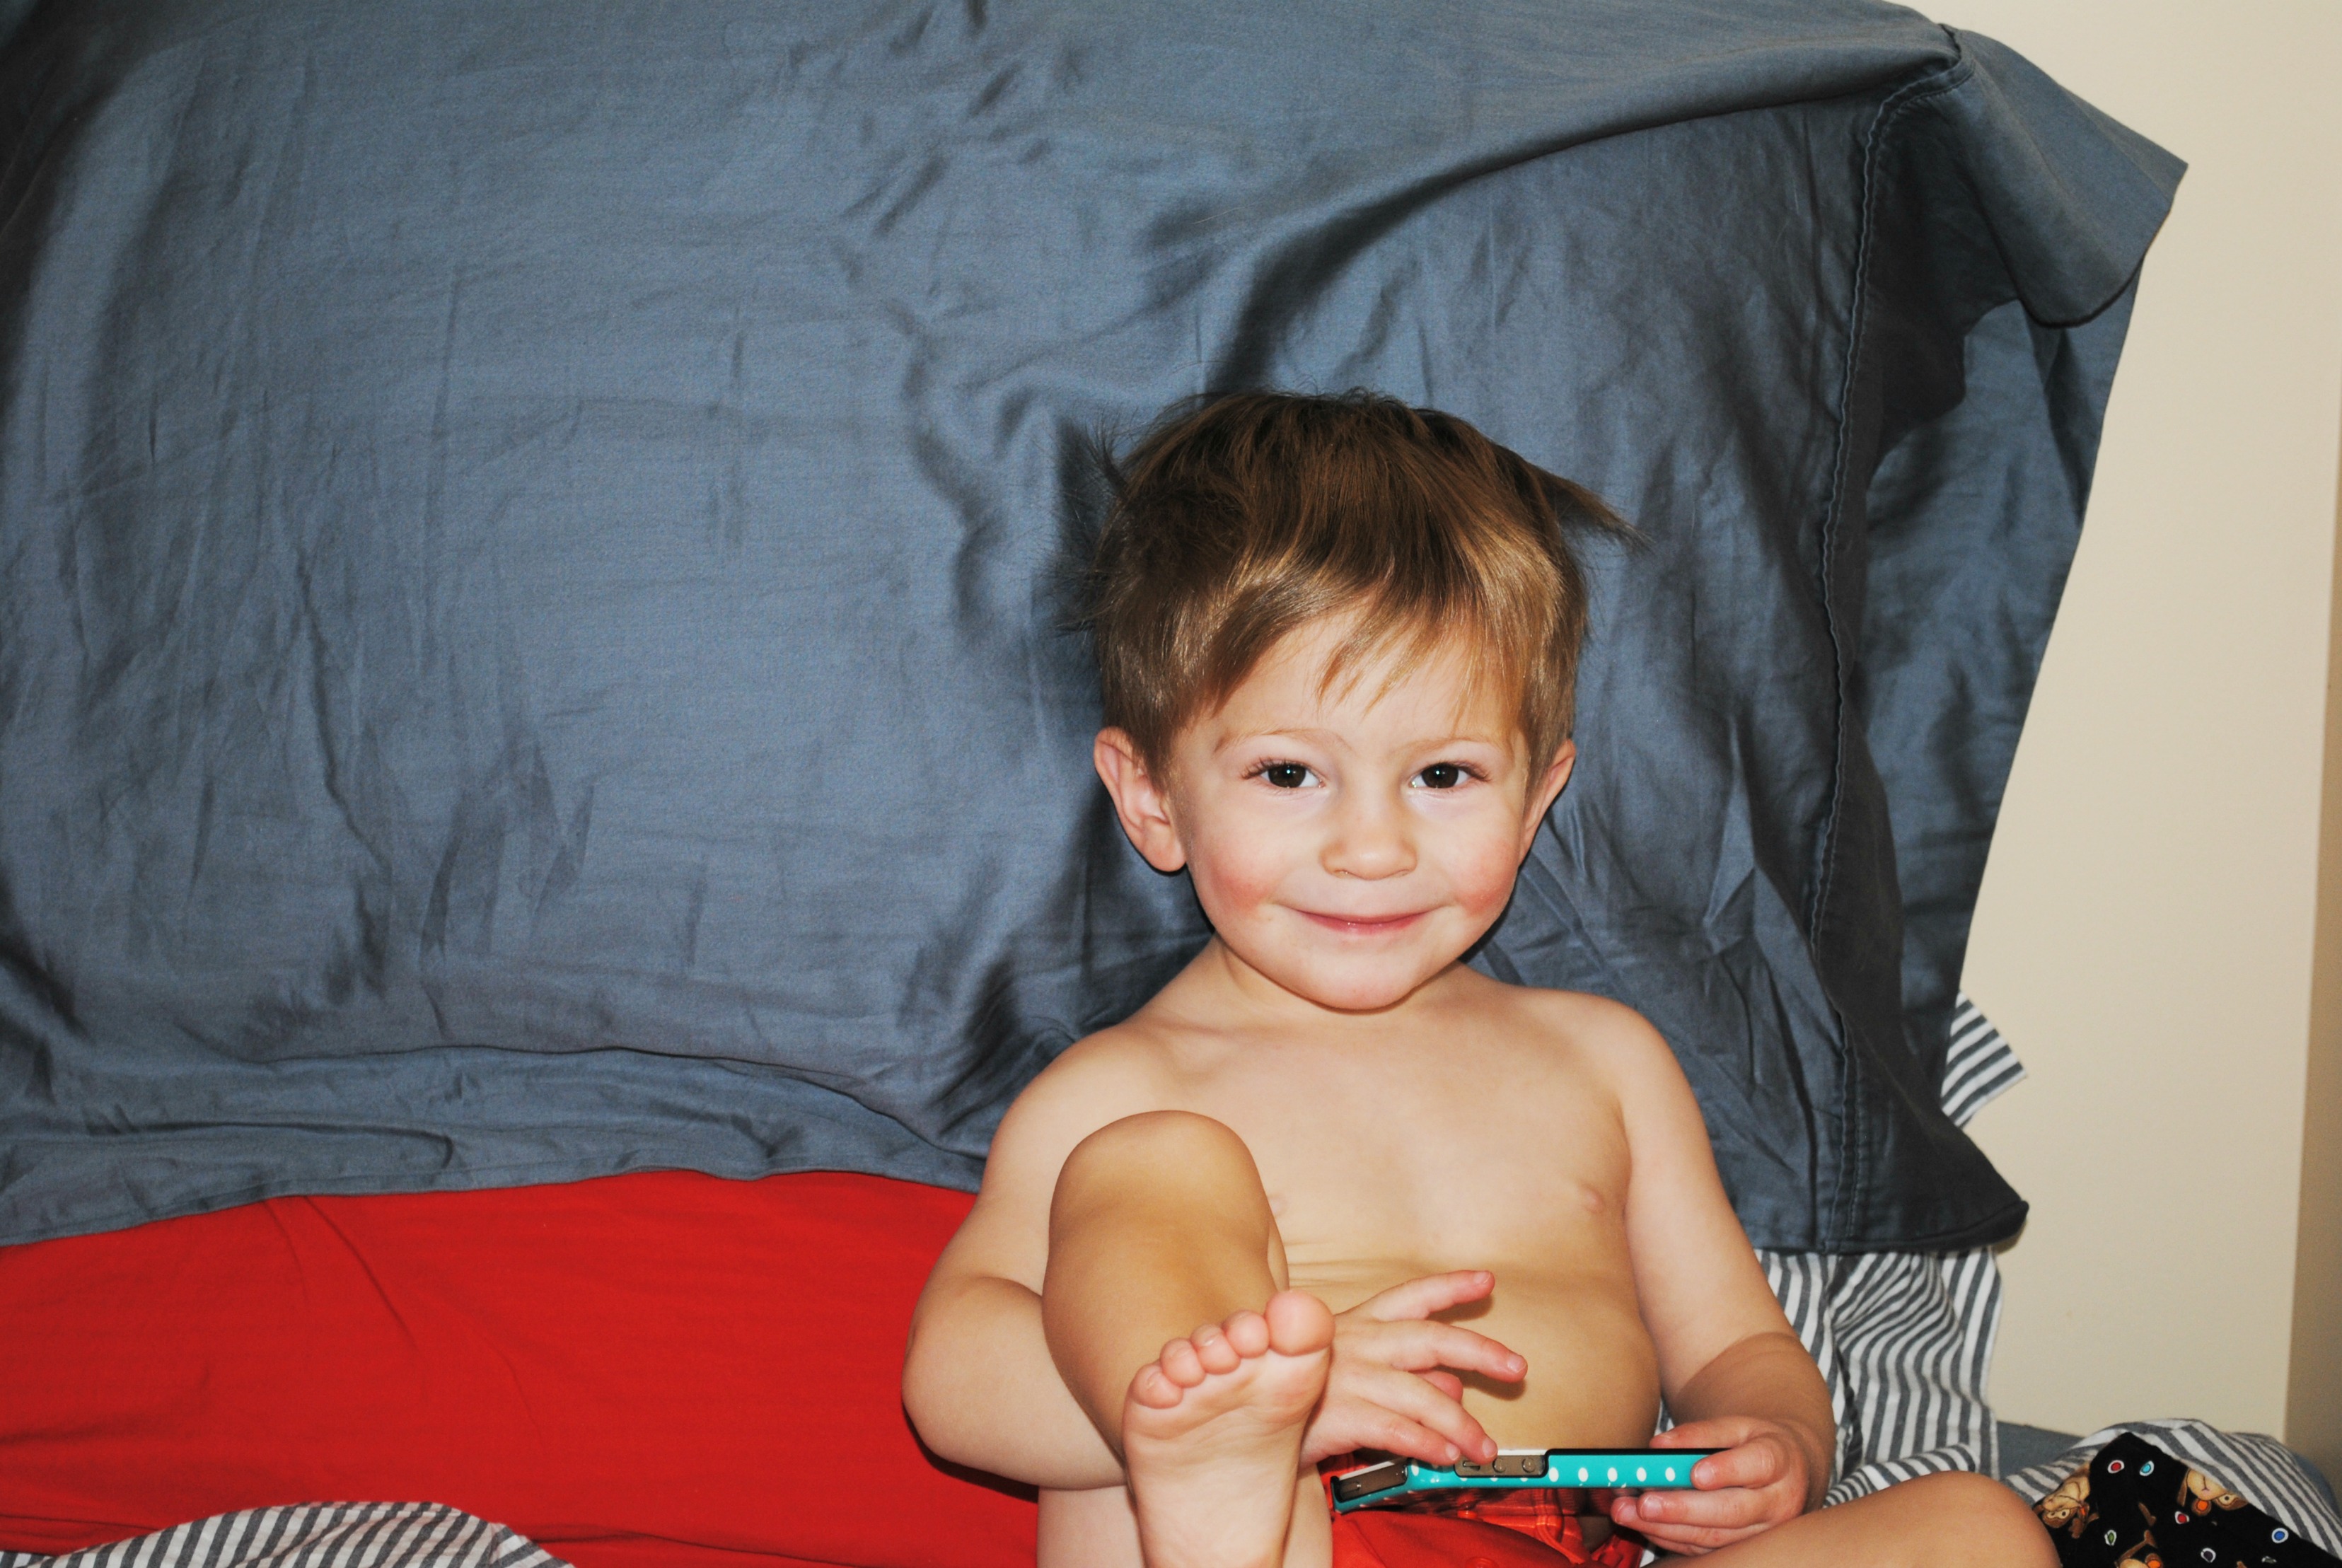
Alex is pretty pumped about his big kid bed too! See what I mean about an eventual head-bonking?
Hooray for a big boy bed!
Related posts:
Powered by YARPP.


