Here it is you guys! The post you’ve all been waiting for. Okay, maybe I’m the one who couldn’t wait to post about our facade update?? Yup.
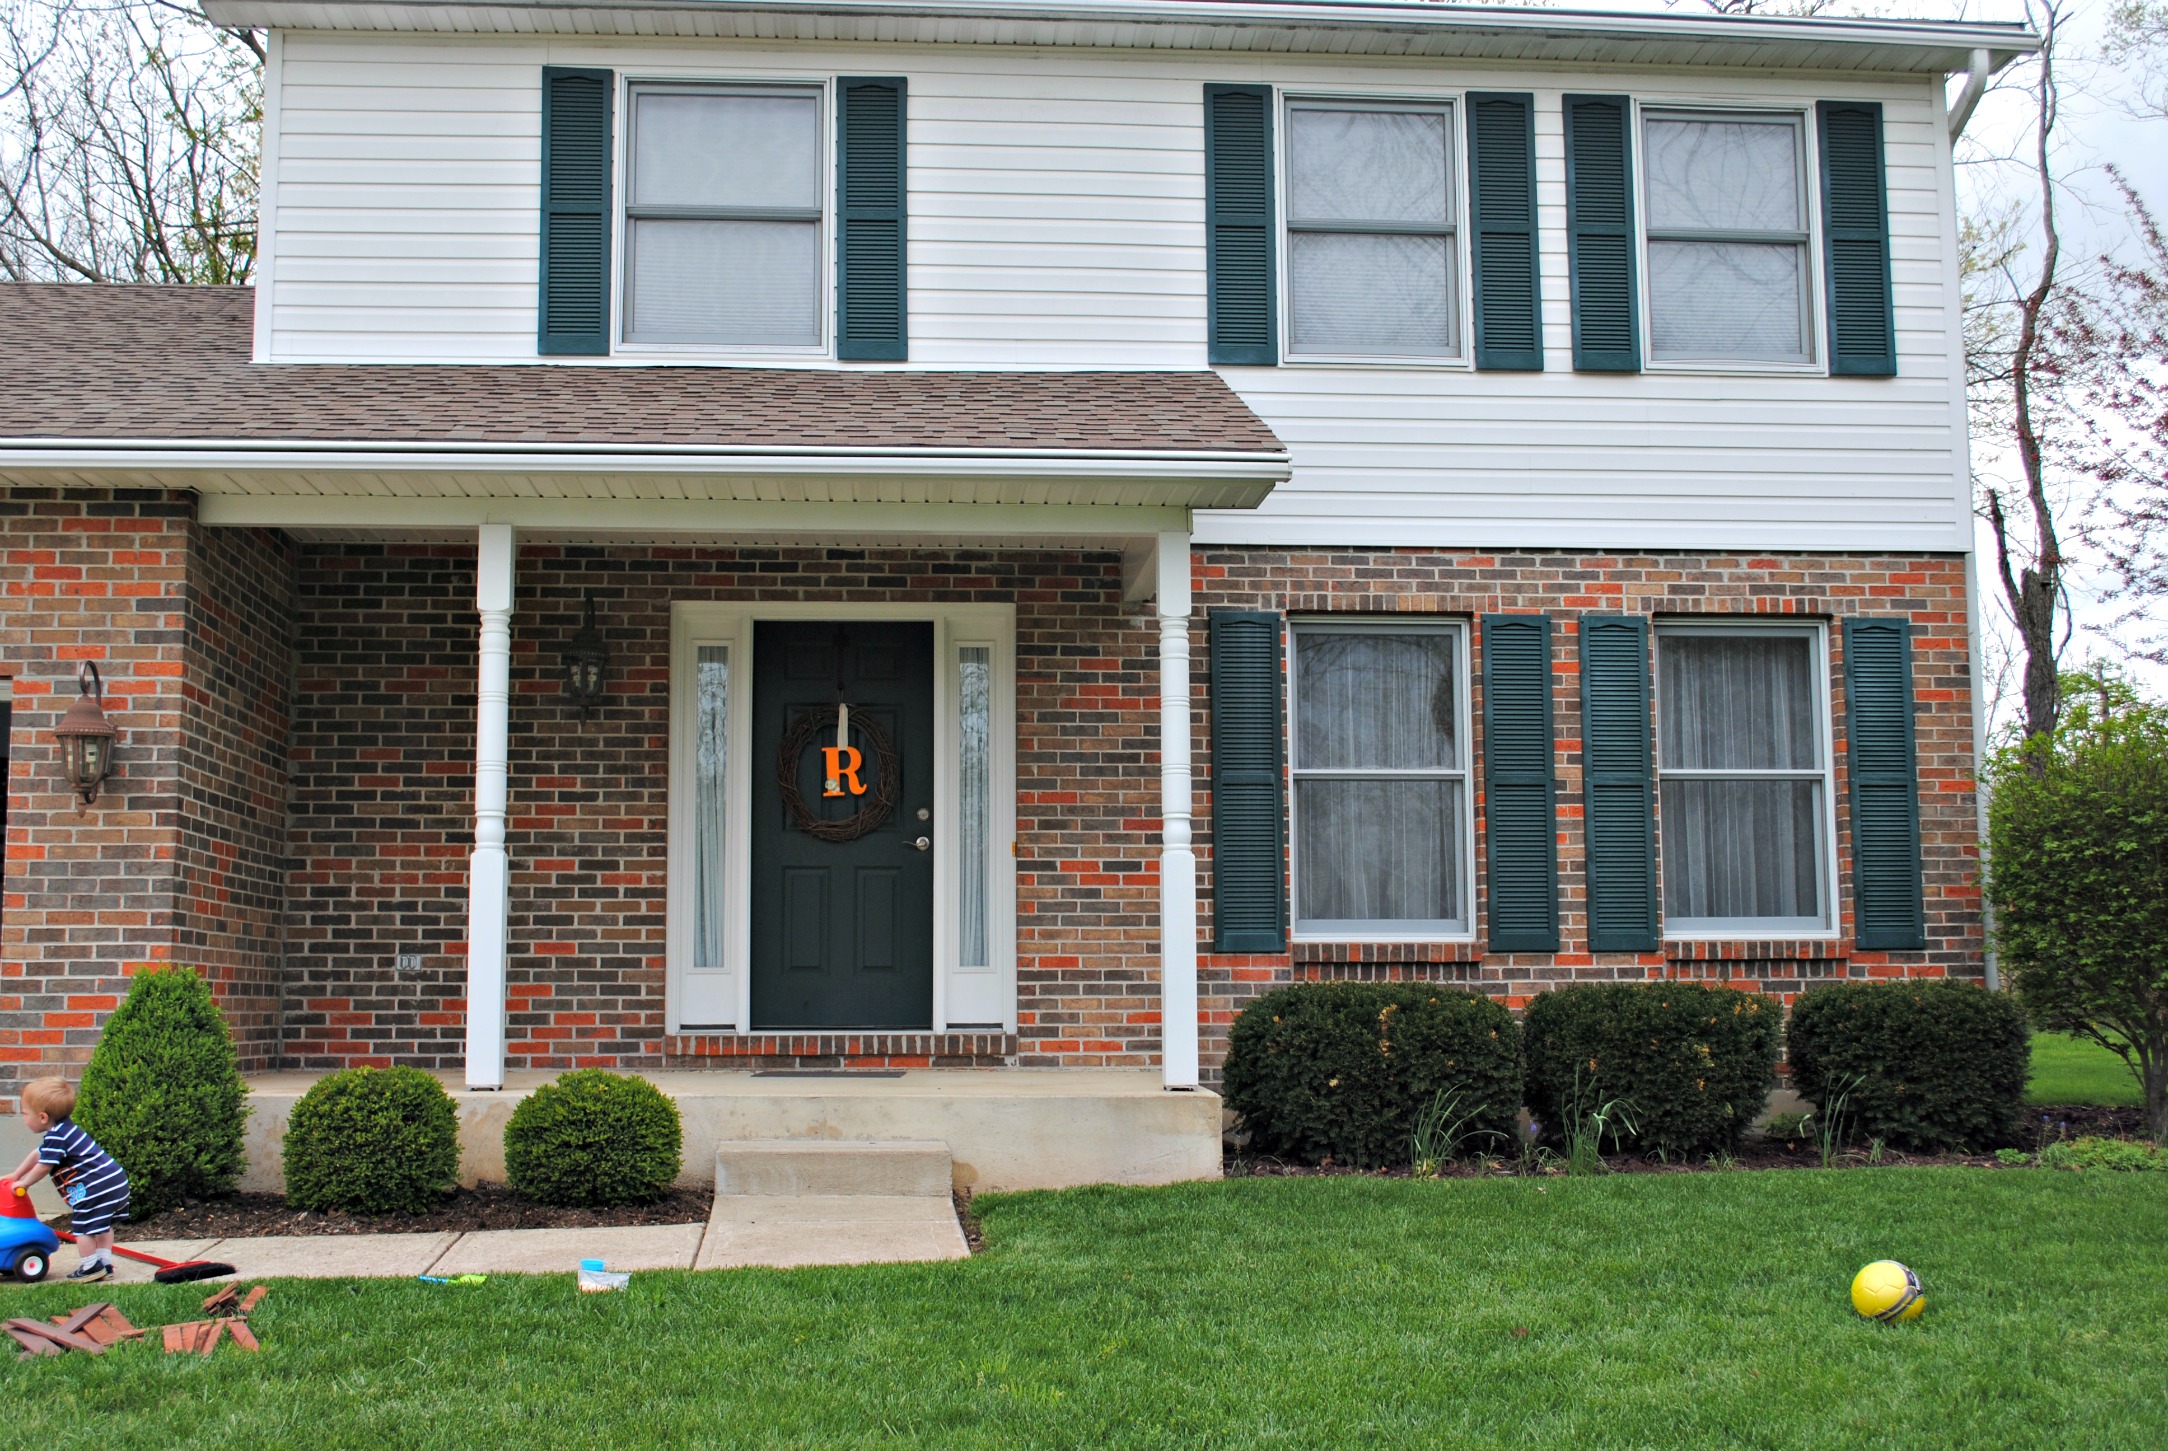
In case you forgot, this is what our house looked like in days of yore.
Life was happening during this picture obviously. I don’t even remember snapping it. I was definitely in the middle of refinishing our front porch furniture (and our porch was still naked!!)
Anyways, green shutters (and door) galore. Time to go.
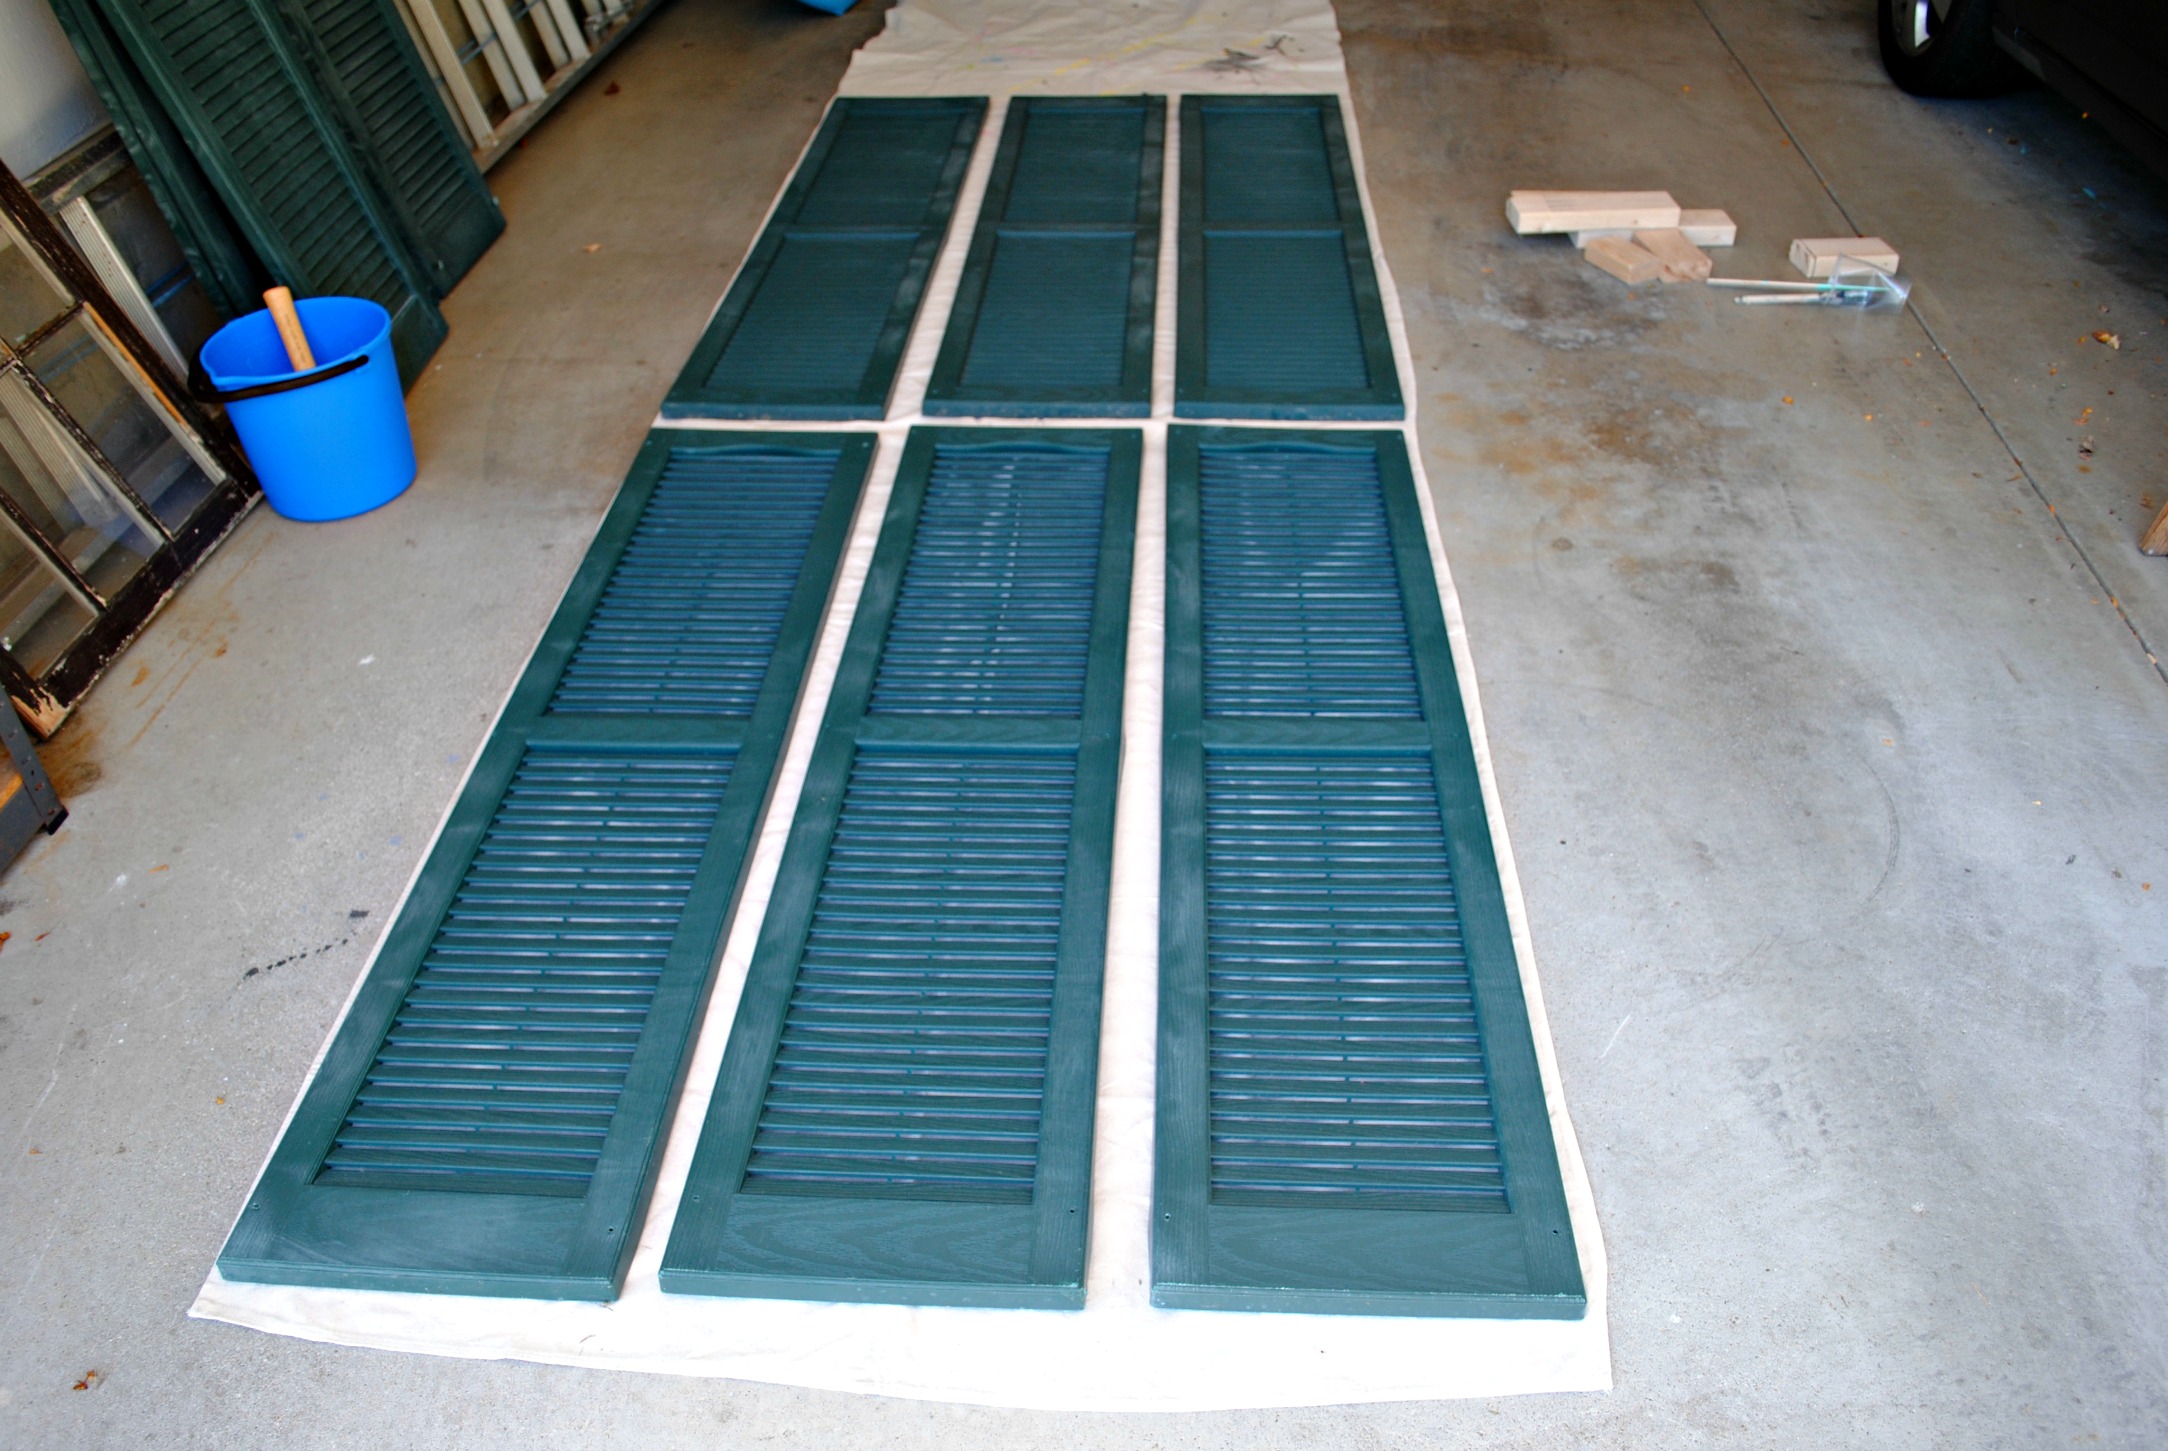
So, we John removed all of the shutters because he loves me so and I laid them out in our garage to get to painting.
We used the same paint as we did on our front door and since it was a paint and primer in one, I didn’t have to do much prep. That’s my favorite kind of paint job. All I did was spray them down with some water and give them a little scrub-a-dub with some soapy water and voila! Ready to paint (after drying overnight of course). Note: I should say we have vinyl shutters on our house so prepping would be totally different for wood or other shutters. Also, make sure if you are painting vinyl shutters, your paint is made for that type of surface.
I painted all 10 of the shutters by hand and by about the 3rd one, I was aching (literally) for a paint sprayer. Honestly this job would have taken a quarter of the time with that handy dandy little tool. But hey, you live and you learn right? And I’m never painting another shutter again in my life. I was planning on telling you how many man hours went into these, but I lost count because I was working on them sporadically for a couple of days (while Alex napped, etc). Sorry! All I’m saying is that if you have more than four shutters on your house, get a paint sprayer!
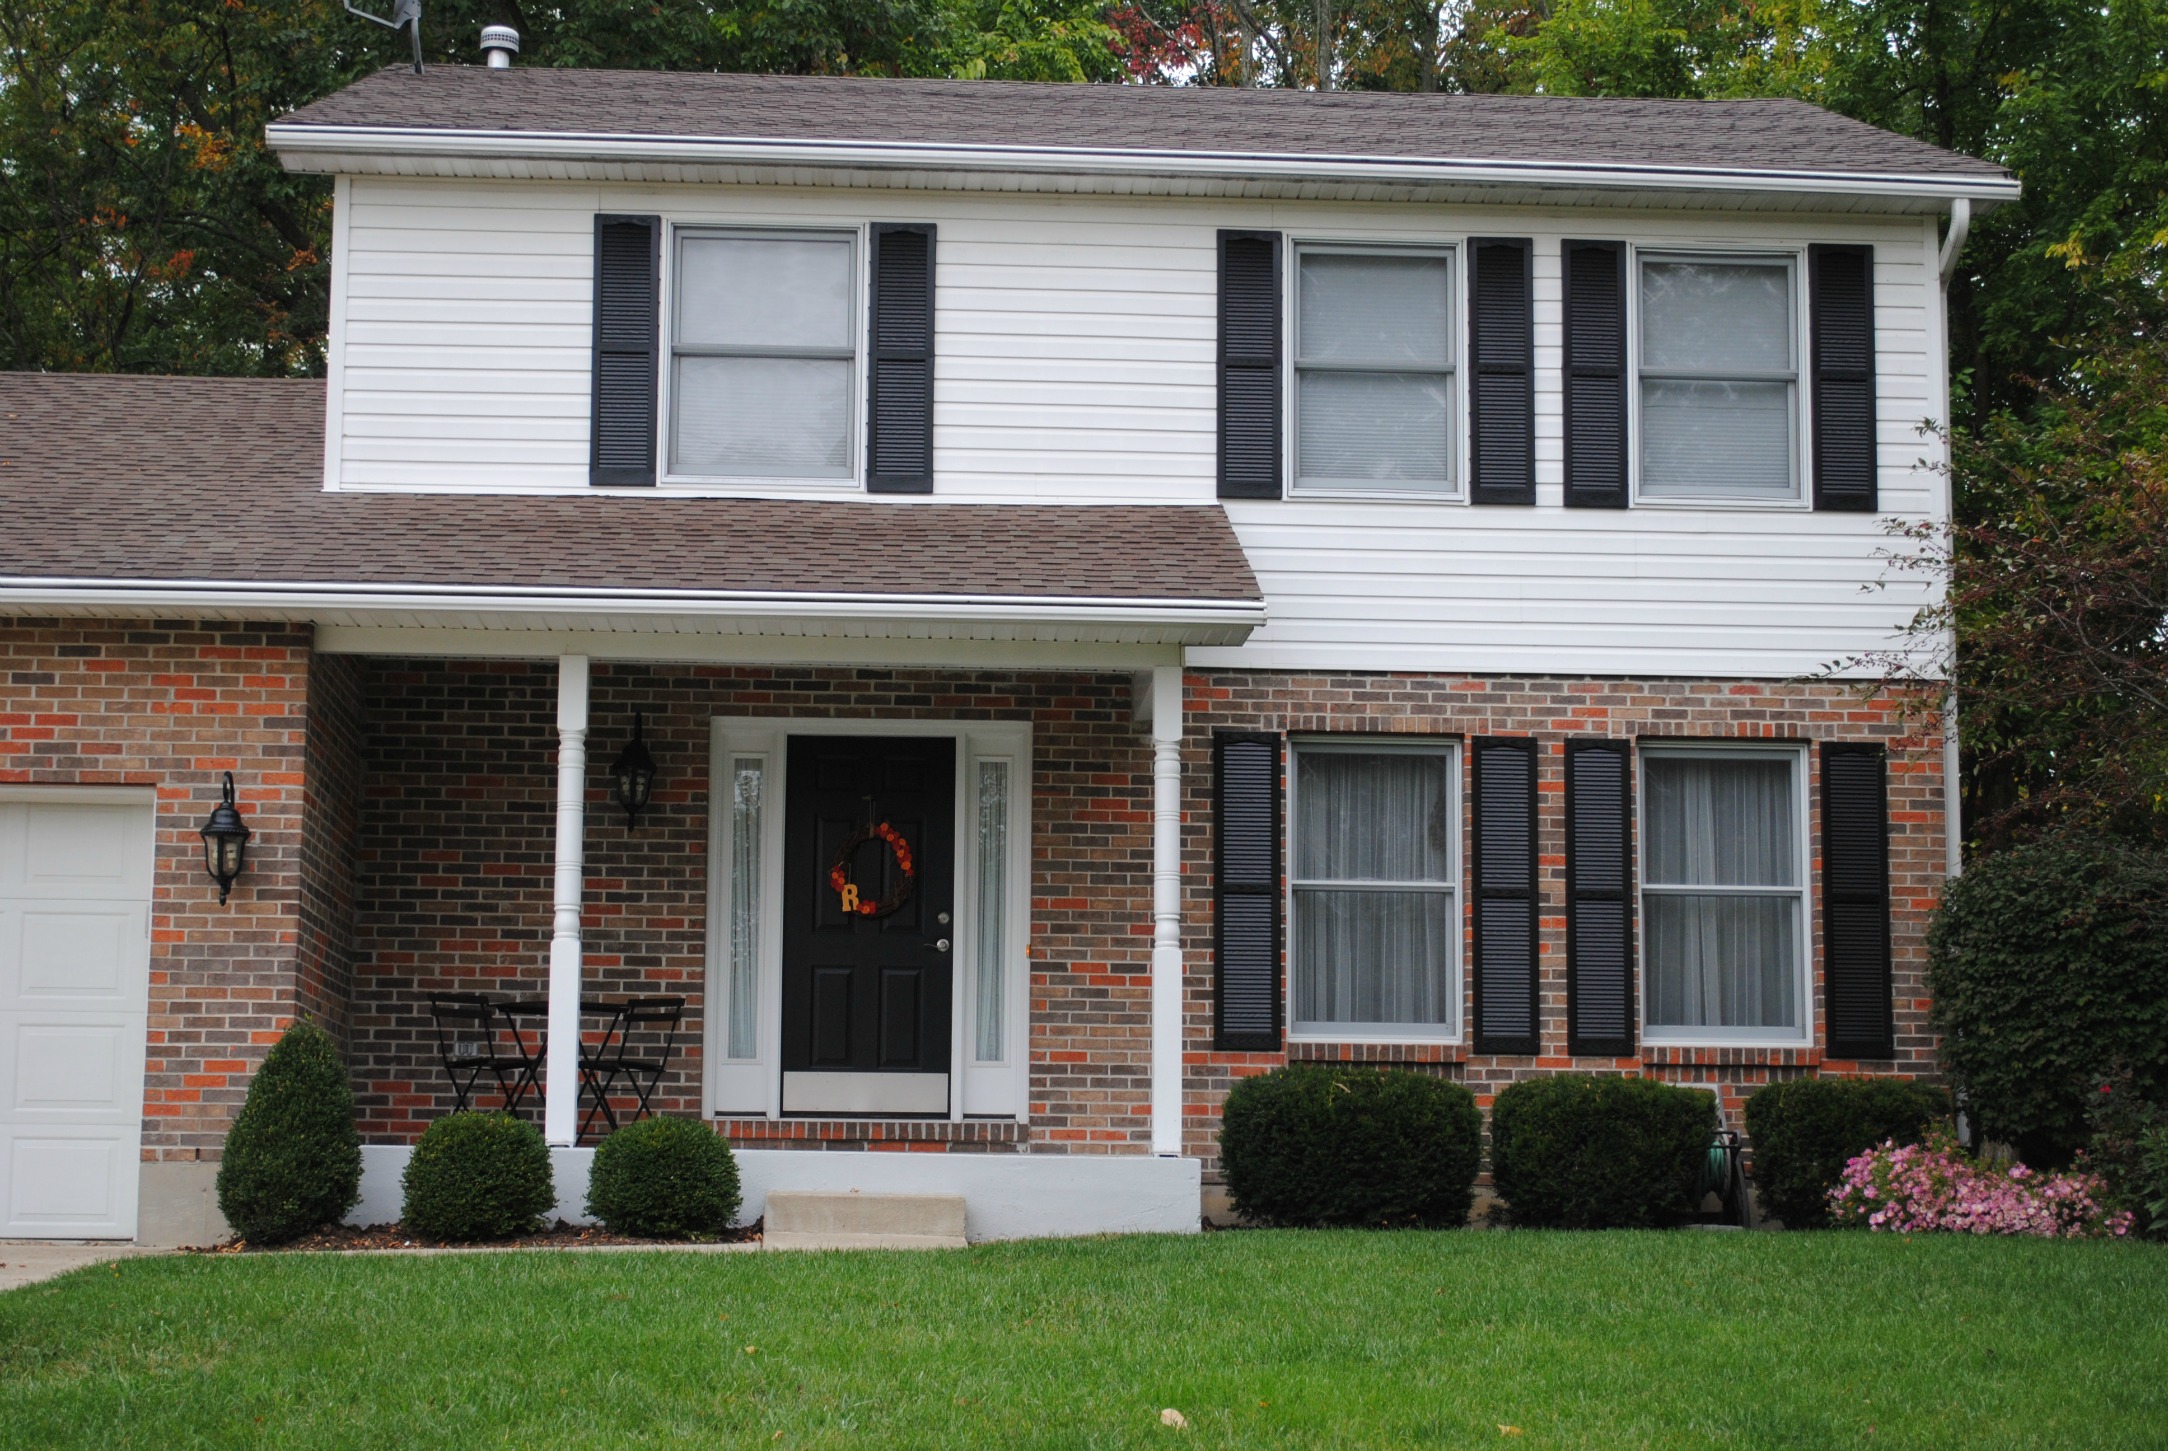
It took two coats to make sure that green was covered and after they were dry and ready to go up, all of that hard work was worth it. It was such an amazing transformation for not very much money. The newly painted shutters made our house look so sharp, especially now that they matched the front door.
John braved the ladder one more time to put them back on the house (because this pregnant lady shouldn’t be anywhere near a ladder).
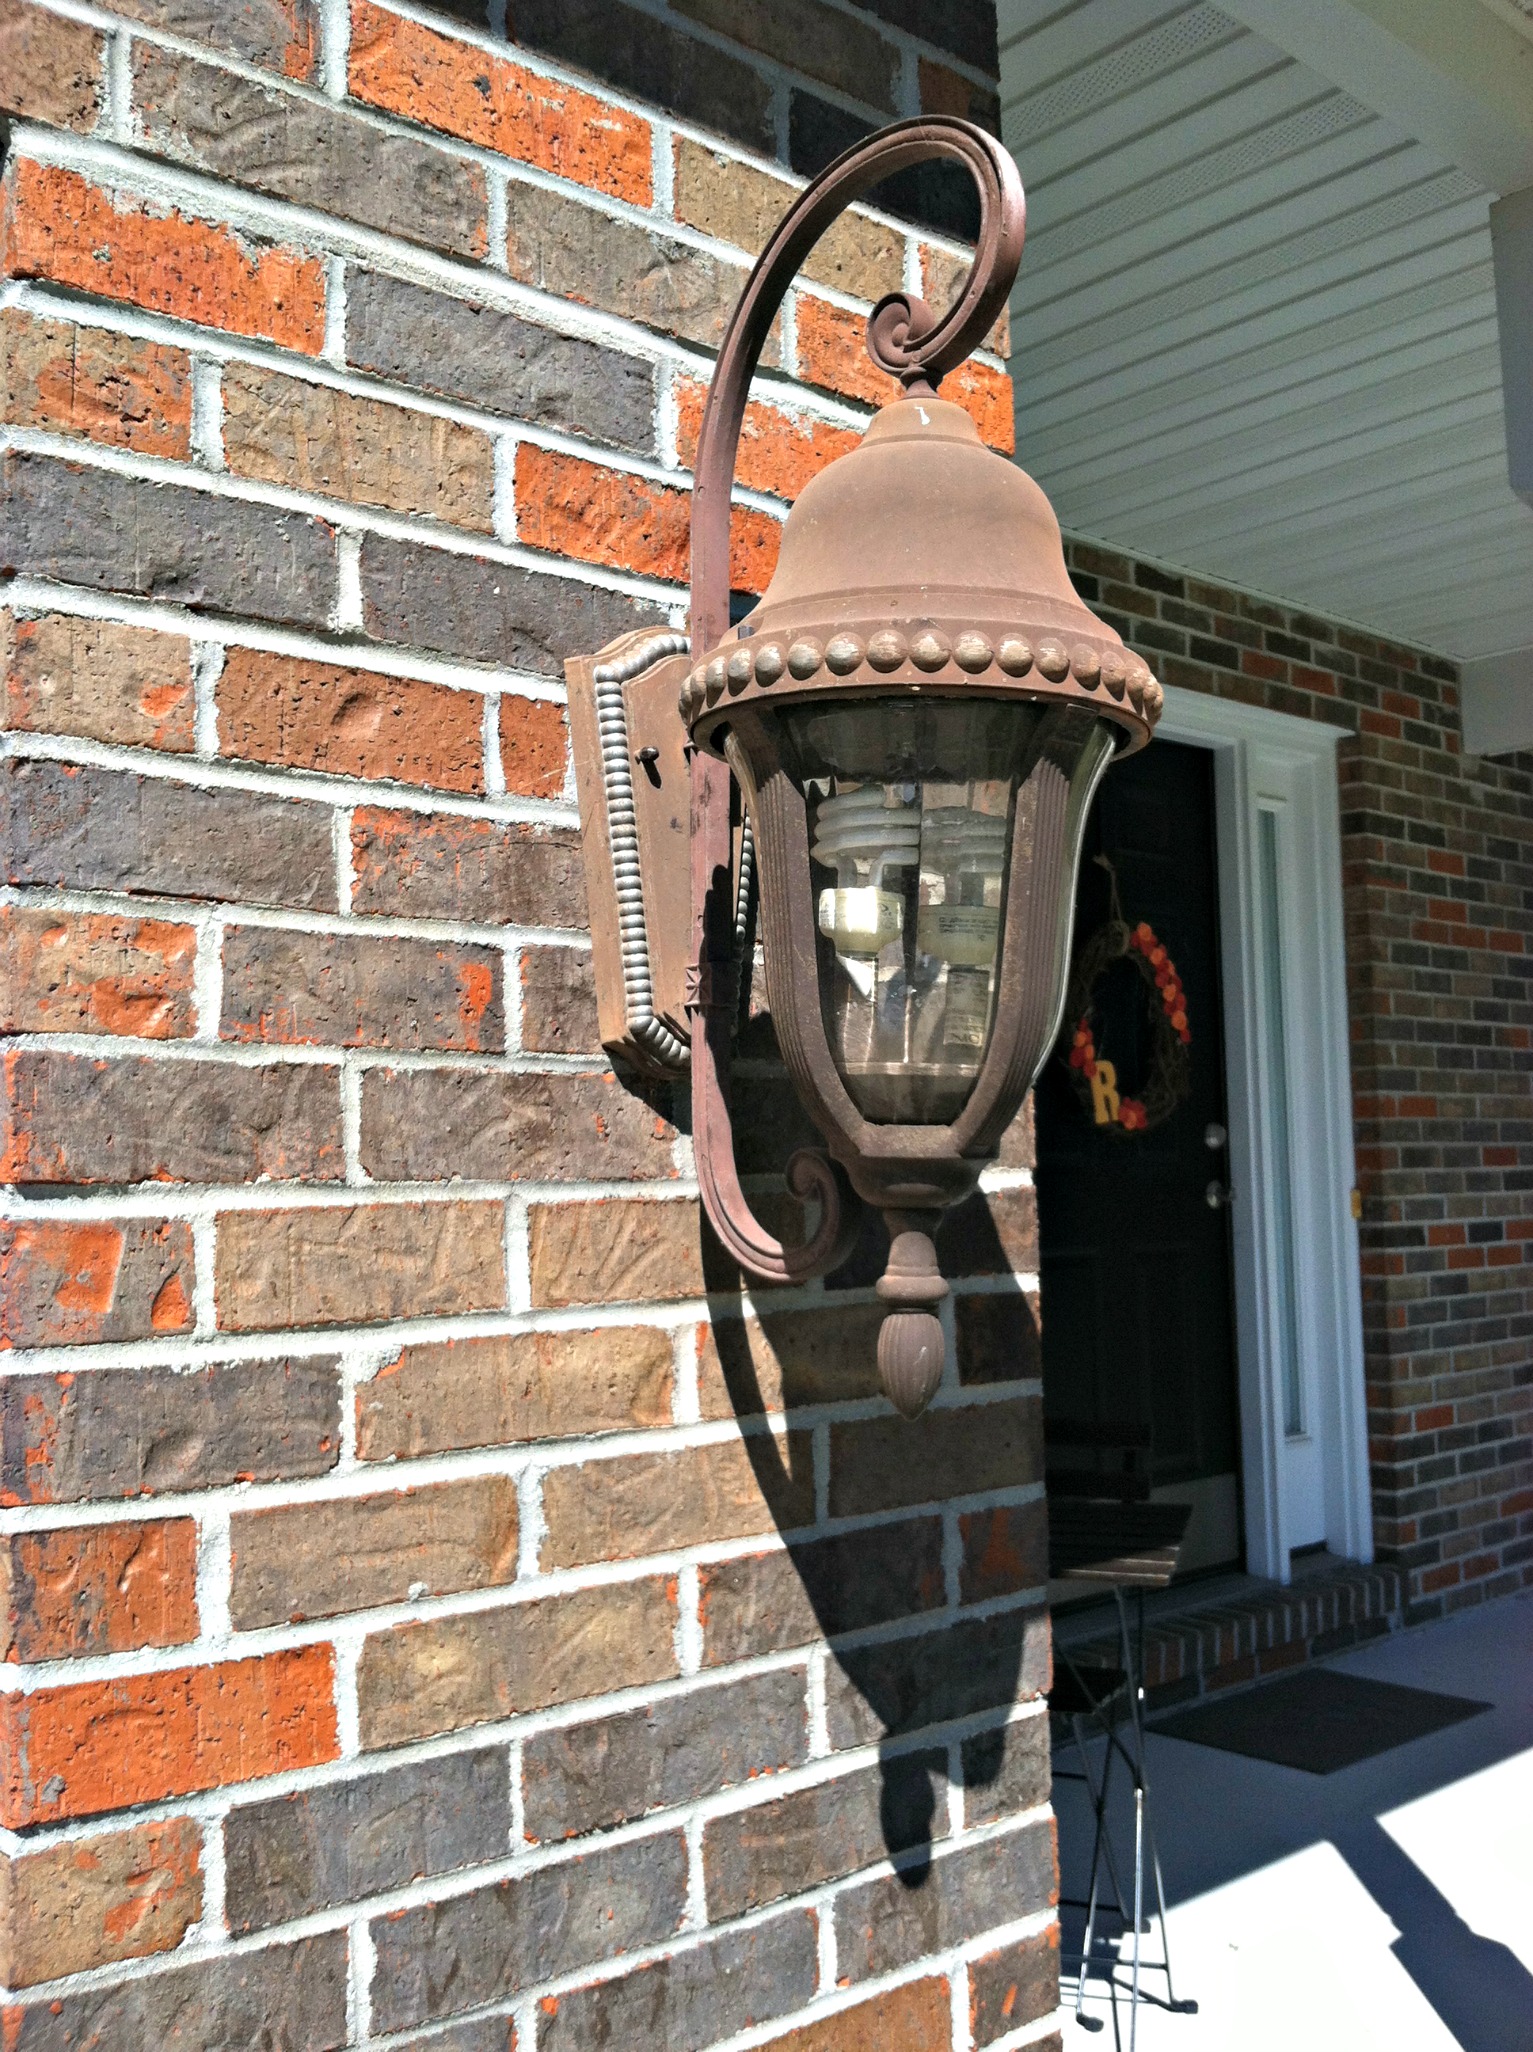
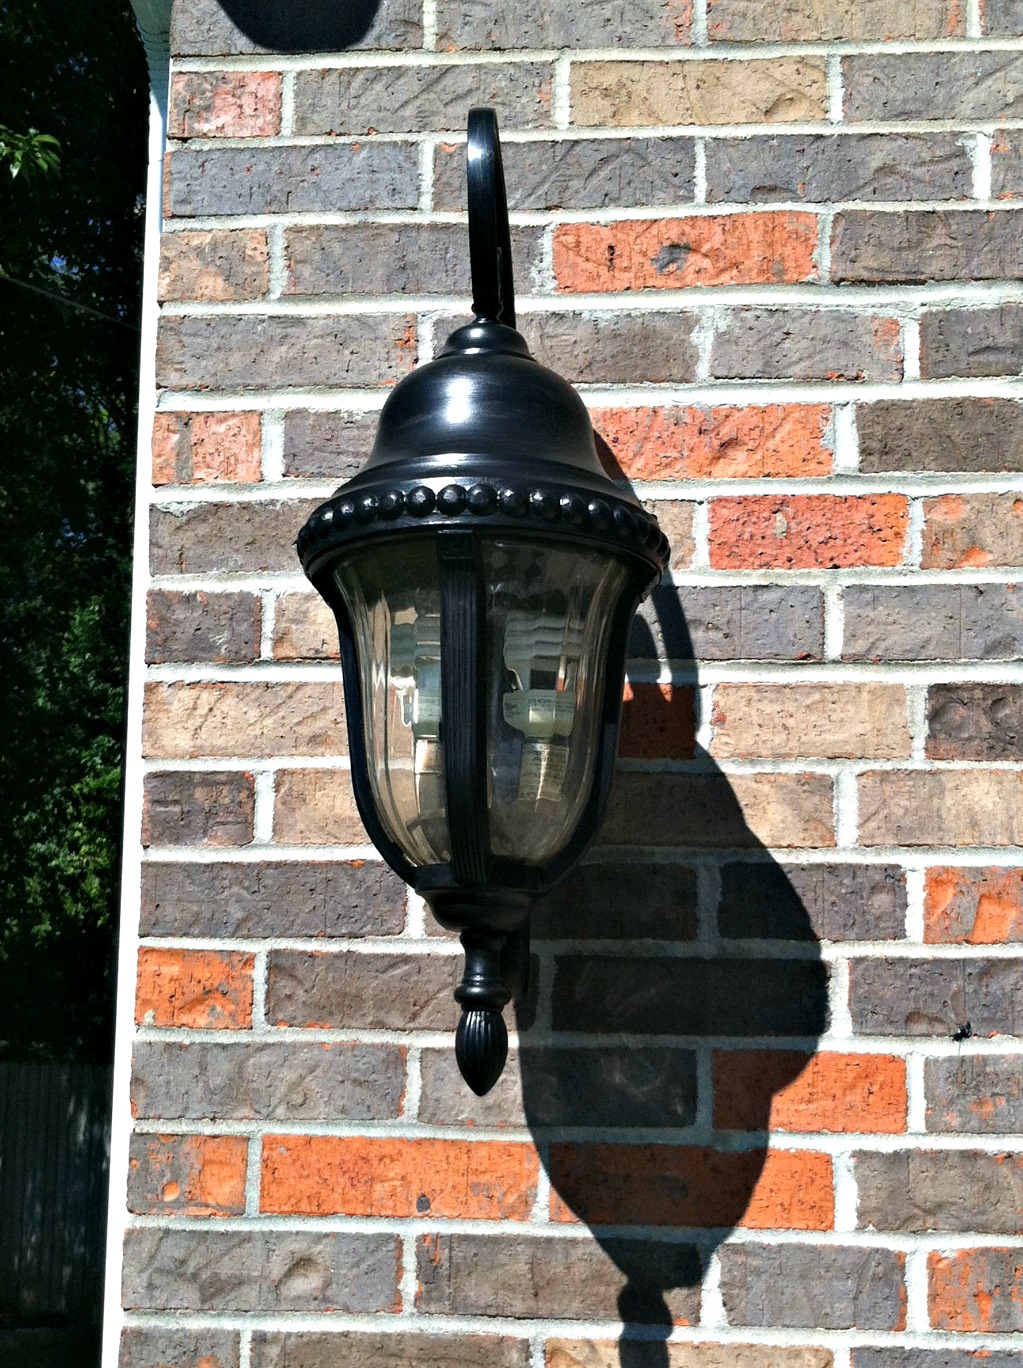
After the shutters went up, the house looked so much better, but something wasn’t sitting right with me. John had mentioned quite a while back that he wanted to paint our outdoor lights but I wasn’t so sure. They had a great patina on them and I didn’t know if I wanted to cover that up. After painting everything else black though, the lights really blended into the brick and that patina, well, it just looked like rust. John: 1 Sam: 0.
I scrubbed the lights down to remove dirt, rust, and a lot of bird/spider poop. Then I whipped out my really fancy Crayola craft brushes and got to painting. These lights were such a pain to paint! So many upside-down and smooshed up against each other spots. And don’t even get me started on the decorative circles. Woof! (Can you tell I was totally sick of painting by this point??)
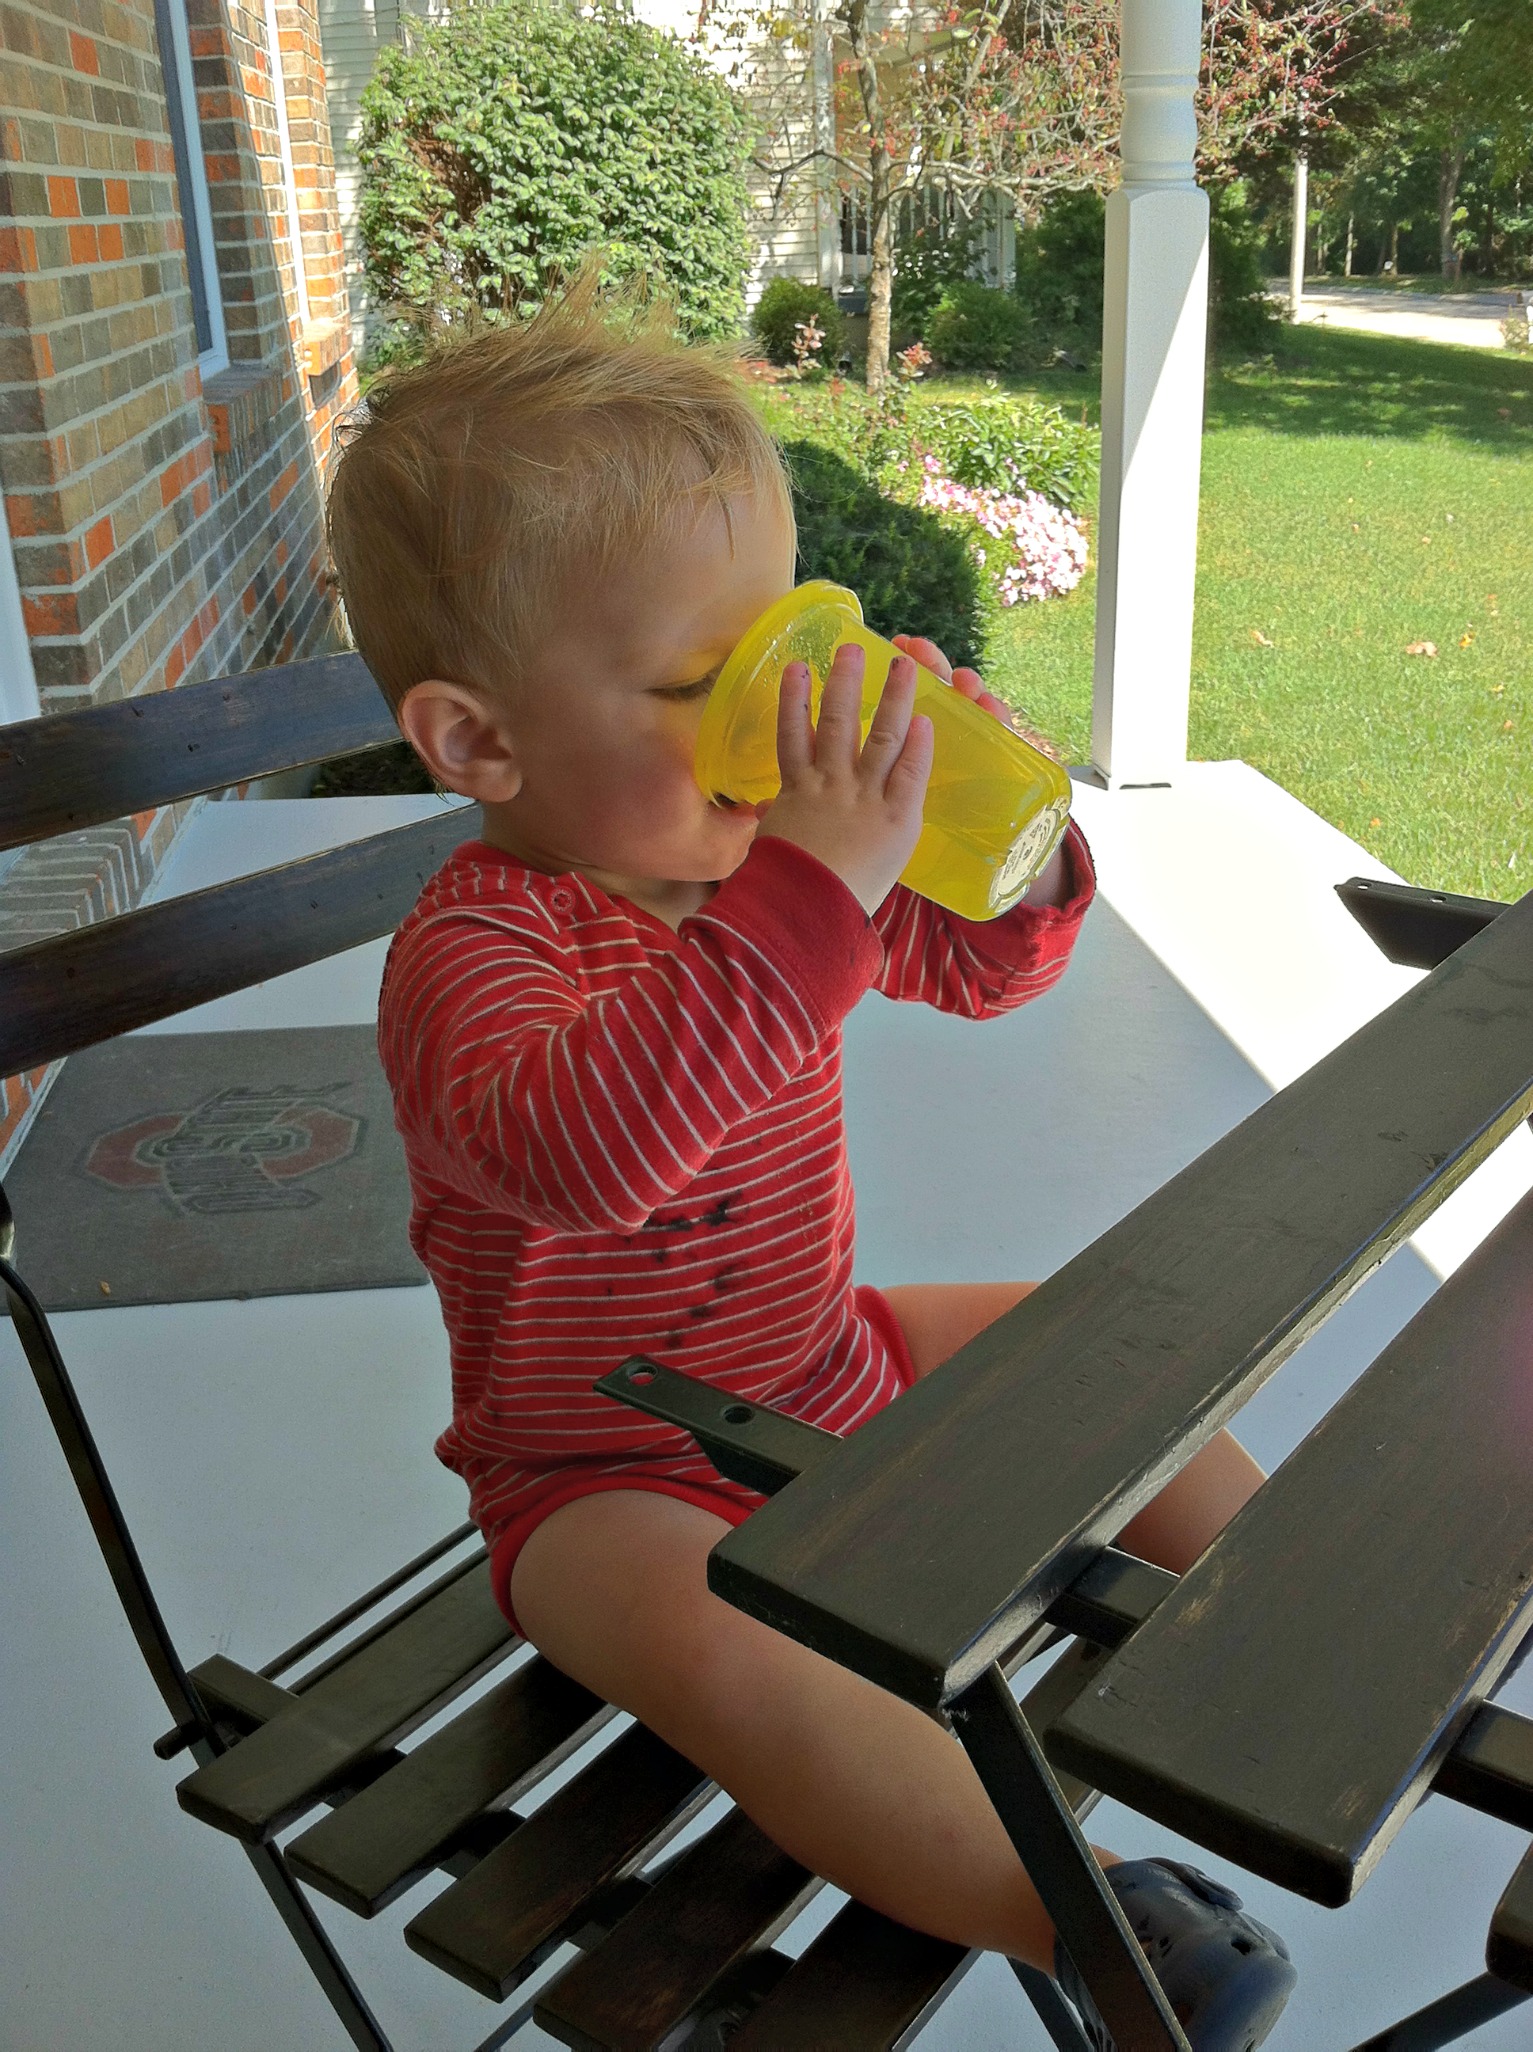
But I had my little helper cheering me on. Note the latex paint on his one-sie. Nice.
I must say, they look pretty phenomenal. I don’t like to toot my own horn but, toot-toot.
So, lets recap. Here is what the house looked like before:
And here she is now!
Wowza. Words cannot express how much I love the new look. Isn’t it amazing how much one gallon of paint can accomplish?


